In this Power Automate tutorial, we will see how to remove unwanted properties from an object using Power Automate.
While working with a client I got a requirement, where we needed to read the Excel file and send the data by email by creating an HTML table.
So when we read the Excel row by row by using the ‘List rows present in a table’ operation, each object in an array will come with these two properties: “@odata.etag” and “ItemInternalId”, which we don’t need, so we need to remove it using MS flow expression.
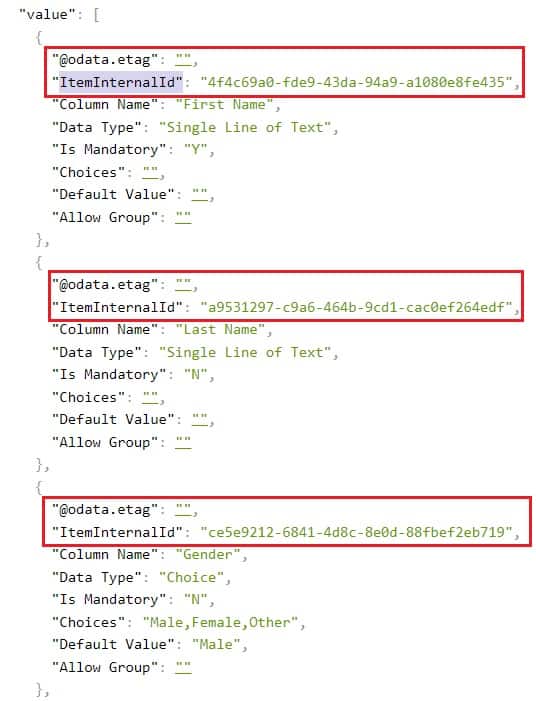
Remove properties from an object using Power Automate
Here we will see how to remove the properties from an object using Power Automate or Microsoft Flow.
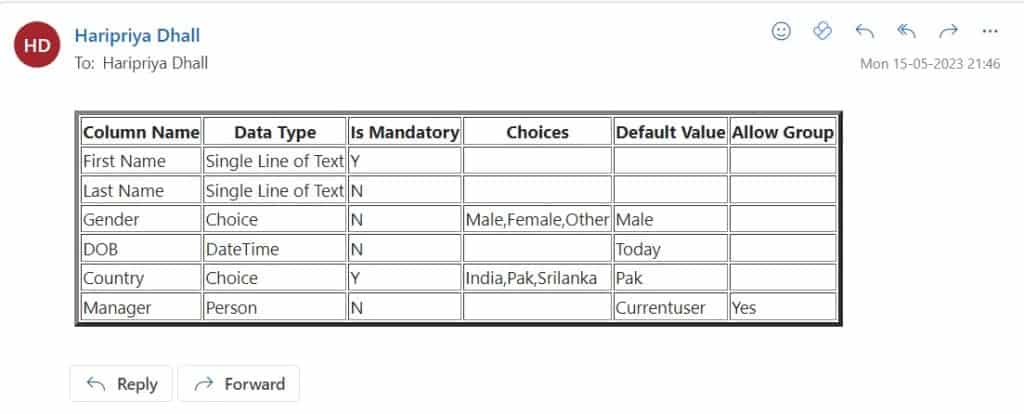
To create this flow, we are going to use the below Excel sheet, by using Power Automate operations we are going to read the Excel file, and then we will remove the unwanted properties and create a Html table, then we will send an email.

Now let’s create the flow in Power Automate, follow the below steps
Step 1: Create a flow in Power Automate.
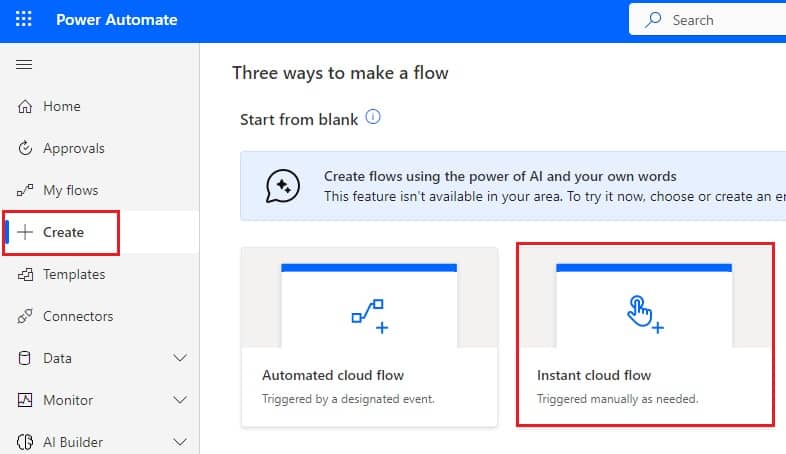
To create a flow in Power Automate, Logged in using Microsoft credentials, and then click on the +Create icon in the navigation bar, and then select the Instant Cloud flow.
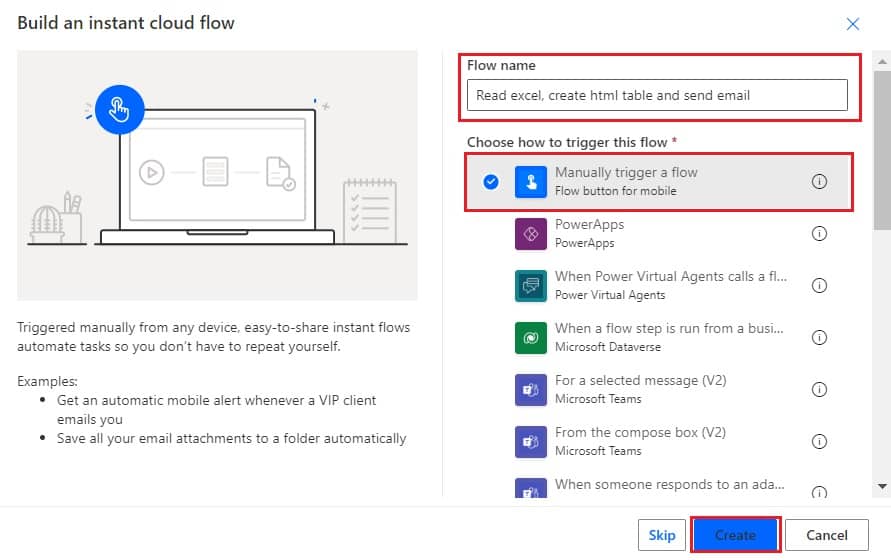
Next, provide the flow name, then start or trigger the flow, select ‘ Manually trigger a flow’, then click on Create.
Once you click on create, you can see the ‘Manually trigger a flow’ action, and flow gets created.

Step 2: Read the Excel file
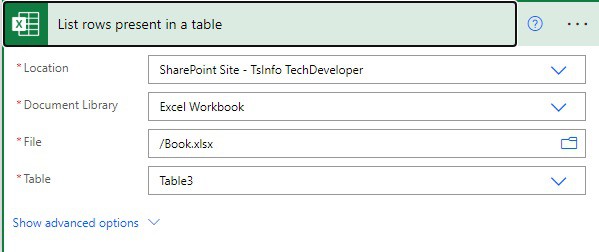
To read the Excel file we will add the operation, so, click on +Next step -> select the ‘List rows present in a table’ action.
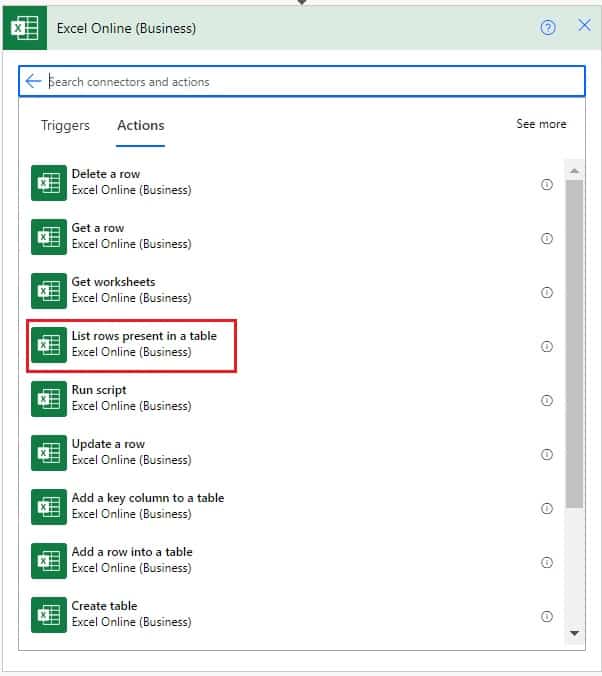
Here in the ‘List rows present in a table’ action, provide the below information.
- Location: Select the location of the Excel file
- Document library: Select in which library the Excel file exists.
- File: Then select a file from the options
- Table: Then select the table.
Step 3: Remove @ from ‘@odata.etag’
To remove @ from the ‘@odata.etag’ property name, we will convert JSON to string then we will replace ‘@odata.etag’ with ‘odataetag’. Once the replacement is done, then it will convert back to the JSON format using JSON ().
For this click on the +Next step, -> then select the action as Compose.
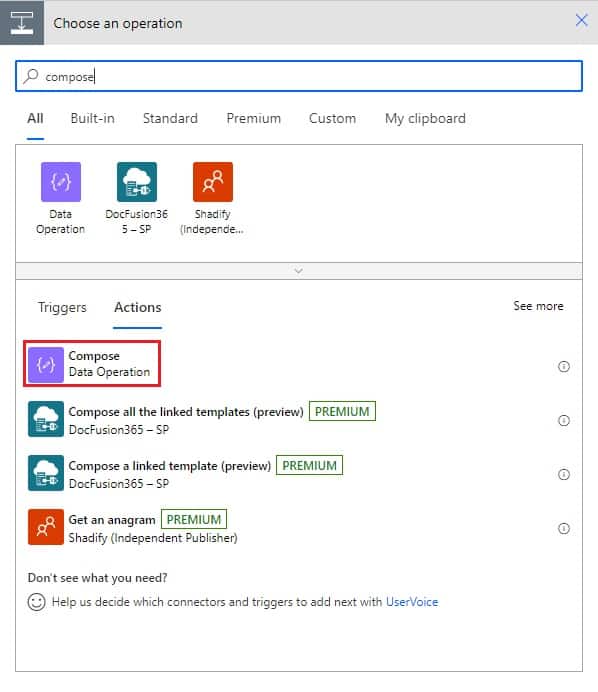
Then provide the input, so select the Expression and write the below expression:
json(replace(string(outputs('List_rows_present_in_a_table')?['body/value']),'@odata.etag','odataetag'))
Step 4: Remove unwanted properties (odataetag and ItemInternalId)
To remove the unwanted properties odataetag and ItemInternalId we will use removeProperties(). Click on the +Next step button. Then select the “Select’ operation.
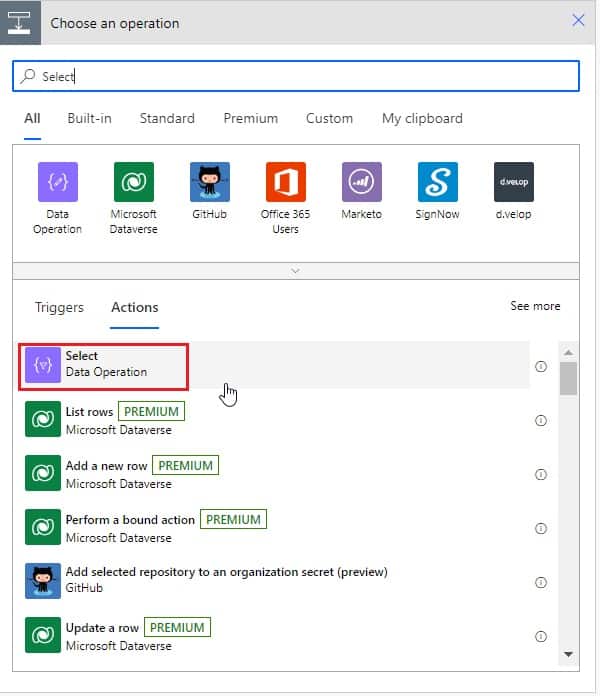
Here in Select action provide the below information.
- From: Select the output of the above compose action from Dynamic content.
- Map: In map change the key value mode to Map by clicking on the Text icon. Then go to Expression, and write the below expression:
removeProperty(removeProperty(item(),'odataetag'),'ItemInternalId')
Step 5: Initialize the array variable
We will initialize the array variable to store an array of rows from Excel. So, click on the +Next step -> select the operation as ‘Initialize variable’.
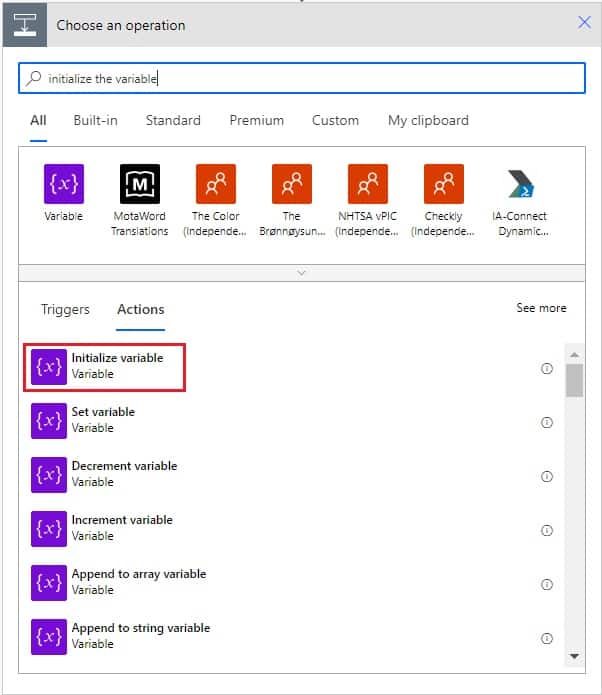
Here in Initialize variable operation provide the below information:
- Name: Provide the variable name
- Type: Select the type of variable, as we select an Array
- Value: Provide the initial value as the output of the ‘ remove unwanted property’ from the dynamic content.

Step 6: Initialize the string variable
We will initialize the string variable, and later we will use it to create an Html table. So, click on the +Next step and then select Initialize variable action.

Then provide the initialize variable information like below:
- Name: Provide the name of the variable as ‘ Str’.
- Type: Select type as String.
- Value: blank

Step 7: Create an HTML table
To create an HTML table, click on the +Next step, and then select the ‘Create HTML table’ action.
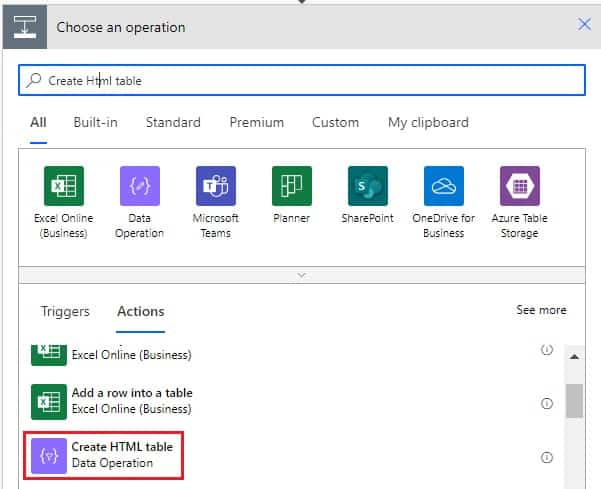
Then provide the below information:
- From: Select the ‘Rows’ from the dynamic content.

Step 8: Format the HTML table
To format the HTML table, click on the +Next step, and then select the Compose action.

Then in the compose action provide the below information:
- Inputs: provide the below expression:
replace(body('Create_HTML_table'),'<table>','<table border="4">')
We will append the formatted HTML table to the string variable ‘str’, so click on the +Next step -> select action as ‘Append to string variable’.
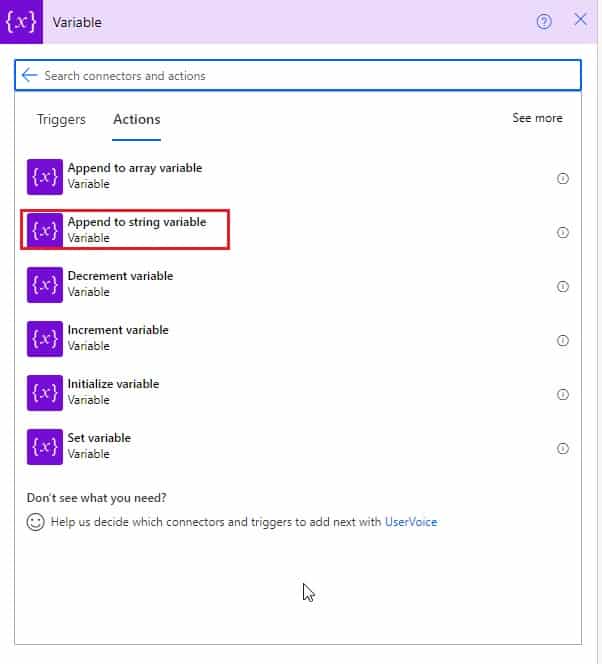
Here provide the below information:
- Name: select the variable name as ‘str’
- Value: Select from the dynamic content outputs-Format HTML Table

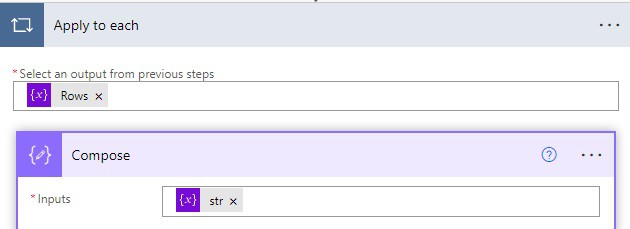
Now we will add the <th> and <td> tags to format the HTML table, so for this click on + New Step. Select Apply to each action.
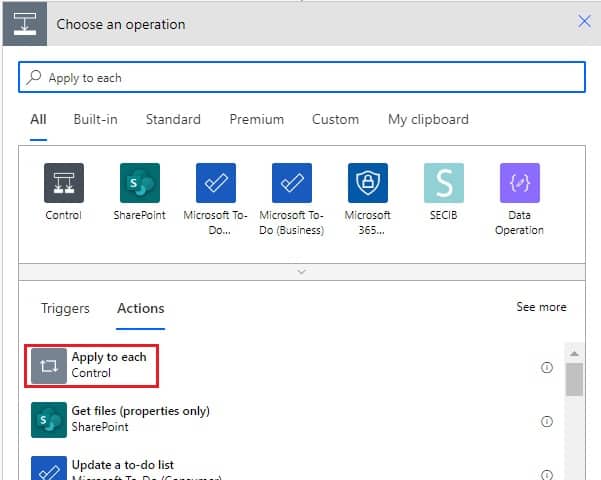
In this action Provide the below information
- Select an output from previous steps: Select the Rows from the dynamic content.

Next inside the ‘Apply to each’ action, click on ‘Add an action‘, and then select the Compose action.
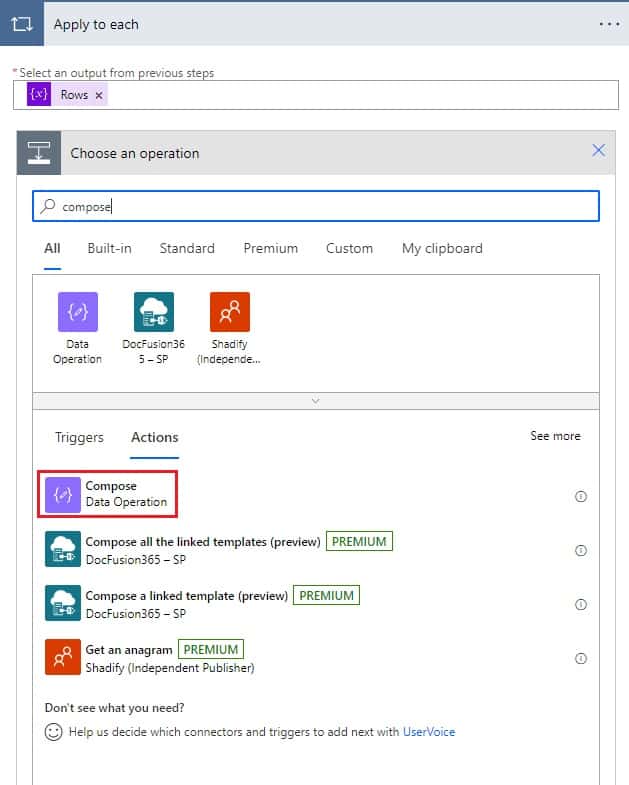
Provide the below information:
Inputs: select the ‘str’ from the dynamic content.
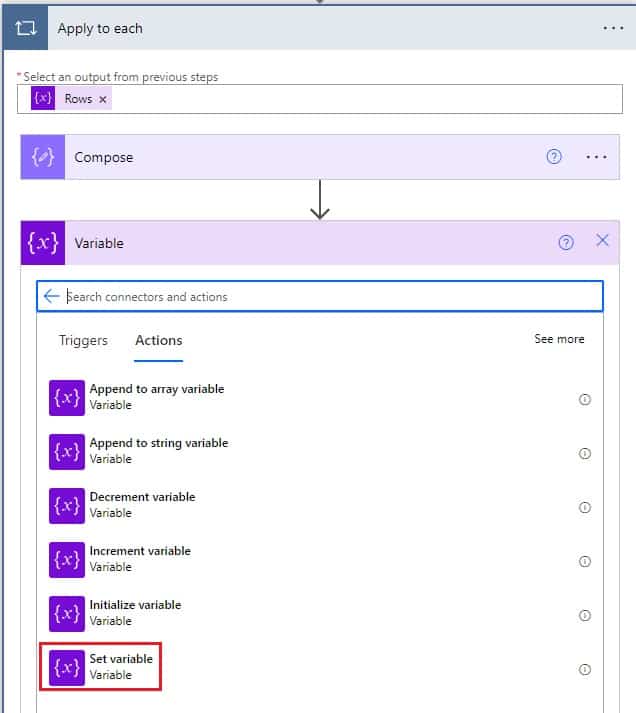
To add the <th> and <td> tags to the HTML table, click on the Add an action, then select the actions as Set variable.
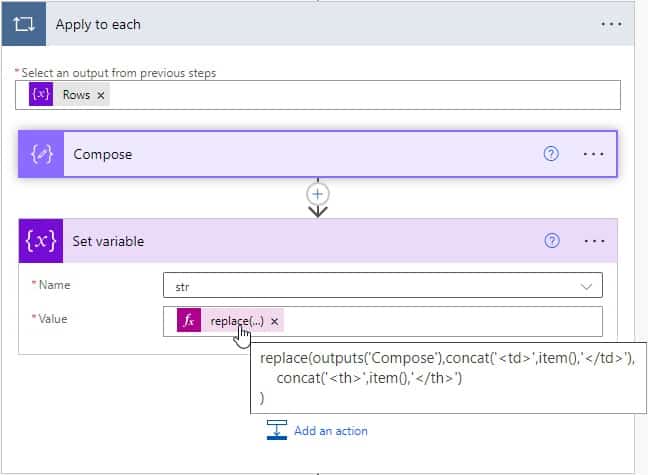
Here provide the below information
- Name: choose the variable name as ‘str’.
- Value: provide the below expression
replace(outputs('Compose'),concat('<td>',item(),'</td>'),
    concat('<th>',item(),'</th>')
)
Step 9: Send an Email
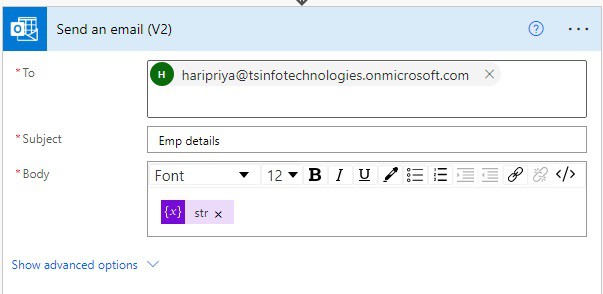
To send the HTML table as an email, click on the +New step -> select the action as ‘Send an email (V2)‘.
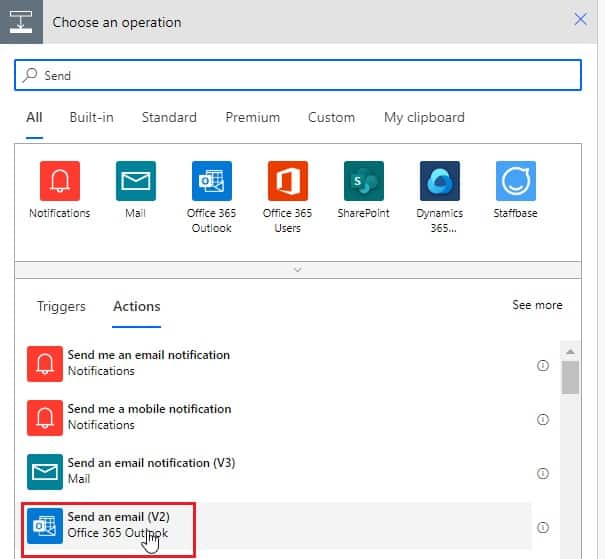
Here provide the below information:
- To: Provide the recipient email
- Subject: Provide the subject of an email
- Body: In the body select the ‘str’ variable, from the dynamic content.
Step 10: Run the Flow
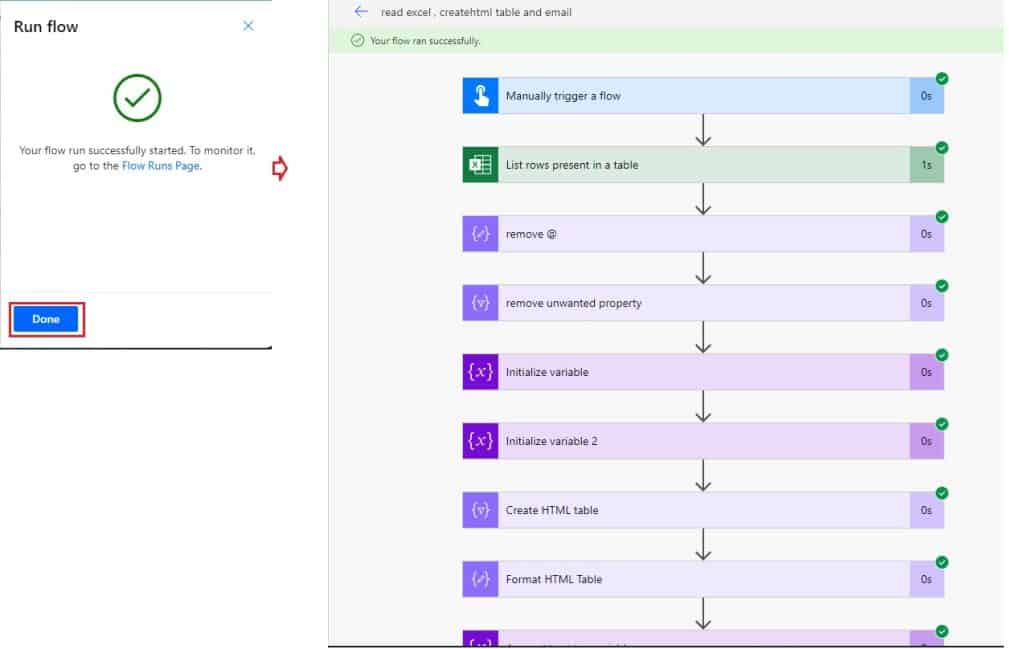
To run the flow, first, save the flow by clicking on the Save icon, then click on the Test icon -> choose Manually. Then it connects to the connector using Microsoft credential, -> click on the Run Flow button.

Now the Run Flow window will open, it will show the message ‘ Your flow run successfully started’. Then click on Done. You can see flow ran successfully.
Now if you will check the email in Office 365 Outlook, you can see the email has HTML table.
This is how to remove the unwanted properties from an array of objects in Power Automate.
Conclusion
In this Power Automate tutorial, we saw how to remove unwanted properties from an object in Power Automate. Also, we saw how we can read the Excel table, from the Excel data create an HTML table, and then send the HTML table as an email to Outlook.
You may also like the following Power Automate tutorials:
- Power Automate Exception handling using Try Catch Block
- Power Automate which exceeds the maximum nesting limit of ‘8’
- attempted to perform an unauthorized operation. power automate error
I am Bijay a Microsoft MVP (10 times – My MVP Profile) in SharePoint and have more than 17 years of expertise in SharePoint Online Office 365, SharePoint subscription edition, and SharePoint 2019/2016/2013. Currently working in my own venture TSInfo Technologies a SharePoint development, consulting, and training company. I also run the popular SharePoint website EnjoySharePoint.com