Do you want to know how to display images from a SharePoint list in Power Apps? In this tutorial, I have explained in detail how to display image from a SharePoint list in Power Apps.
Here, I will show you how to work with “Power Apps show image from SharePoint list” and ” Power Apps show image from SharePoint library ” using a simple example.
Power Apps Display Image from SharePoint List
In this example, we will see how to display images from a SharePoint list in Power Apps.
The screenshot below represents a dropdown menu and an image control. When a user selects an employee name from the dropdown menu, the specific employee profile picture will be displayed [from the SharePoint list] in the image control.

To achieve this, follow the instructions below:
1. This is a SharePoint list named Employee Onboarding. This list has three columns below:
| Column | Datatype |
|---|---|
| Employee ID | Number |
| Employee Name | Title column with Single line of text |
| Picture | Image |

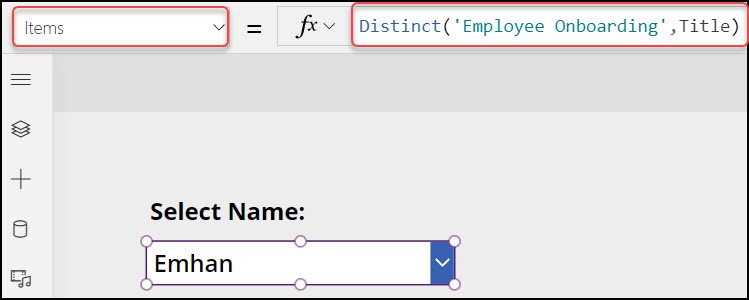
2. In Power Apps, insert a Dropdown control [+ Insert -> Input -> Drop down] and set its Items property to the code below:
Items = Distinct(
    'Employee Onboarding',
    Title
)
Where,
Title = SharePoint Employee Name field
3. Add an Image control [+ Insert -> Media -> Image] and apply the code below to its Image property as:
Image = LookUp(
    'Employee Onboarding',
    Title = ddName.Selected.Value,
    Picture.Medium
)
Where,
- ddName = Dropdown Control Name
- Picture = SharePoint Image Column Name
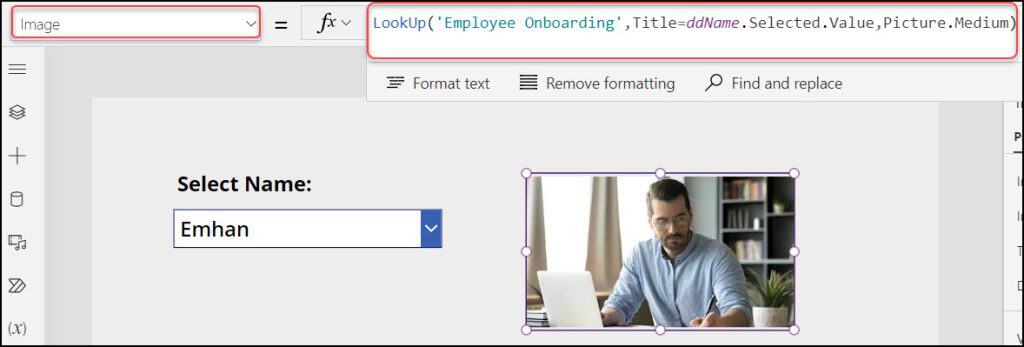
4. Save, publish, and preview the app. Select any employee name from the dropdown menu; the appropriate employee name will be reflected in the profile image.
This is how to work with Power Apps display images from a SharePoint list.
Power Apps Show Image From SharePoint Library
Here, we will discuss all the steps to using Power Apps to display images from a SharePoint library. Let’s explore.
Follow the actions below that need to be ready first:
- Create a SharePoint Document Library and Upload some Images.
- Create a Power Apps Blank Canvas app.
- Add a Power Apps Gallery Control.
- Connect the SharePoint Data Source connector and add the SharePoint Document library to Gallery.
- Bind the SharePoint library images to the Gallery control.
- Save, Publish, and Preview Power Apps.
1. Create a SharePoint Document Library and Upload Images
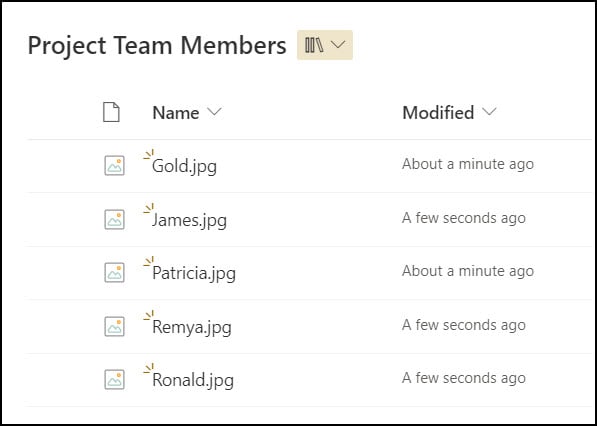
- I have a SharePoint Document Library named Project Team Members, with some pictures of project team members, as shown below.
2. Create a Power Apps Blank Canvas app
- Sign into Power Apps with valid Microsoft 365 credentials.
- Click on + Create -> Select Blank app -> Click on Create under the Blank canvas app.
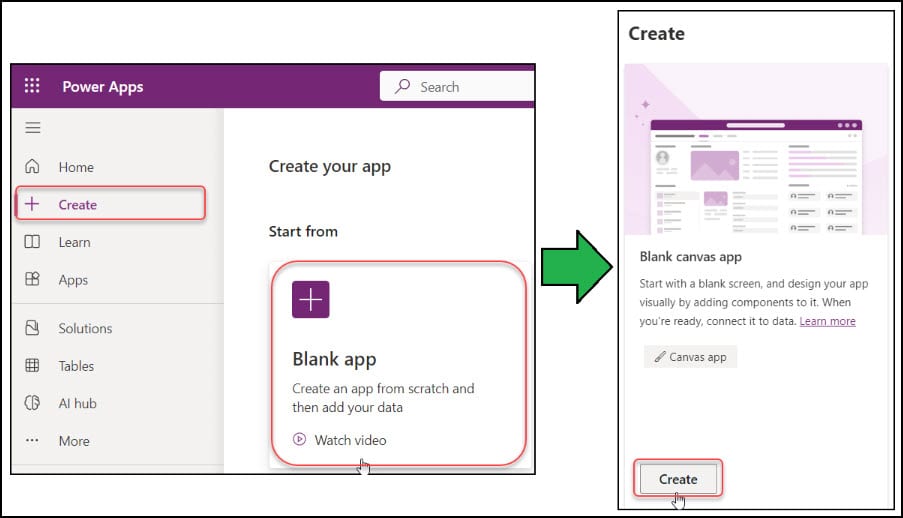
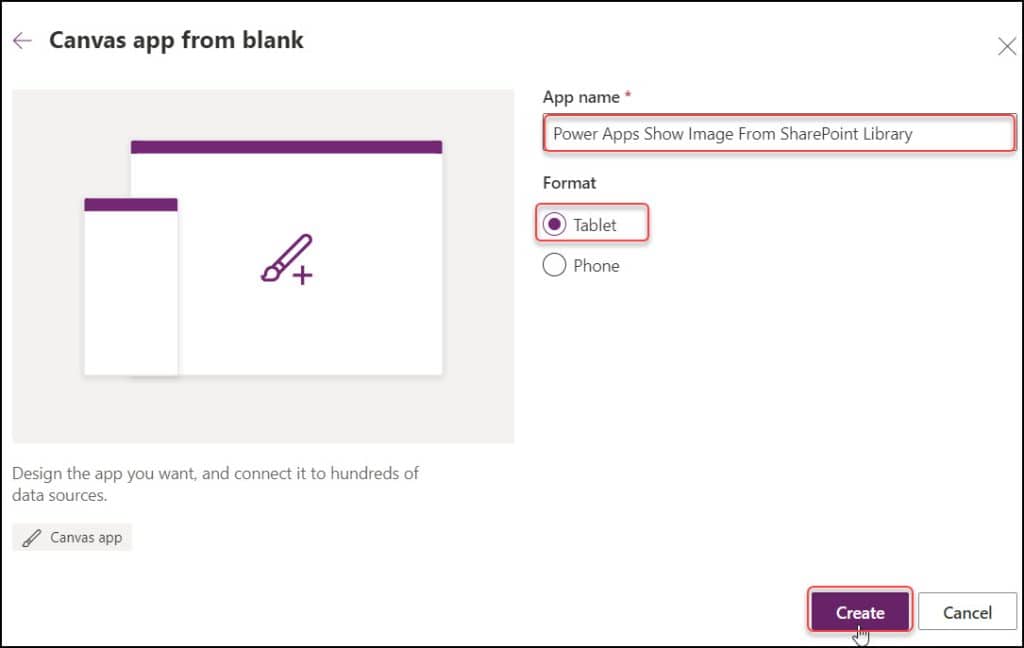
- Provide the App name and choose any format, either Tablet or Phone. Click on Create.
3. Add a Power Apps Vertical Gallery Control
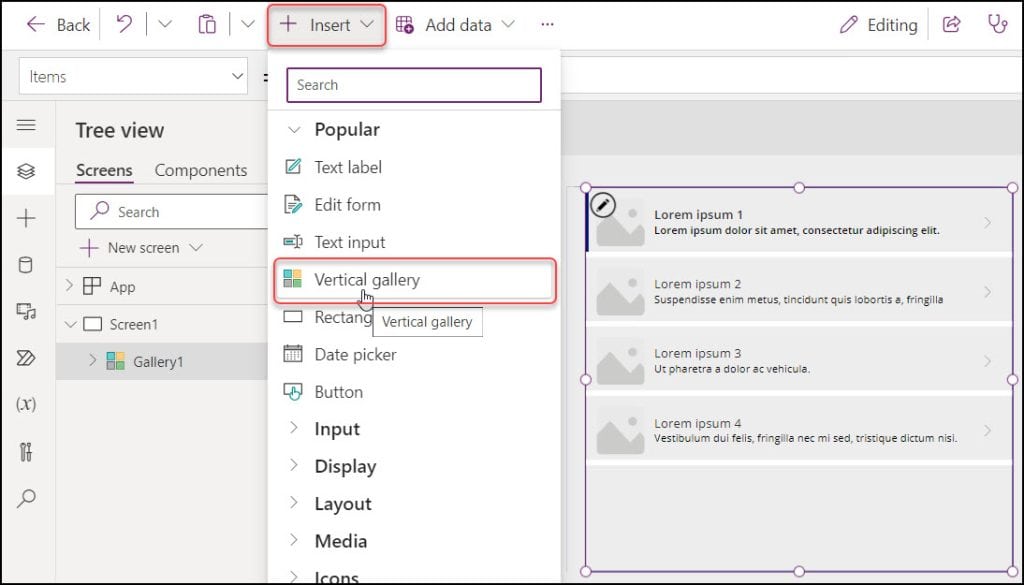
- Add a Vertical gallery control (+ Insert -> Vertical gallery) in the Power Apps screen, as shown below.
4. Connect the SharePoint Data Source connector and add the SharePoint Document library to Gallery
- Go to the Data tab [from the left nav] -> + Add data -> Search and select SharePoint -> Add a new or existing connection -> Select SharePoint site and library -> Click on Connect.
- Select the Gallery control and set its Items property to the SharePoint list:
Items = 'Project Team Members'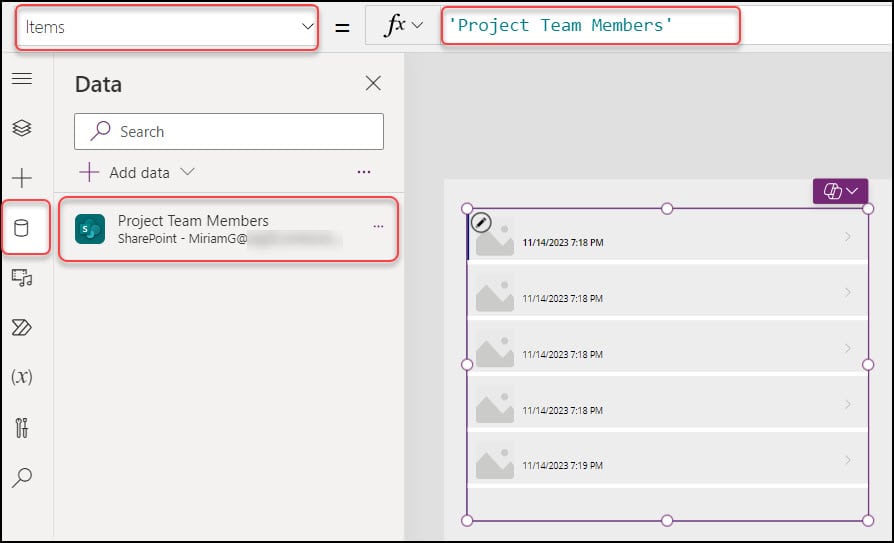
5. Bind the image data Source to the Link
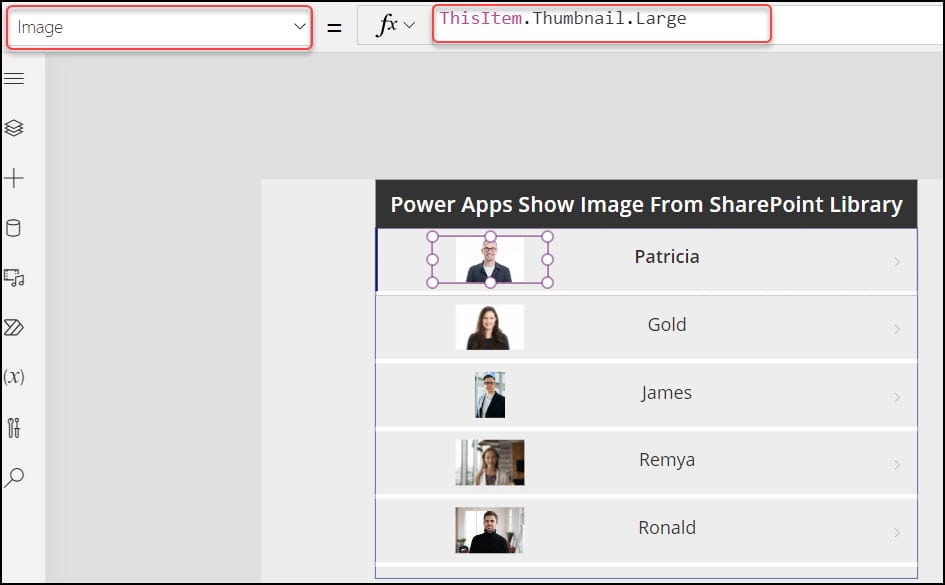
- Next, select the image from the gallery and set its Image property as:
Image = ThisItem.Thumbnail.Large

OR

Image = ThisItem.'{Thumbnail}'.Large
You can select the image size, either Small, Medium, or Large, based on your need.
Refer to the screenshot below:
6. Select the Text label control and set its Text property to the code below:
Text = ThisItem.Name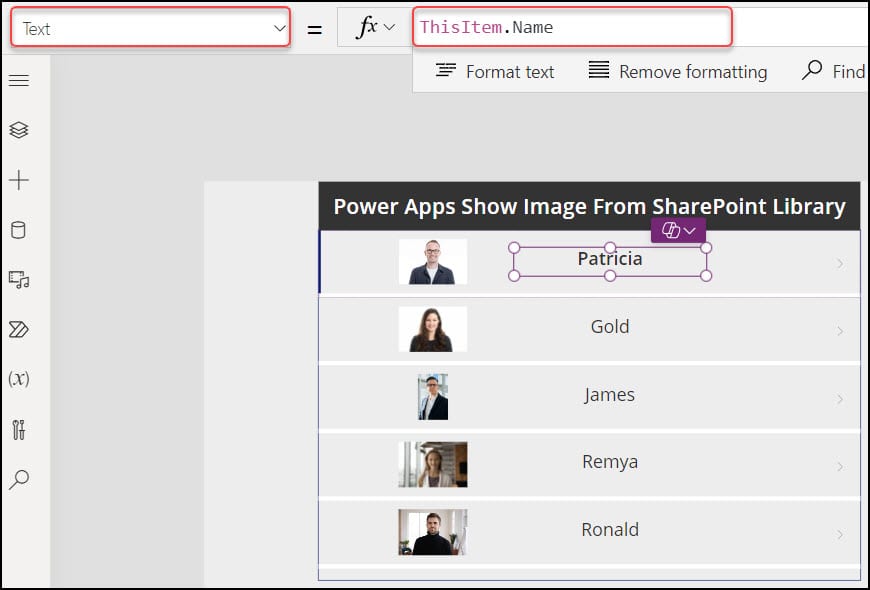
7. Save, Publish, and Preview the app. You can view all the team members’ pictures in the gallery control.
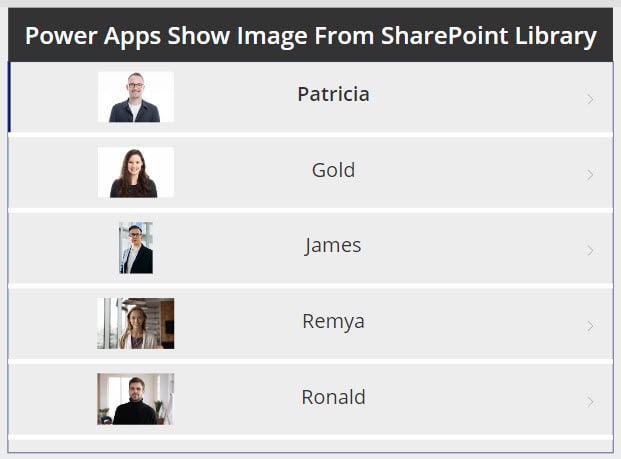
This way, we can display Power Apps images from the SharePoint document library.
Conclusion
I hope you learned how to work with Power Apps images from the SharePoint library. Also, we saw how we connected the SharePoint data source connector and added the library to the gallery.
Additionally, you learned how to bind the SharePoint library images to the Power Apps gallery and how to display images from the SharePoint list in Power Apps with various scenarios.
Moreover, you may like some more Power Apps tutorials:
- Upload images to Dataverse from Power Apps
- Select Multiple Items in Power Apps Gallery Control
- Add New Row in Power Apps Gallery Control
- Add Image to a Power Apps Collection
I am Bijay a Microsoft MVP (10 times – My MVP Profile) in SharePoint and have more than 17 years of expertise in SharePoint Online Office 365, SharePoint subscription edition, and SharePoint 2019/2016/2013. Currently working in my own venture TSInfo Technologies a SharePoint development, consulting, and training company. I also run the popular SharePoint website EnjoySharePoint.com
Nice, this helped.
I set the gal items to Filter(SRM, StartsWith(‘Full Path’, “SRM/2350098”), IsFolder = false)
and the Image to ThisItem.’Link to item’
I used it always like that in my apps:
ThisItem.’Link to item’
But I just noticed: If I embed the app into teams (as a tab in a channel), I don’t get a preview of the item. 🙁
Many thanks for these Topics
Some users are not seeing the images, any ideas?
Try this also if the image is not working: For the ‘image’ property: ThisItem.'{Thumbnail}’.Large
I was using this in conjunction with Filter(MySPDocLibrary,’File name with extension’=ImageFileName&”.png”) in order to only display the matching image in a ‘designed for’ one row image gallery for a signature capture.