In this article, we will discuss what is a Power Apps Employee Directory and how to create an Employee Directory in Power Apps.
Also, I will explain how to get SharePoint employee directory active directory in Power Apps and Power Apps employee directory search by name or department with examples.
Power Apps Employee Directory
PowerApps Employee Directory helps in storing each and every unique employee profile within your company. An employee’s job title, department, email address, display name, profile image, and other information can all be stored in an employee profile.
Let’s say your company employs about 500 people. You may set up an employee directory where you can keep track of each employee’s email address, profile photo, department, job title, and other details.
With PowerApps, it’s possible to extract the Employee Directory Information using the “Office365Users” Data Source Connector.
Create an Employee Directory in PowerApps
To create an employee directory in Power Apps, follow the example below.
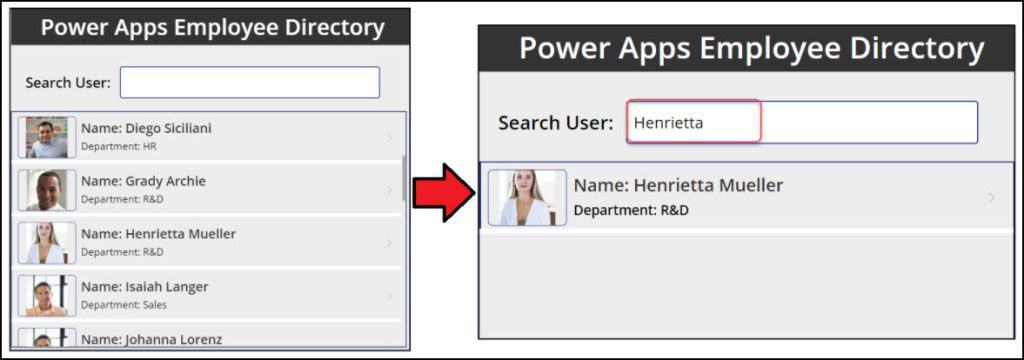
There is a Power Apps Text input control and a Gallery control. The gallery will display all the employee details from your organization until and unless you search for any user name.
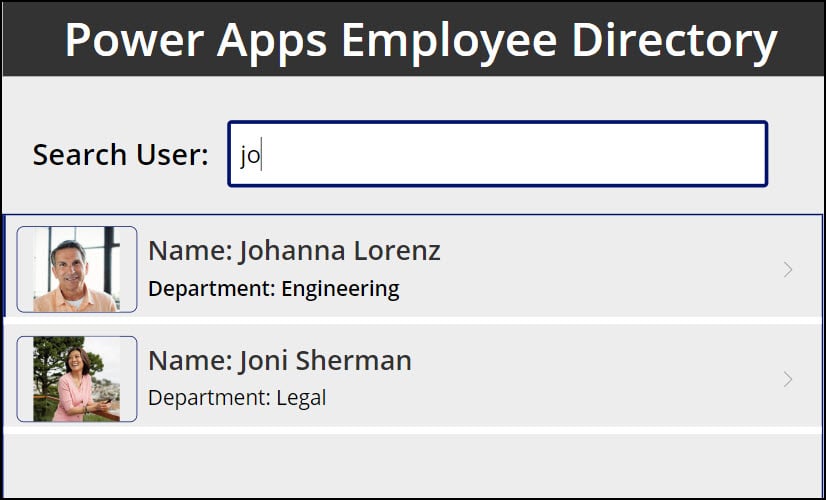
Once you search for any employee name, the gallery will filter and display the specific person’s details, as shown below.
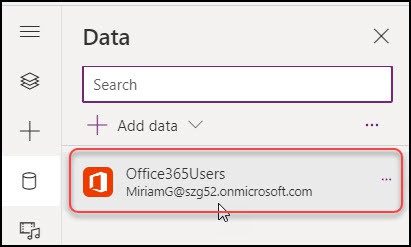
1. In Power Apps, first, connect the Office 365 Users connector to the app using your valid Microsoft 365 credentials.
2. Insert a Text input control and make its Default property to blank.

3. Next, add a Vertical gallery control below the text box and set its Layout as Image, title, and subtitle.
Also, write the code below on its Items property as:
Items = Office365Users.SearchUser(
    {
        searchTerm: txtEmployee.Text,
        top: 99
    }
)
Where,
- SearchUser = It helps to retrieve search results of user profiles.
- txtEmployee = Text input control name
- top:5 = It will show the first or top 5 users or Employees present in the Office365Users connector. You can also take top values, like 10, 15, etc.

4. Select the Title label from the gallery and set its Text property:
Text = "Name: " & ThisItem.DisplayName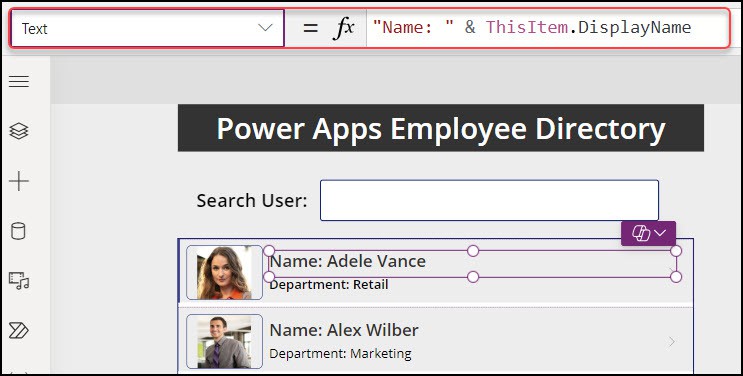
5. Select the Subtitle label from the gallery and set its Text property:
Text = "Department: " & ThisItem.Department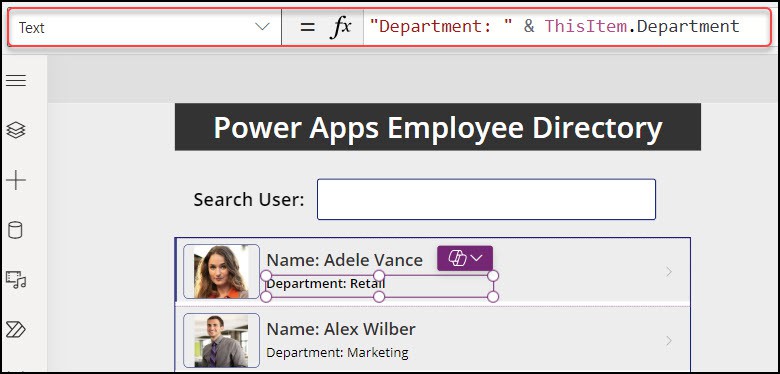
6. To get the employees’ profile photos, write the code below on Image’s Image property:
Image = If(
    !IsBlank(ThisItem.Id),
    Office365Users.UserPhoto(ThisItem.Id)
)

OR

Image = If(
    IsBlank(ThisItem.Id),
    SampleImage,
    Office365Users.UserPhoto(ThisItem.Id)
)

OR

Image = If(
    Office365Users.UserPhotoMetadata(ThisItem.Id).HasPhoto = true,
    Office365Users.UserPhoto(ThisItem.Id),
    SampleImage
)
Here, try to take the user’s ID value inside the gallery Image property. If you take the Email value instead of the ID, the result may be unpredictable.
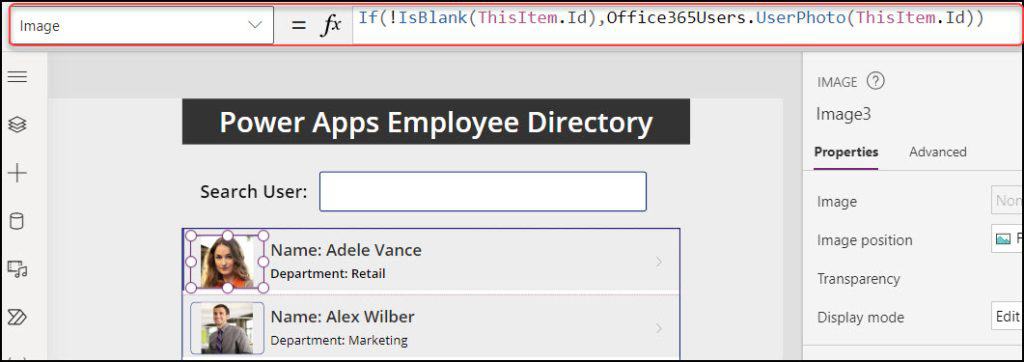
7. Once you save and preview the app, you can see all the PowerApps Employee Directory. Similarly, when you search for any employee name in the search box, the gallery will filter and display particular employee details.
This way, we can create an Employee Directory in PowerApps.
SharePoint Employee Directory Active Directory in Power Apps
Let’s say you want to display users or employees in your organization who are either in enable or active mode. Also, you can search and filter the Power Apps gallery based on the SharePoint employee directory active directory.
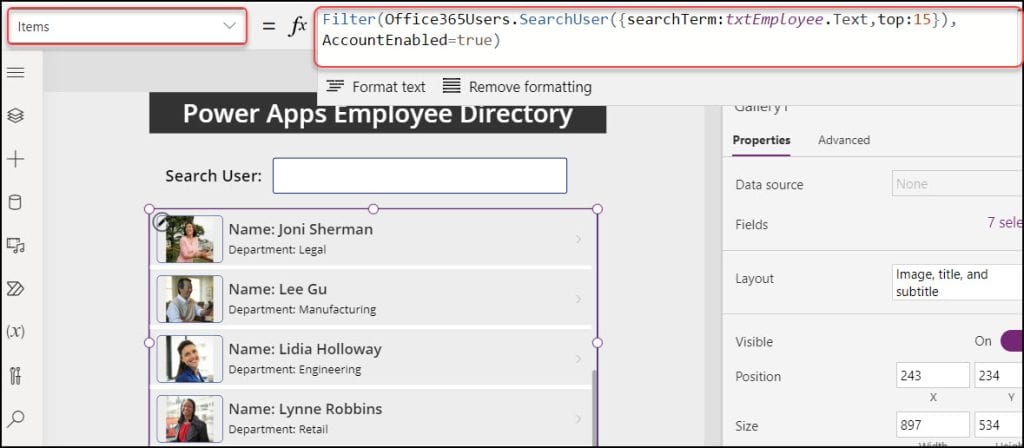
- Select the gallery and set its Items property as:
Items = Filter(
    Office365Users.SearchUser(
        {
            searchTerm: txtEmployee.Text,
            top: 15
        }
    ),
    AccountEnabled = true
)
Where,
- txtEmployee = Text input control name
- AccountEnabled = This property helps display the Employees in enable or active mode in your organization. When you set this property to true, it will only show all the active employees.
This way, we can work with the SharePoint employee directory active directory in Power Apps.
Power Apps Employee Directory Search by Name or Department
We can search the Power Apps employee directory by name as well as department. Refer to the example.
- I have a Power Apps text input and a gallery control. When a user searches for the employee name or department, the gallery filters and displays the specific employee details based on the search text.
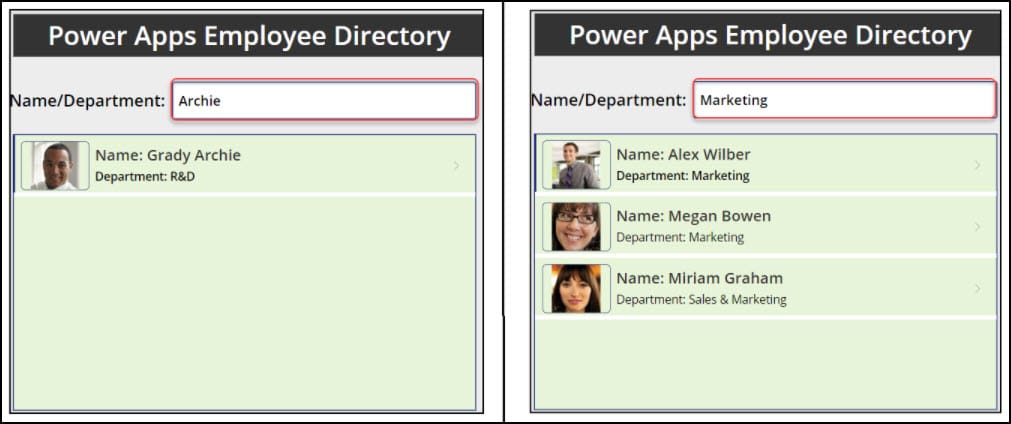
- To work around this, select the gallery and apply the code below on its Items property:
Items = If(
    !IsBlank(Trim(txtSearchBox.Text)),
    Filter(
        Office365Users.SearchUser(
            {
                searchterm: "",
                top: 99
            }
        ),
        !IsBlank(Department) && (txtSearchBox.Text in DisplayName || txtSearchBox.Text in Department)
    )
)
Where,
txtSearchBox = Text input control name

This way, we can work with Power Apps employee directory search by name or department.
I hope this Power Apps tutorial gave a brief idea about the PowerApps Employee Directory and the steps to create an Employee Directory in Power Apps.
We also saw various examples of how to work with the SharePoint employee directory active directory in Power Apps.
You may also like:
- Power Apps Get Current User
- Power Apps Employee Engagement Survey Example
- Power Apps Show/Hide Button Based On The Current User
- Filter Power Apps Gallery by Current User
- Power Apps Pen input
I am Bijay a Microsoft MVP (10 times – My MVP Profile) in SharePoint and have more than 17 years of expertise in SharePoint Online Office 365, SharePoint subscription edition, and SharePoint 2019/2016/2013. Currently working in my own venture TSInfo Technologies a SharePoint development, consulting, and training company. I also run the popular SharePoint website EnjoySharePoint.com
Wow very nice and simple approach with note and screen shots.
Thanks, Tekelhymanot woldemichael for your encouraging words!
Hi,
Thank you for this, I am finding that I am getting email dist lists and shared mailboxes show up. Do you know how I could hide them? Is it possible to filter on one group (that has everyone in it)?
Thank you 🙂
I have this same question!
From where Office365users get the properties, is it from sharepont user profile or AD or azure AD ?
But how do you show contact info of the employee you searched?
How to fetch employee all detais in power apps