In this Power Apps tutorial, We will discuss the Timer control in PowerApps, its properties, and how to add a Timer control in Power Apps.
As far as we know, Power Apps has various controls for working with canvas apps; apart from that, PowerApps Timer has an interesting control that can be used to execute actions or trigger events at specific intervals or after a certain duration.
We will also see how to use the PowerApps start timer on button click and how to reset or start the timer control.
Moreover, I will let you know some more stuff like:
- PowerApps timer autostart
- PowerApps timer duration
- Power Apps timer countdown
Power Apps Timer Control Or Start Timer in PowerApps
Microsoft provides timer control in Power Apps to determine how the app will respond after a certain time passes.
It has a Duration property that tells how long the Power Apps timer will run in milliseconds. The default duration is 60 seconds, and the maximum duration is 24 hours. Look at the image below:
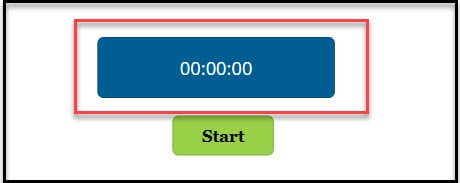
Power Apps Timer Control Properties
Next, we will see the key properties of the timer in PowerApps.
| Property | Description |
| Duration | When considering the duration of a timer in milliseconds, the maximum allowable time is 24 hours, equivalent to the duration expressed in milliseconds. By default, the timer duration is set to 60 seconds |
| OnTimerEnd | Actions to perform upon the completion of a timer’s operation |
| Repeat | Whether the timer automatically restarts when it finishes running |
| AutoPause | This property can automatically pause the timer control when the user navigates to a different screen |
| AutoStart | This property can automatically start the timer control when the user navigates to the screen that contains that control |
| OnSelect | These are the actions to be executed when a user taps or clicks on a control. |
| OnTimerStart | Actions to be executed when the timer starts to run |
| Reset | Refers to the action of a control returning to its default value |
| Start | You can clarify whether the time starts |
| Visible | Whether a control is visible or hidden |
Add Power Apps Timer Control
To add a Power Apps timer control, follow the below-mentioned steps. Such as:
1. On the Power Apps Screen, insert a Timer control [+ Insert -> Input -> Timer].
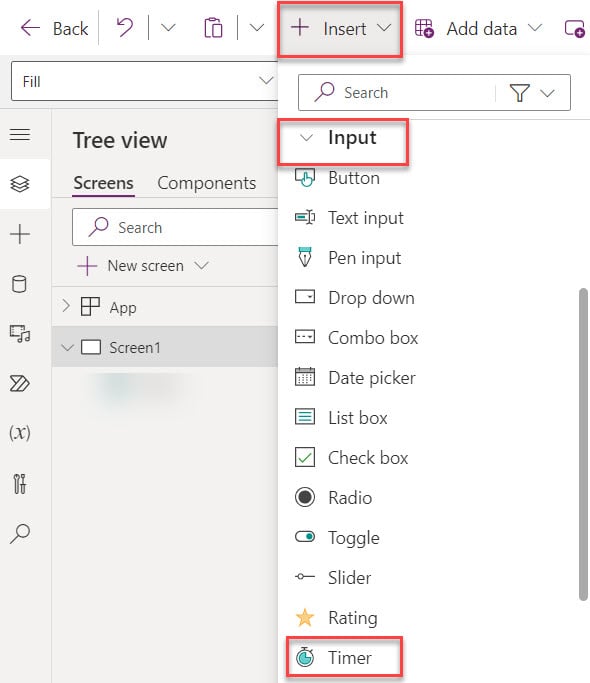
2. When you add the Timer control in the Power Apps screen, then it will appear as below. Here, you can see the default Time Duration is 60000 (represented in Milliseconds) or 60 Seconds.
3. Also, as you can see here, the Repeat and Auto start properties are disabled [Off], but the Auto pause property is enabled [On] by default.
Have a look at the below screenshot for the output.

Power Apps Start Timer on Button Click
Using a simple example, I will show you how to start, stop, and reset the Timer control using a Button in the Power Apps.
Power Apps Start Timer
On the Power Apps screen, add a Button control (Insert -> Button) and rename it to Start Timer, as shown below. Then, apply the formula below to the button’s OnSelect property.
OnSelect = UpdateContext({TimerGo: true})Where,
- UpdateContext = It is the function that is used to create a context variable that holds a piece of information temporarily. As in this example, the user is going to select a button a number of times, So this function is used
- TimerGo: true = TimerGo is the Context variable name, which is specified as true
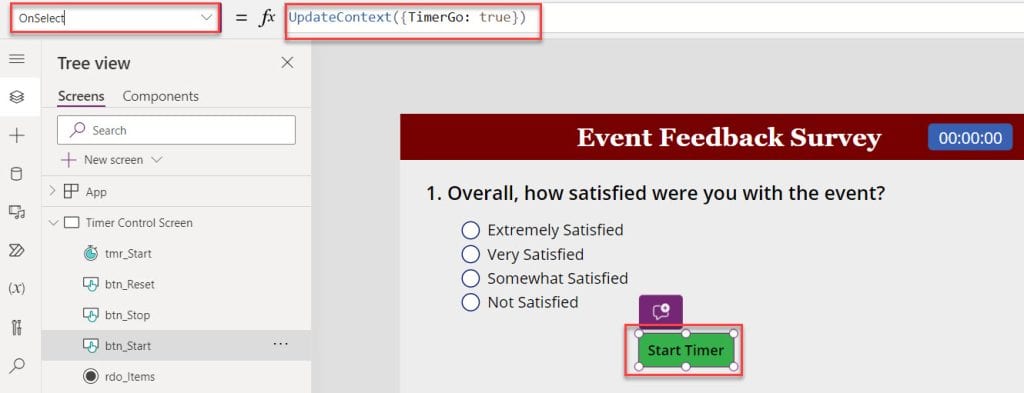
Now, select the Timer control and apply the below formula on its Start property, as shown below.
Start = TimerGo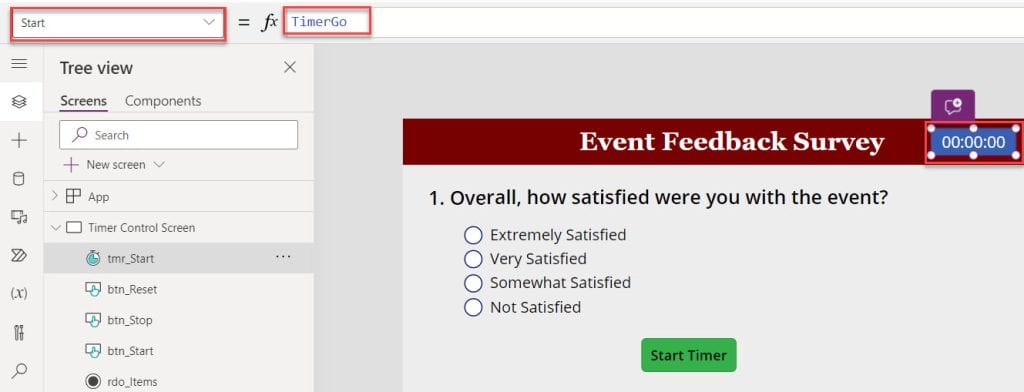
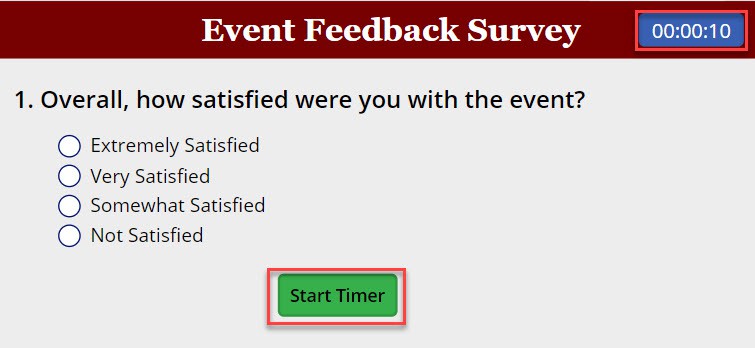
When you run the app and hit on the Start Timer button, then you can see the Timer will start as shown in the below screenshot.
Power Apps Stop Timer
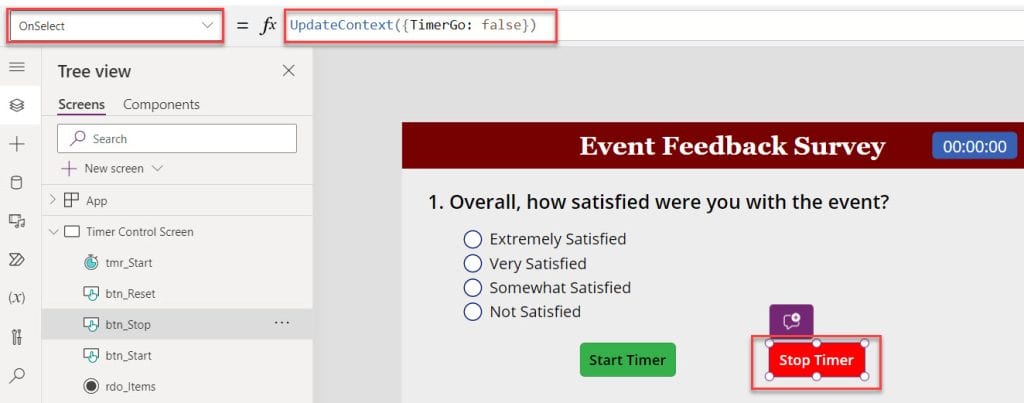
Similarly, add another Button and rename it to Stop Timer. Then apply the below formula on its OnSelect property as:
OnSelect = UpdateContext({TimerGo:false})Where,
- TimerGo:false = TimerGo is the Context variable name which is specified as false. That means Once you hit the button, the timer will stop
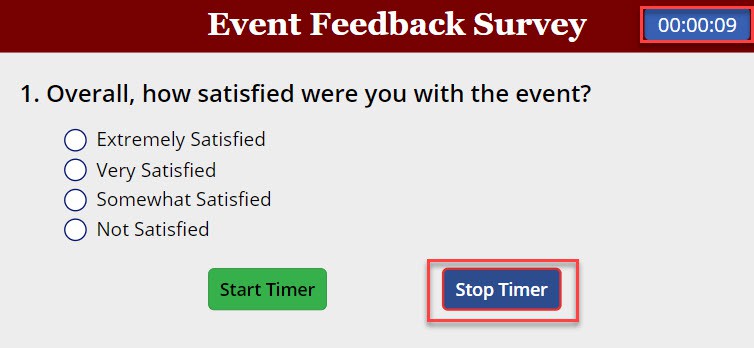
Preview or run the app. First, hit the Start Timer button, and the Timer will start. In some cases, it won’t work when you start the timer for the first time. In this case, first Stop the timer and again start it. Then it will work properly.
NOTE:
If you start the Timer, do not forget to stop it every time. Otherwise, it won’t work. In this case, when you stop and again start the timer, it will work perfectly
Power Apps Reset Timer
To rest the Power Apps timer control, add a Button and rename it Reset Timer. Apply the formula below to the Button’s OnSelect property.
OnSelect =UpdateContext({Reset: false});
Reset(tmr_Start);
UpdateContext({Reset: true})
Where,
- Reset: false = Reset is the context variable that specifies the value as false
- Reset(tmr_Start) = It is the name of the timer control
- Reset: true = Reset is the context variable that specifies the value as true
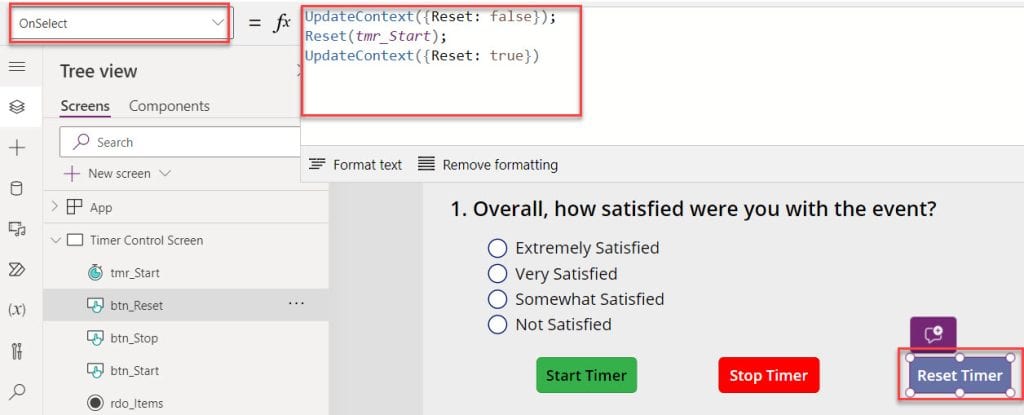
Now, Preview or run the Power apps app. First, Start and stop the Timer button. Then, hit the Reset Timer button. You can see it will work perfectly.
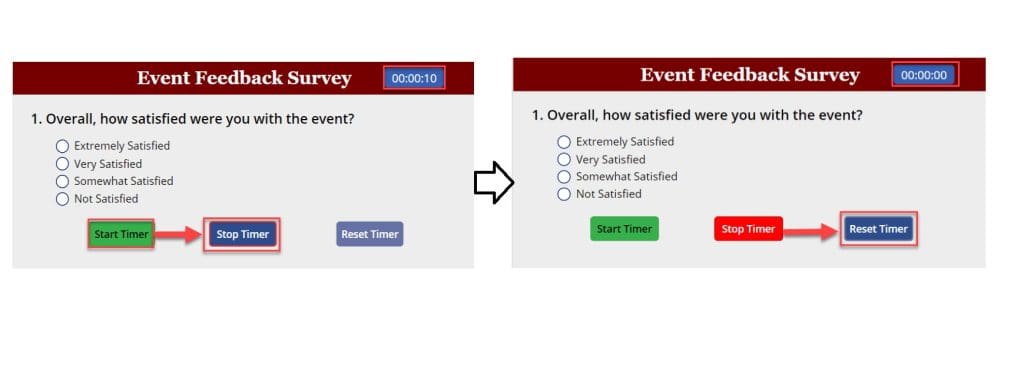
Power Apps Timer Autostart
Next, I will discuss how to work with Power Apps timer autostart with a simple example.
Example:
I have created a Power Apps application [Event Feed Back Survey] using a Timer control. Now, I would like to get a timer to autostart during the screen load [every time]. Also, if you want to stop the timer, click on the timer control.
Have a look at the below screenshot for the output.
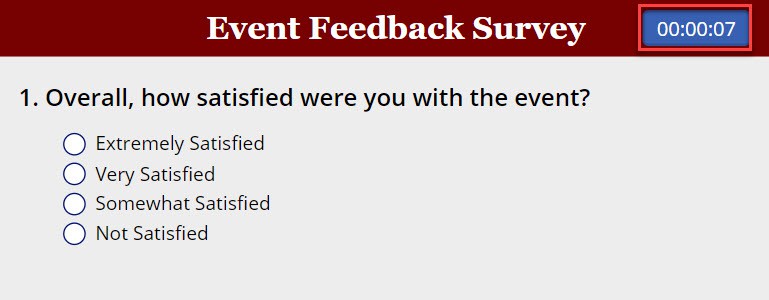
To do so, follow the below steps. Such as:
1. On the Power Apps Screen, select the Timer control and set its AutoStart property is “true“[By default, this property is “false”].
AutoStart = true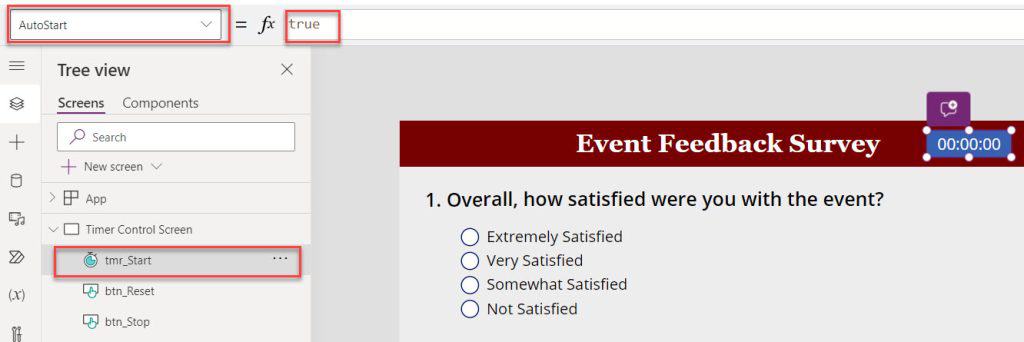
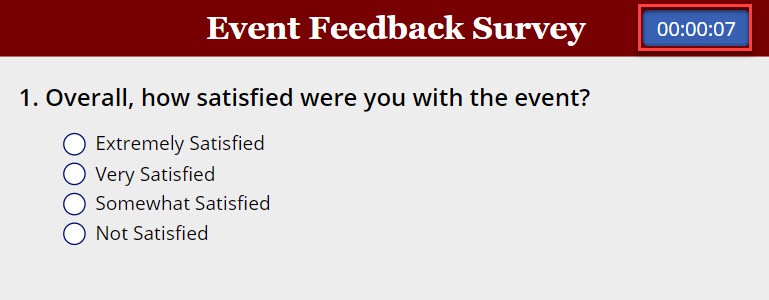
2. Once it is done, Save, Publish, Reload, and Preview the app. When the user runs or opens the app, the timer control will be auto started. Once you click on the timer control, the timer will stop.
This way, we can work with the Power Apps timer autostart.
Power Apps Timer Duration
In this section, we will see how to work with Power Apps timer duration with a simple scenario.
Scenario:
In Power Apps, there are three screens [Welcome Screen, Quiz Screen, and Sucess Screen]. In the Quiz Screen, I added a Timer control to fix the quiz duration.
When the user opens the screen, it will display a question and multiple-choice options. The candidate must make a decision within 50 seconds. After 50 seconds, it will switch to another screen [Success Screen].
Output:
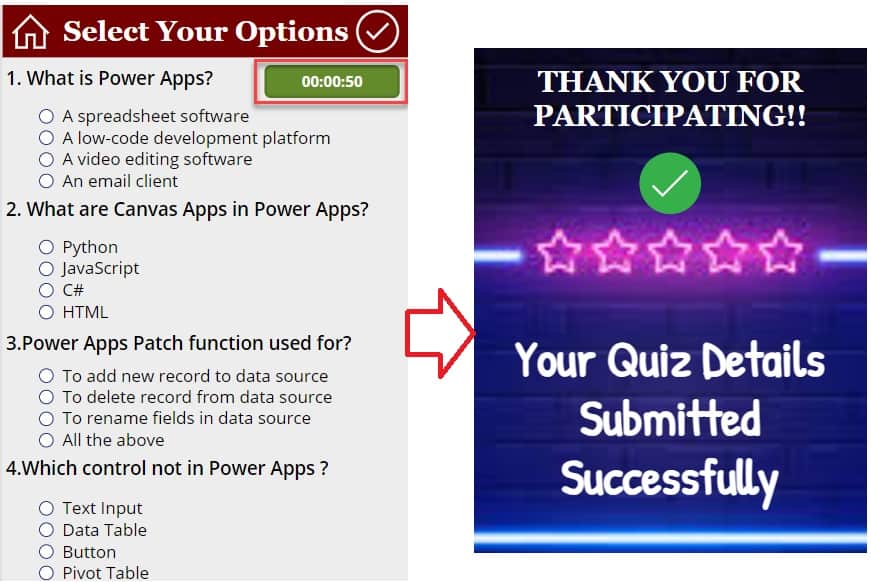
To work around this, follow the below steps. Such as:
1. On the Power Apps Screen [Quiz Screen], insert a Timer control and set its Duration property as:
Duration = 50000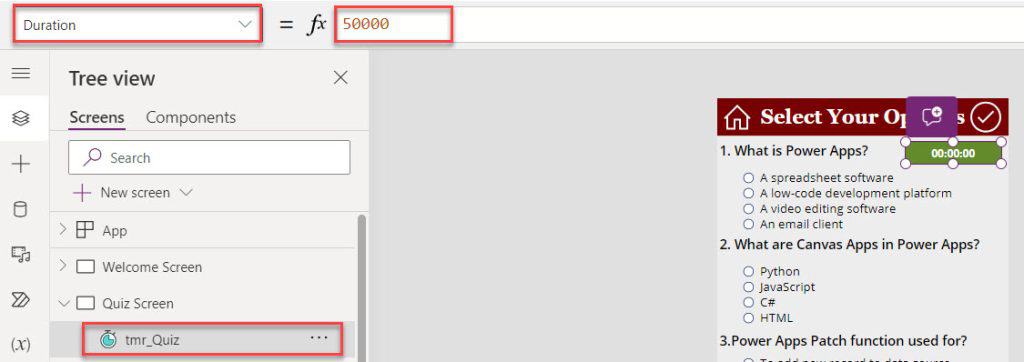
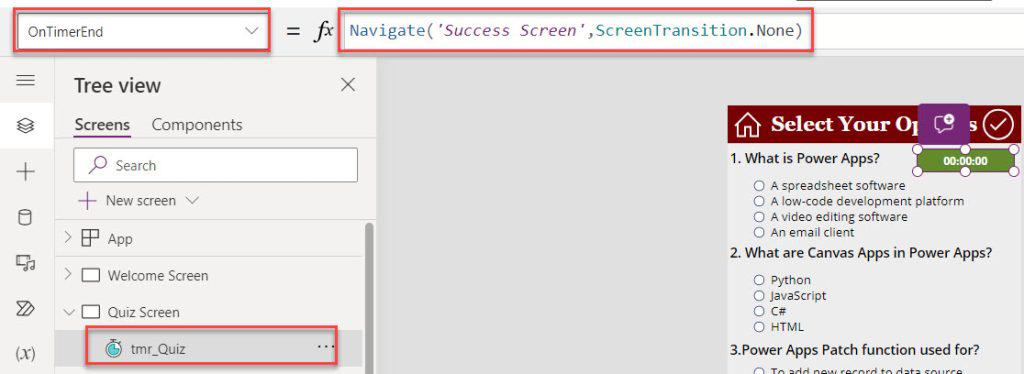
2. Next, set the OnTimerEnd property of the Timer control using the code below.
OnTimerEnd = Navigate('Success Screen', ScreenTransition.None)Where,
- ‘Success Screen’ = Power Apps 3rd screen name
3. Once it is done, Preview the app. Once the timer runs out or the duration is over, it will automatically navigate to the other screen shown below:
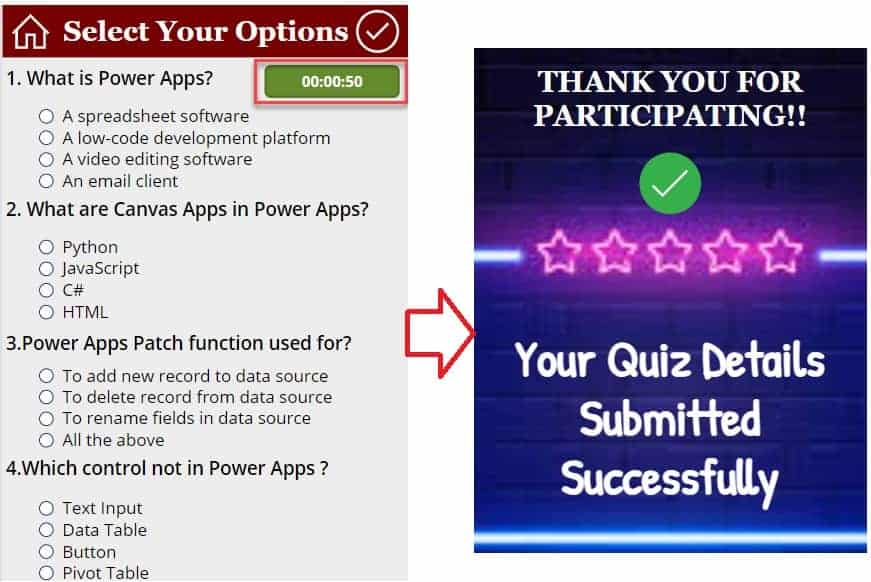
This is how to work with the Power Apps timer control duration.
Power Apps Timer Countdown
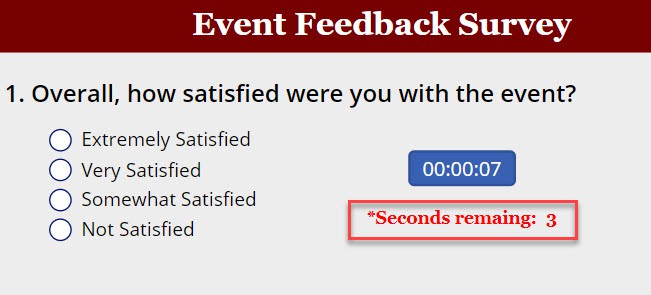
Suppose the user clicks on the timer. The countdown begins based on the specified duration, and the remaining time will be displayed in the text label control, as shown below.
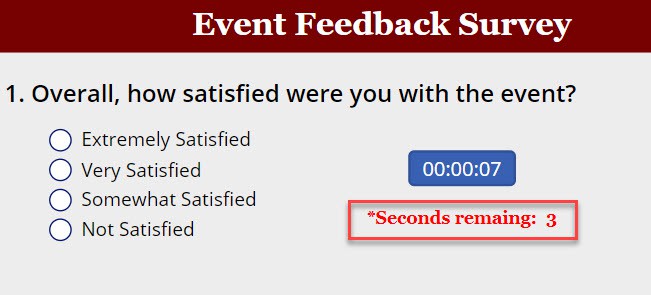
To achieve it, follow the below steps.
1. On the Power Apps Screen, select the Timer control and set its Duration property.
Duration = 10000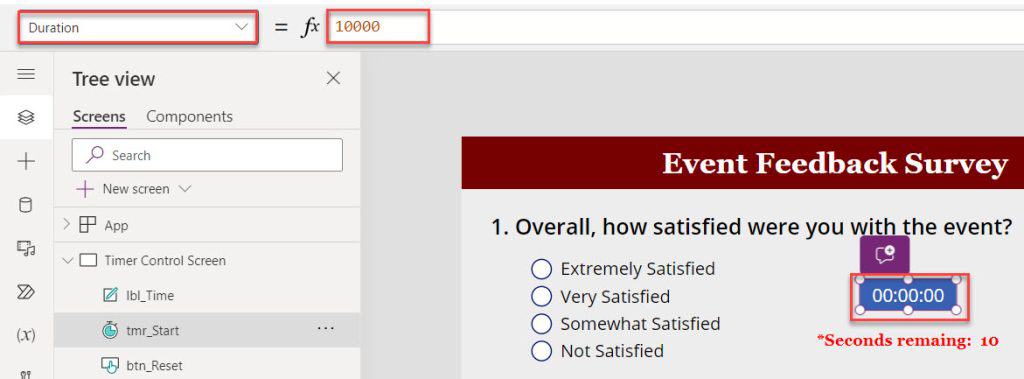
2. Also, set the Timer control’s AutoStart and Repeat properties as ‘true“, as shown below.
AutoStart = true

Repeat = true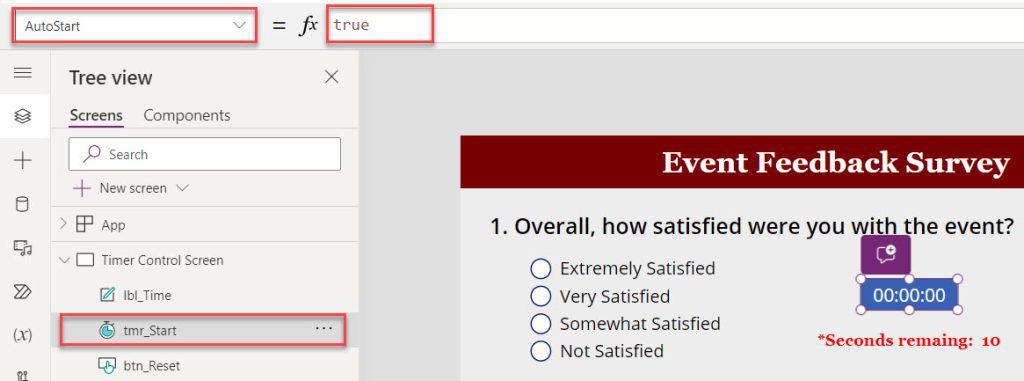
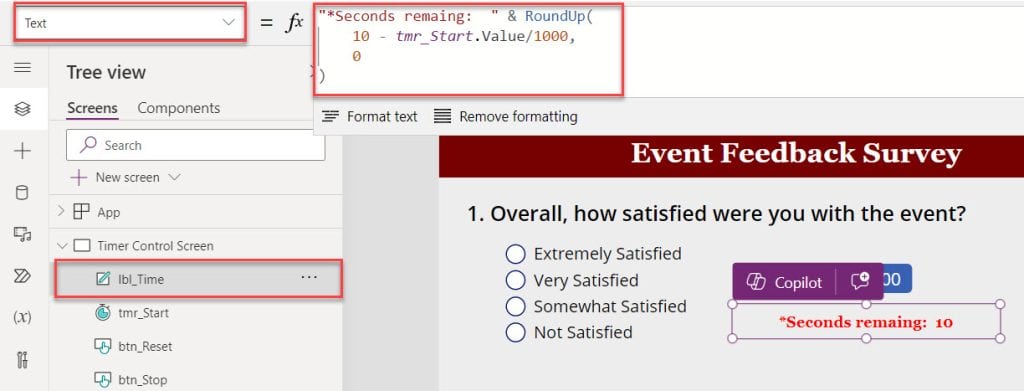
3. Now, insert a Text label control and set its Text property to the code below.
Text = "*Seconds remaing:  " & RoundUp(
    10 - tmr_Start.Value/1000,
    0
)
Where,
- tmr_Start = Power Apps timer control name
4. Finally, Preview the app. The timer starts automatically, and when the user clicks on the timer control to stop, the text label will display the remaining time [In seconds], as in the screenshot below.
I trust you find this article useful. In this tutorial, we discussed how to use Power Apps start timer, PowerApps reset timer, PowerApps timer autostart, and PowerApps start timer with a button with various examples.
Moreover, you may like some more articles:
- PowerApps Navigate to Another Screen
- How to Use Environment Variables in Power Platform
- Display SharePoint List in Power Apps
- PowerApps Replace Character in String
- How to Update Collection in Power Apps
- Power Apps Length Of String
- Power Apps Set Text input Value Based On Another Field
I am Bijay a Microsoft MVP (10 times – My MVP Profile) in SharePoint and have more than 17 years of expertise in SharePoint Online Office 365, SharePoint subscription edition, and SharePoint 2019/2016/2013. Currently working in my own venture TSInfo Technologies a SharePoint development, consulting, and training company. I also run the popular SharePoint website EnjoySharePoint.com
Your articles are great. but the huge amount of ads on this page prevent me from further use them.
great article. works well.
but now I have 3 timers. When I start one it starts counting, when I press another one I want the first one to stop counting and when I start the third one I want the second one to stop counting. I tried to use the updatecontext({starttimer1:false});updatecontext({starttimer3:false}) for timer 2 both on onselect and ontimerstart but the counters remain counting. They only stop when hitting them again individually. Any idea why this doesn’t work if you don’t use additional start and stop buttons. I try to avoid 6 buttons for start and stop (2 for each timer).