In this React js tutorial, we will see how to set up React js environment and create our first app using React.
And also we will discuss React application structure, then we will print Hello world in React js.
How to Setup React js environment
So, here to set up React js environment, and to create our first React app we will use the VS code tool. If you have not installed the VS code, you can install it from here.
Next, we will install the Node js, because node js comes with a package manager which is known as npm (Node package manager). Basically, we will use npm to create and install React in our local environment. If you haven’t installed the Node js, then you can install it from this link.
Once you installed the Node.js on your local machine, open the Node.js command prompt, it is also installed while installing the node.js. Then check node js installed on your local computer, we can use the below command to get the node.js version:
node -v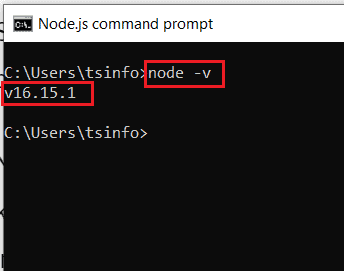
As we know while installing node.js, npm (node package manager) also gets installed, so to check the npm version, write the below command:
npm -v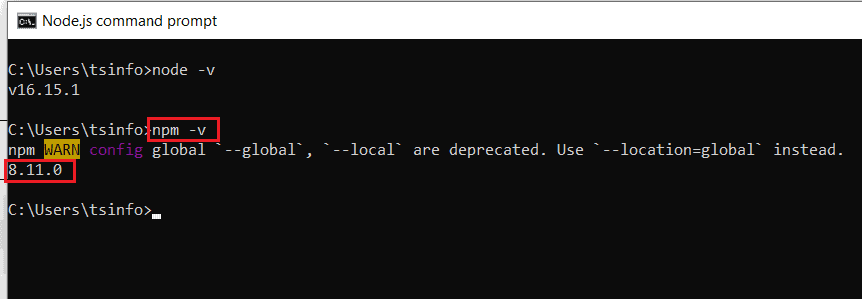
Also, we can check the installation of the node.js and npm in the Vs code tool
- Now open VS code -> go to the Terminal tab -> select the New Terminal.
- You can see the terminal window will appear at the bottom of VS Code.
- In the Terminal, you can see the whole path of your project folder.
- Here also you can check if the node is successfully installed or not on your device, write the below command in the terminal to see the node version.
node -v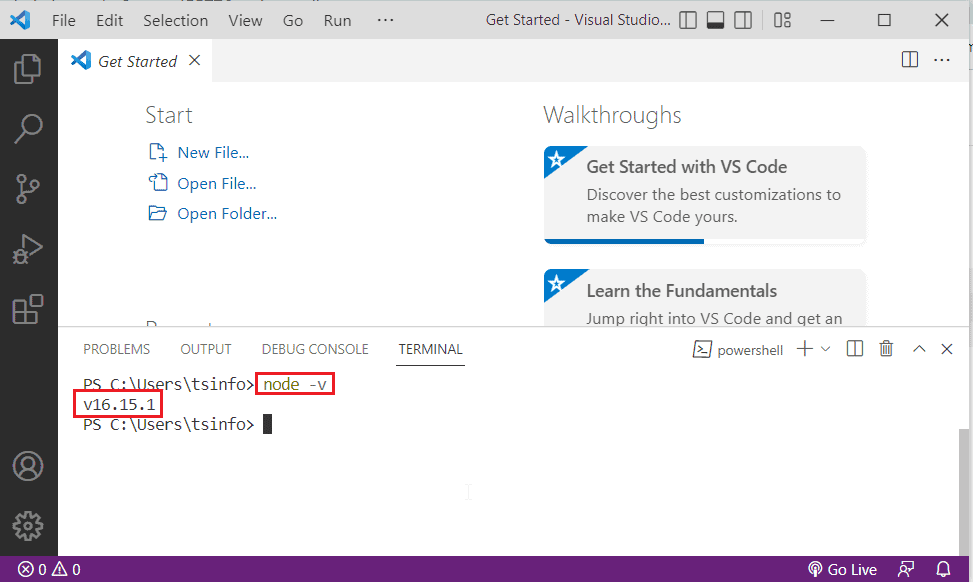
- Next, we will check the npm version, so for this write the below command :
npm -v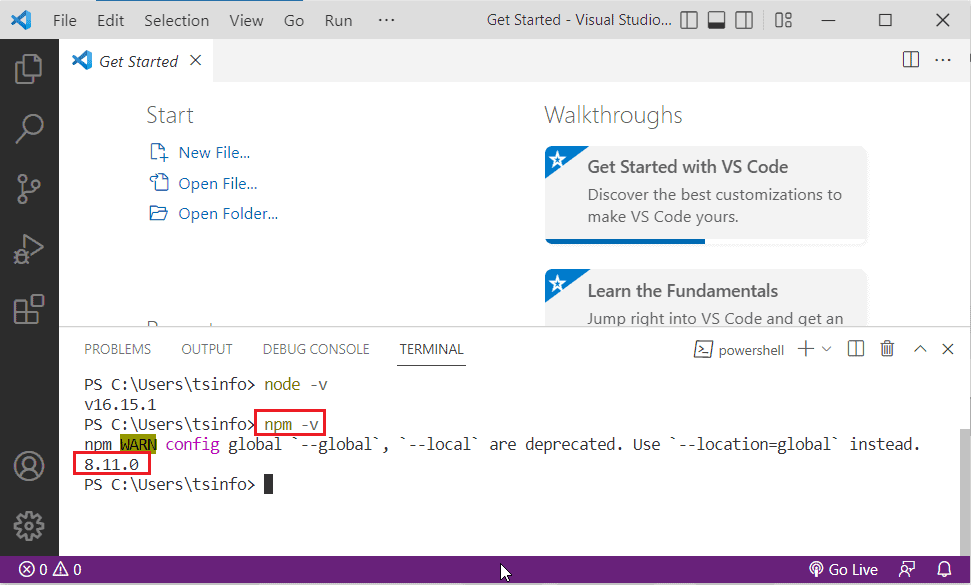
This is how to set up React js environment.
Read Props in React js
Create your first react app – step by step
Once you have VS code tool and node js installed on your local machine, then follow the below step to set up React environment, and also we will create our first React app.
- First create a Folder in the local computer, with the name of the First React app.
- Then in the Visual Studio code, and open the Folder in VS code, click on the File -> Open Folder -> select the Folder.
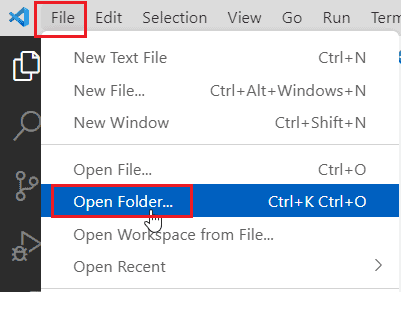
Once you open the folder in VS Code, you can see the Folder on the left, under the Explorer section.
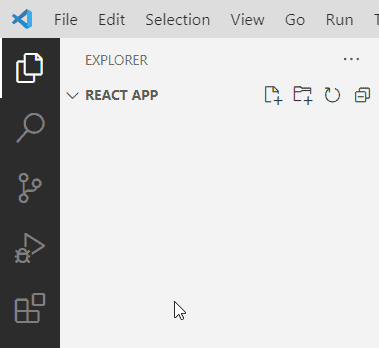
Now we will create our first react app with sort of commands executed inside the Vs code Terminal.
- In order to create a react app, we are going to use of package called ‘Create react-app’. Once we install the package it will automatically create a React app for us. That means we don’t need to install and set up the React in the local machine, instead this package will do all that for us.
- In the below command, the npx is npm package runner, which is get installed when we install the Node js. And in this command, what npx do is, install the Create react app for us, and also it creates react application for us as well.
- After specifying the ‘npx create-react-app command, we need to provide the name of our react application. In this case, I named as my-first-app.
- To create our react app using this package, by using the below command.
npx create-react-app myfirst-app- Once you enter the command in a terminal, it will install React for us, after that it will create the app ‘my first app. Also, it installs a bunch of dependencies like react, react-dom, react script, and some other packages too.
- Once the installation is over you can see the app ‘myfirst-app’ get created with a bunch of files like node modules, public, src, and readme.md etc., inside the folder.
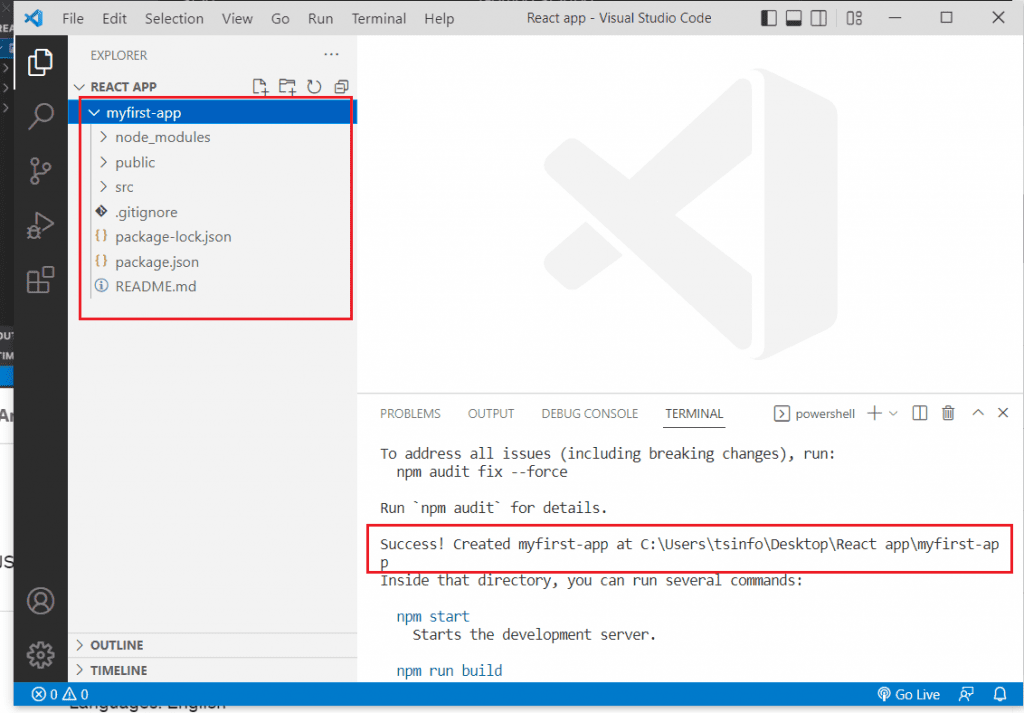
- Now we will run our app, so the steps are already mentioned at the end of the terminal after the app is successfully created.
- So, my app is created, we need to go inside the ‘my first-app’ app, for this follow the below command:
cd myfirst-app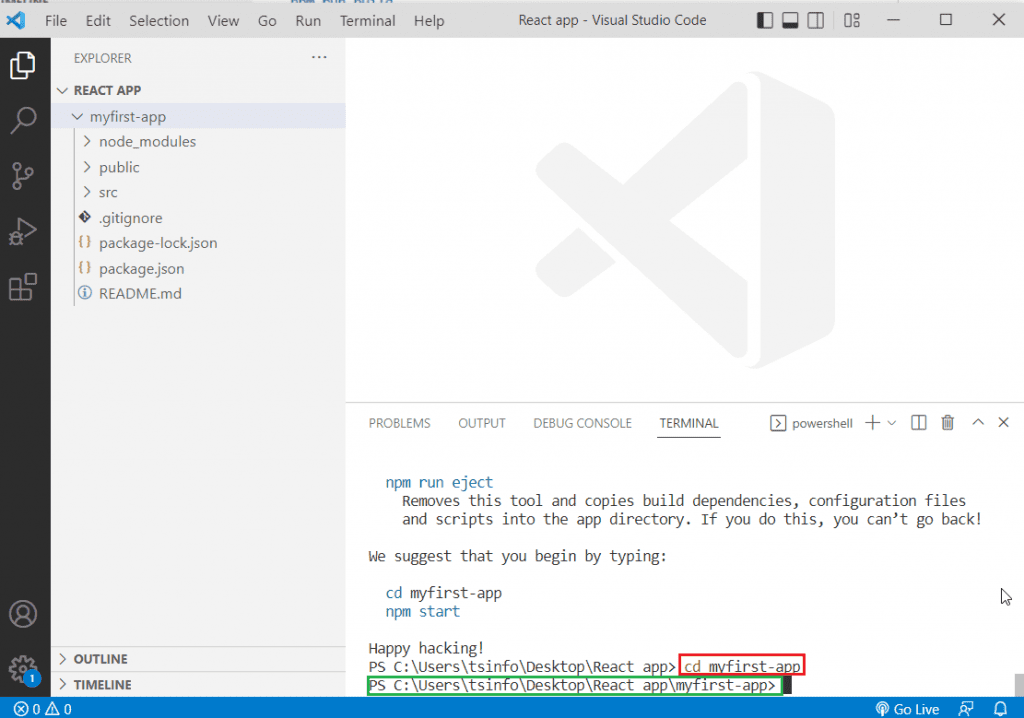
- Now we will start the app by typing the below command:
npm start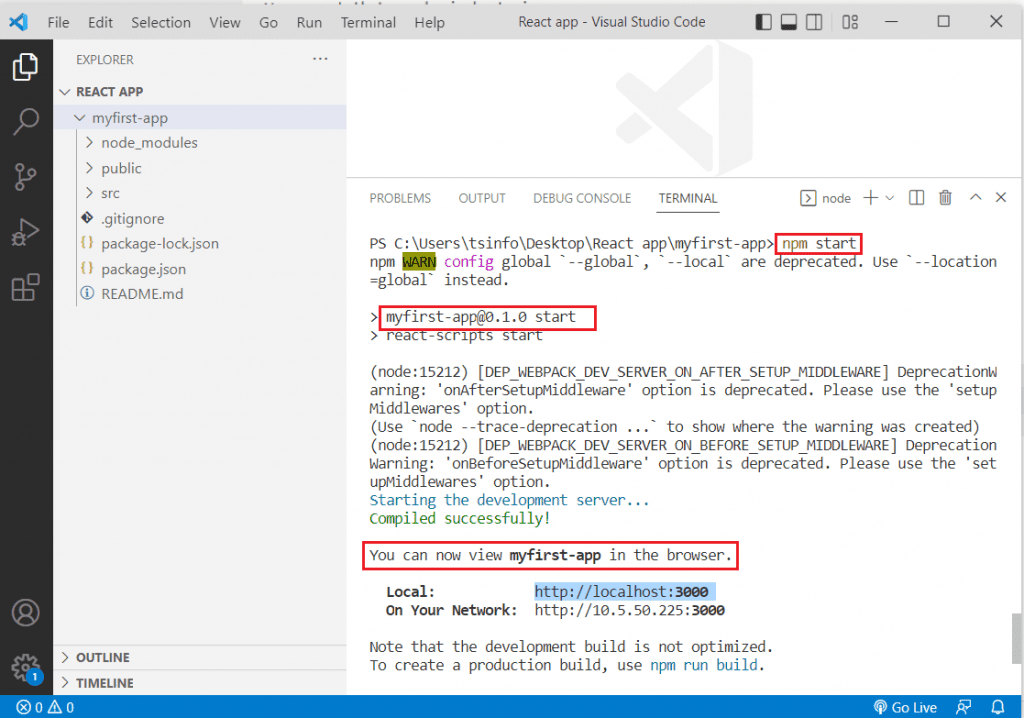
- With the above command, the app gets started and runs the react app ‘myfirst-app’ on the local server (localhost server 3000).
- If the app automatically does not open on your local server then copy the URL ‘http://localhost:3000’ and paste the URL into the browser.
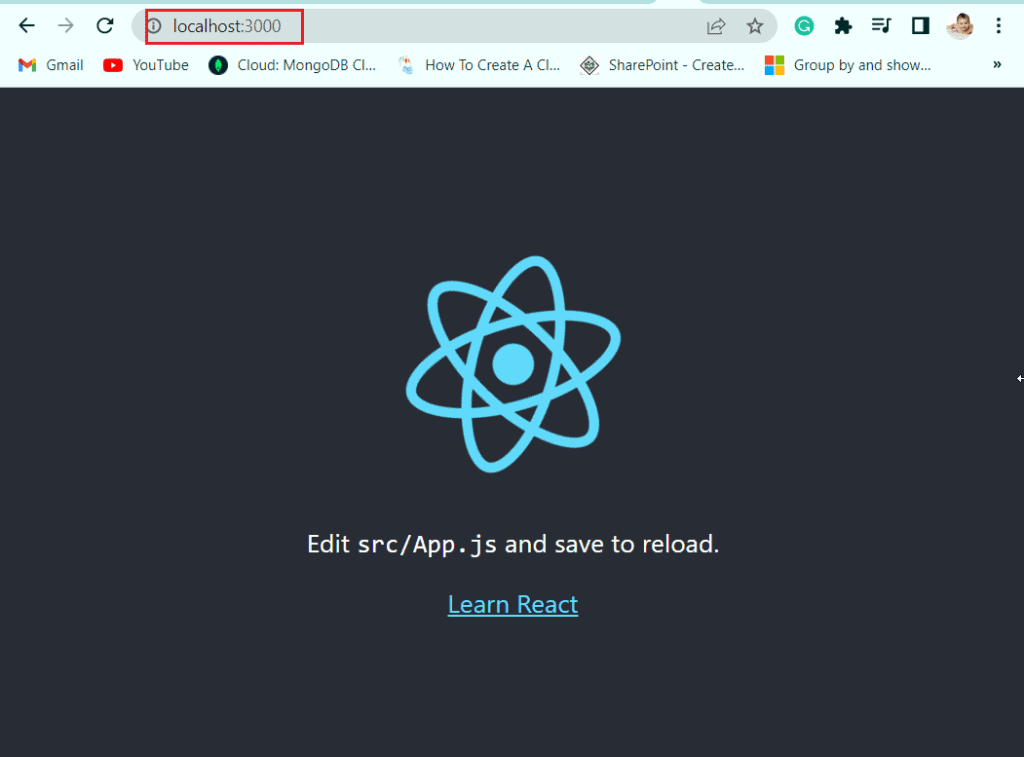
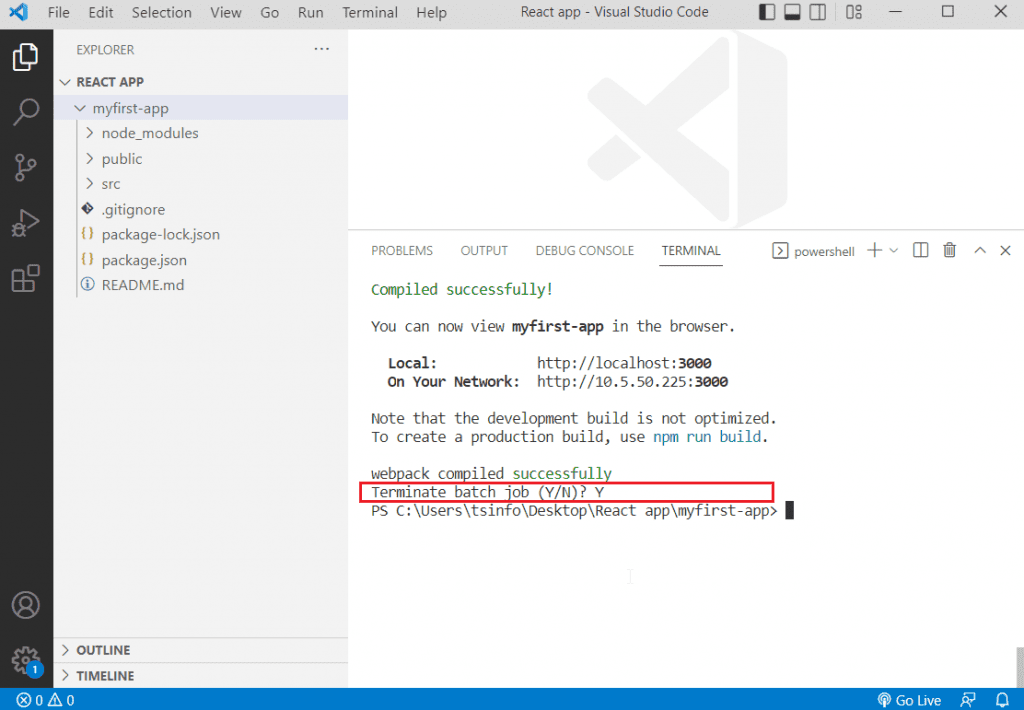
To stop the server from rendering the react application, go to the terminal and simply press Ctrl +C. Then it will ask you ‘ Terminate batch job(Y/N)’, type Y, and the server will stop rendering the application.
Now go to the browser and refresh the page you can see the error, ‘the site cannot be reached’.
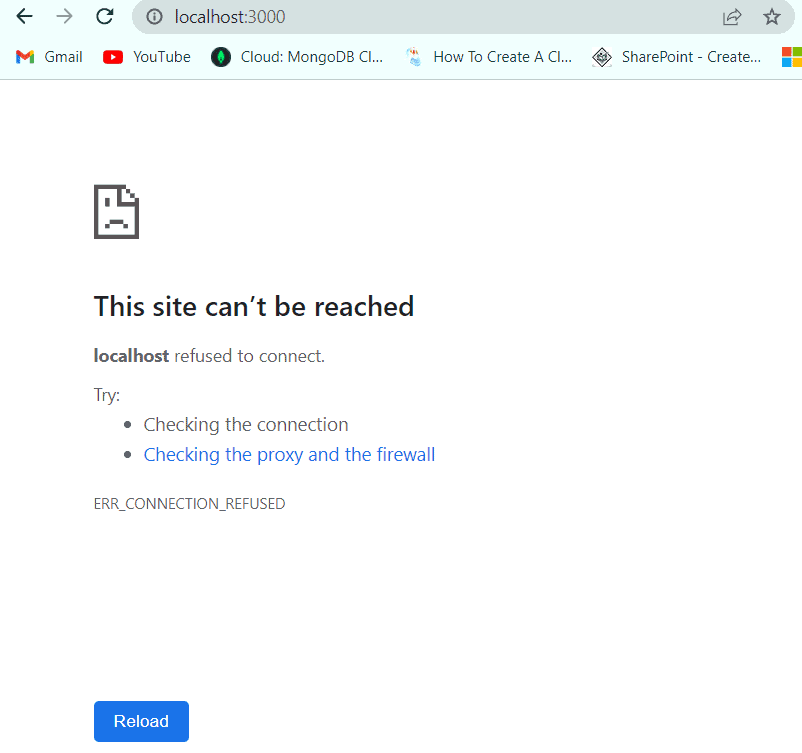
This is how we can set up the react environment and also create, run, and terminate the react app.
Read State in React js
React application structure
Here we will understand the React application structure or project structure.
After running the “npx create react-app myfirst-app” command in VS code, you can see a new folder called ‘myfirst-app‘ created and that contains all our application code. In the VS code left navigation, you can see the Application structure:
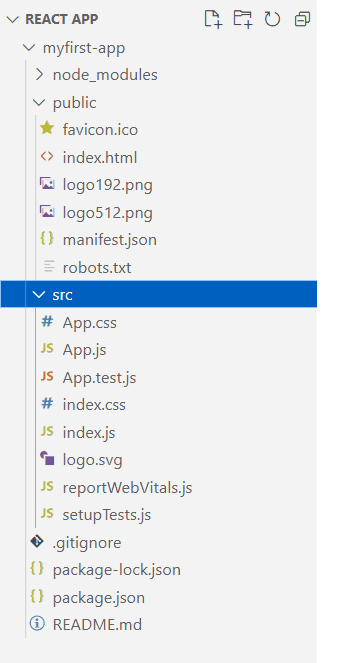
Now we will go through and understand the purpose of each generated file/folder.
- node_modules: In node_modules, you can see all the dependencies and devDependecies required in the React app. These are defined or seen in the package.json file. If we run the command ‘npm -l’, then you will come through almost 800 sub directories. While uploading/publishing the application this directory gets added to the .gitignore, which means it does not get uploaded/published. Once we compress the code for production, react app size should be less than 100 kb
- public directory: All static files are available in this directory. When the app is deployed to production the file in this directory will have the same name. So one can see the client-side and enhance the download time.
- src directory: All dynamic files are available in this directory. To check that on the client-side only the current version is downloaded and not the cached copy. Generally, webpack has the updated files with a unique file name in the final build. Therefore, you can use simple file names like header.png instead of using header-2019-01-01.png. Webpack renames header.png to header.dynamic-hash.png. This unique hash is updated only if header.png changes. In this directory, you can see files like App.js, which is the main JS component, and the corresponding styles will come in the App.css files. In case, we need to add unit tests, you can add them to App. test.js. And index.js is the entry point for react-app.
- Package.json: It has the outline for the overall configuration of react project.
- manifest.json: This JSON file is used to illustrate react apps e.g. On mobile phones if a shortcut is added to the home screen. And when the web application is added to the user’s home screen, the metadata available in the file determines the icon, theme color, names, etc.
- favicon.ico: This is the image icon file by the app/project. It is also connected inside the index.htm and manifest.json.
Read State in React js Hooks
React hello world
Here we will see how to print Hello World in React js.
- To print Hello World using React js, open the App.js file from the src directory.
- Then in the App() write the HTML code ‘<h1> Hello World</h1>’ to print the hello world. Then we will export the component and we will import the code in index.js. In index.js we call the App().
- Below you can see the whole code:
import logo from './logo.svg';
import './App.css';


function App() {
  return (
    <div className="App">
      <h1>Hello World!</h1>
    </div>
  );
}


export default App;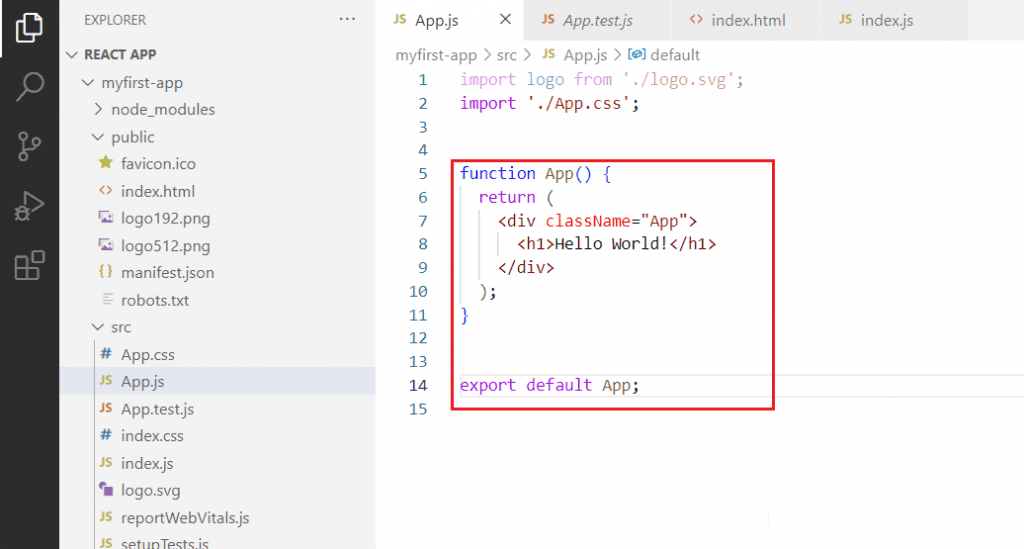
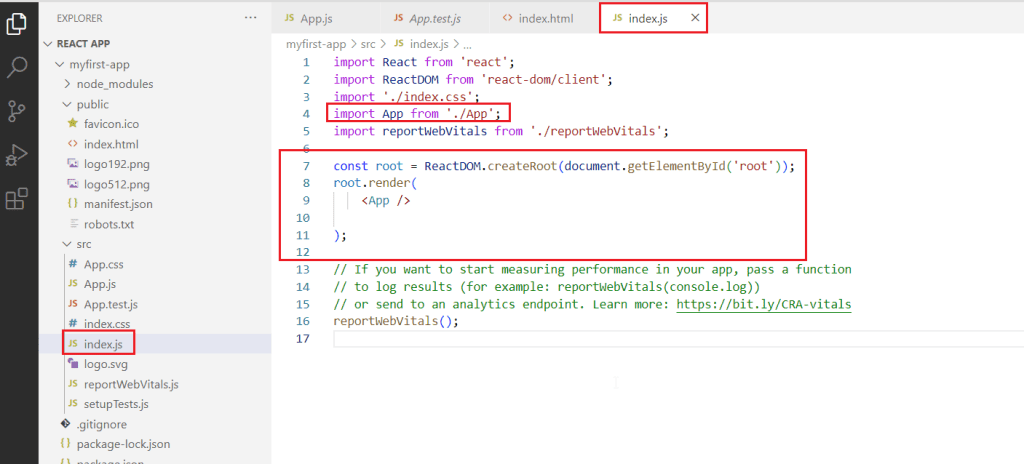
- Once you export the component, open index.js, here we will import the component.
- Then inside the render method call the app(), whereas document.getelementById() will use the reference id root (which is available in the index.html) to return the “Hello World”
- Below you can see the whole code:
import React from 'react';
import ReactDOM from 'react-dom/client';
import './index.css';
import App from './App';
import reportWebVitals from './reportWebVitals';

const root = ReactDOM.createRoot(document.getElementById('root'));
root.render(
    <App />

);
- Now in the VS code terminal run the app using npm start, and if it is running then refresh the browser, you can see Hello World.

This is how we can create a Hello world app in React js.
Also, you may like some below React js tutorials:
- What is react js and react native
- React js form tutorial
- Property welcome does not exist on type ‘JSX.IntrinsicElements’ in SPFx React
Conclusion
In this React js tutorial, we learned about npm and npx, with npx we see how we can setup the react environment, and then we use npm to create and run the first react app.
Then we understand the React application structure and also we saw how to print Hello world using React js.
I am Bijay a Microsoft MVP (10 times – My MVP Profile) in SharePoint and have more than 17 years of expertise in SharePoint Online Office 365, SharePoint subscription edition, and SharePoint 2019/2016/2013. Currently working in my own venture TSInfo Technologies a SharePoint development, consulting, and training company. I also run the popular SharePoint website EnjoySharePoint.com
how can I install react on sharepoint?