Cascading dropdowns are very important in a SharePoint list. In this SharePoint tutorial, I will explain how to use cascading dropdowns in a SharePoint list without using Power Apps. We can do this by using SPServices and jQuery.
You can also check out the cascading dropdown in the SharePoint list using Power Apps.
SharePoint List Cascading Dropdown without PowerApps
Let us see what is SharePoint cascading lookup and what it looks like.
Here, I have 3 SharePoint lists like the below:
- Employee Country
- Employee State
- EmployeeInfo
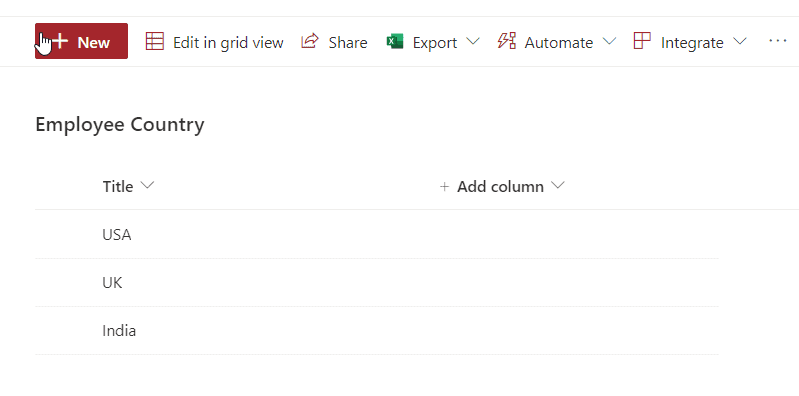
The Employee Country list has one Title column, and the custom list looks like the below:
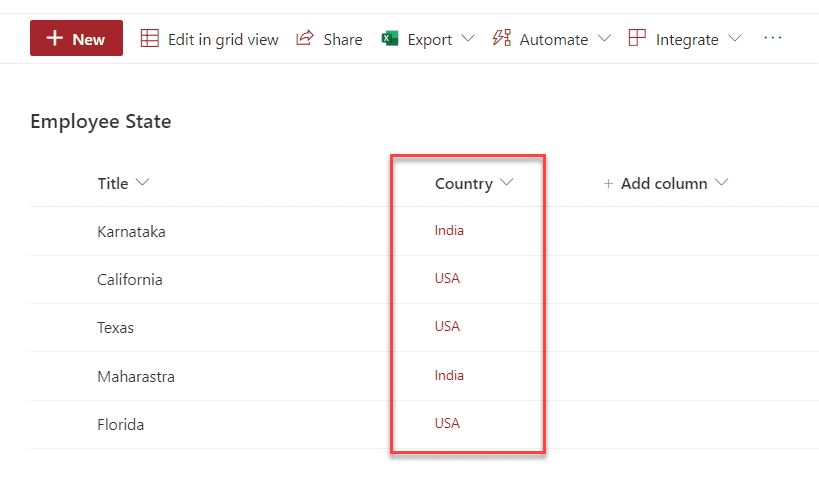
The other list I have created as Employee State which has two columns:
- Title
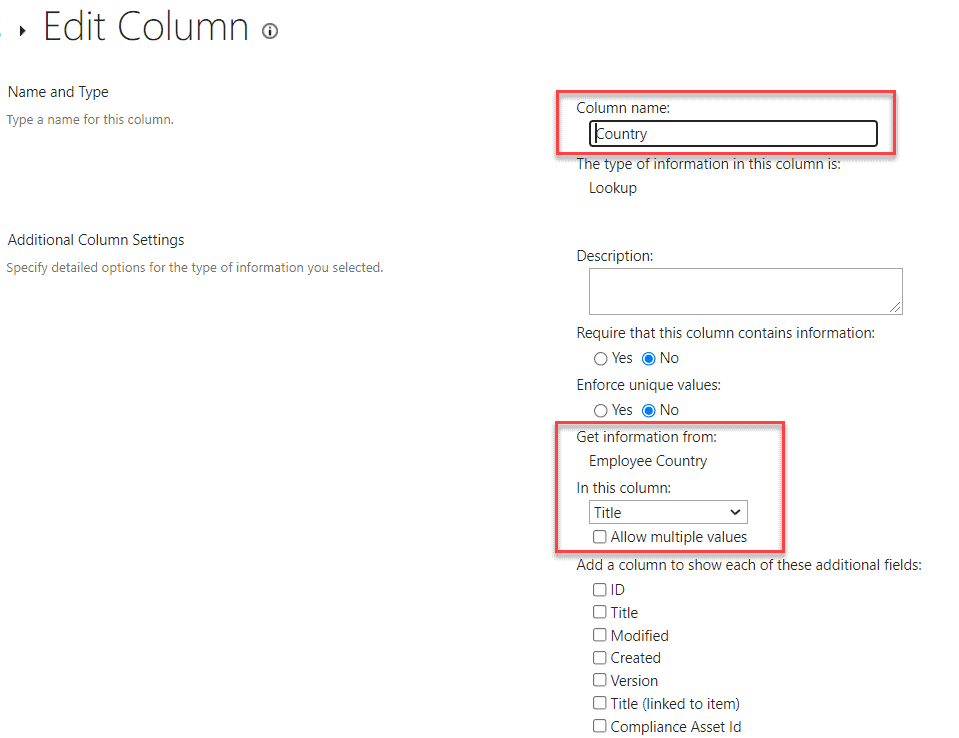
- Country: It is a lookup column in the Employee Country list of the above list.
You can see the lookup column below:
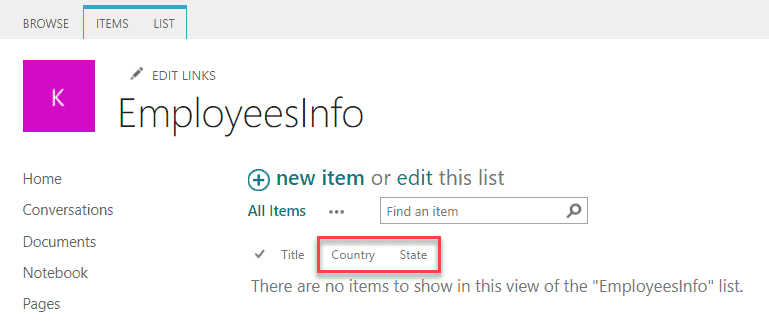
And below is the 3rd list and that is EmployeesInfo. This is a custom list having 3 columns:
- Title
- Country – Lookup column with the Employee Country List
- State – Lookup column with Employee State list.
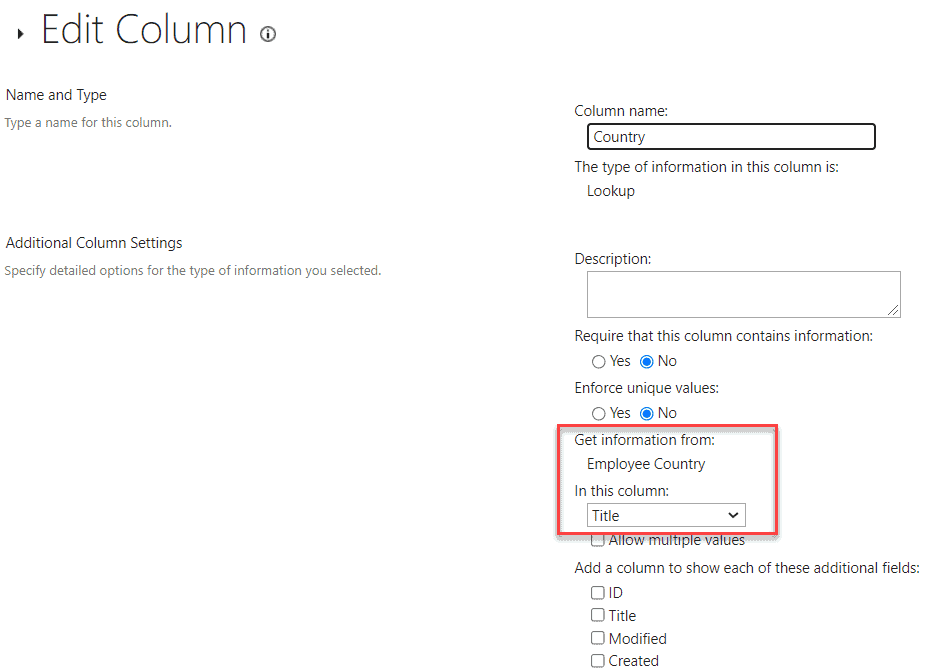
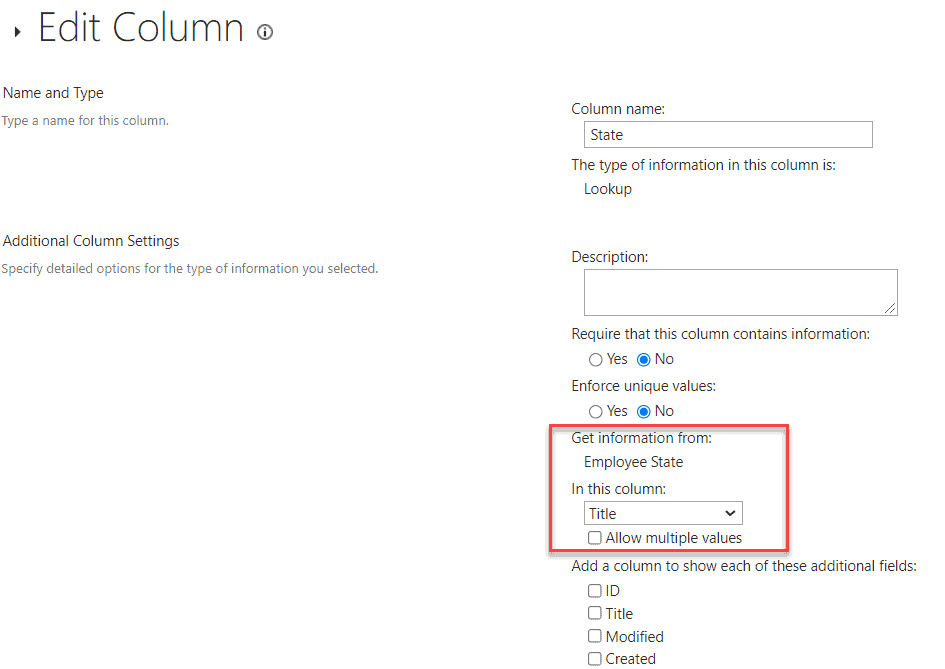
You can see the lookup column settings below:
Here is what the Country lookup column looks like: The information is from the Employee Country (Title) column.
The State lookup column looks like below, and the information is from Employee State (Title column)
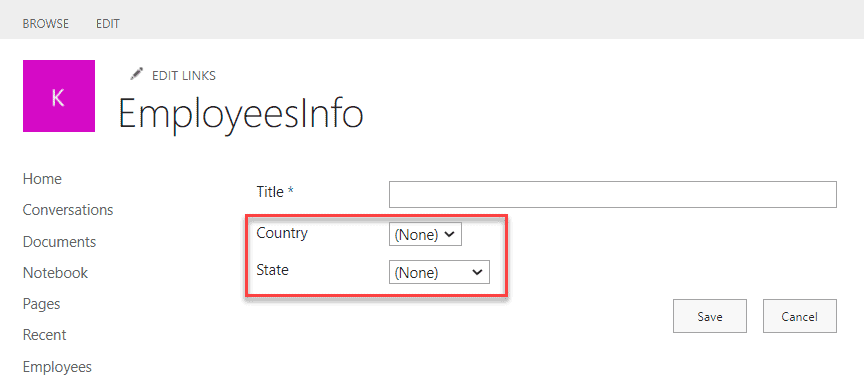
Now, when trying to add an item to the SharePoint list, you can see the Country and State dropdown. By default, when the user selects a Country, the corresponding States are populated.
This is how the SharePoint cascading lookup column works. Let us see how to implement SharePoint cascading lookup.
Now, let us see first how to implement SharePoint cascading lookup using SPServices.
SharePoint List cascading lookup using SPServices
Note: The solution will work in a classic web part page in SharePoint Online or SharePoint on-premises versions. It will not work on a modern SharePoint Online site.
I have also created a complete video tutorial, you can have a look at it below:
Let us now see, step by step, how to implement cascading lookup using SPServices in SharePoint Online. The same method will also work in SharePoint on-premises versions.
- Open the SharePoint Online list. From the ribbon, click on the LIST tab, then on Form Web Parts -> Default New Form. Since I want to implement it in a New form, I chose Default New Form. If you want to edit it, then choose Default Edit Form.

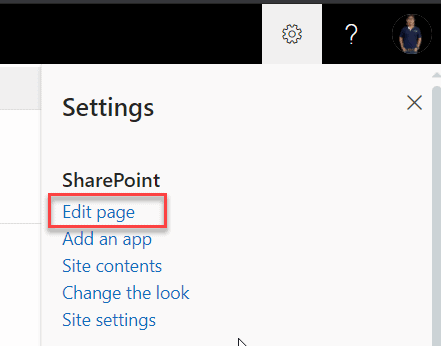
- In the Default New Form, Click on the Settings icon -> Edit page like below:
- This will open the page in edit mode. Here, click on Add a Web Part, Choose the Media and Content web part categories, and then select the Script Editor web part.
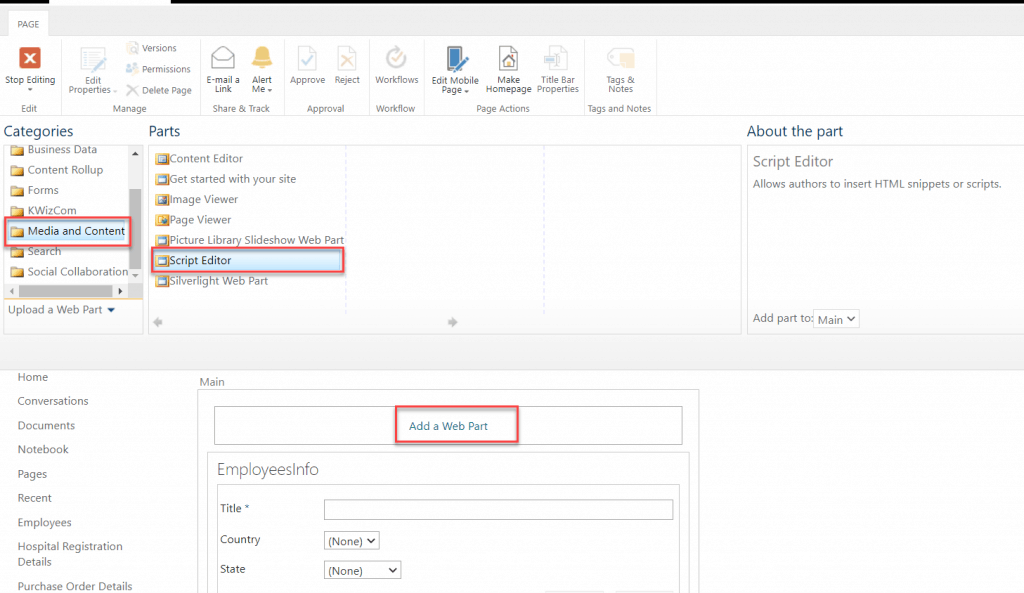
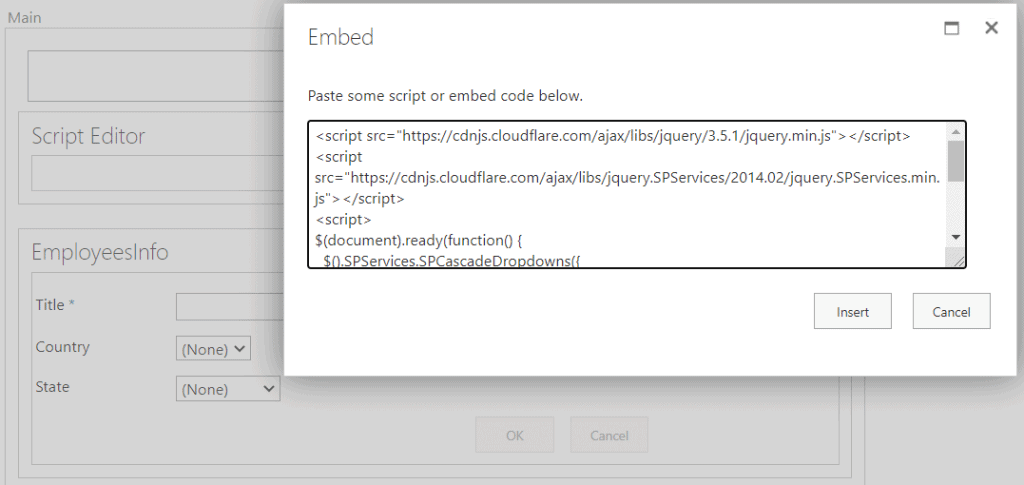
In the script editor web part, click on Edit Snippet and add the code below.
<script src="https://cdnjs.cloudflare.com/ajax/libs/jquery/3.5.1/jquery.min.js"></script>
<script src="https://cdnjs.cloudflare.com/ajax/libs/jquery.SPServices/2014.02/jquery.SPServices.min.js"></script>
<script>
$(document).ready(function() {
  $().SPServices.SPCascadeDropdowns({
   relationshipList: "Employee State",
   relationshipListParentColumn: "Country",
   relationshipListChildColumn: "Title",
   parentColumn: "Country",
   childColumn: "State"
  });
 });
 </script>
Here, we need to refer to the jQuery and the SPServices file like above.
- relationshipList: This is the Employee State, which contains the State and Country names.
- relationshipListParentColumn: This is the filter column name from the Employee State list.
- relationshipListChildColumn: This is the Title of the Employee State list.
- parentColumn: This is a Country column in the EmployeesInfo list
- childColumn: This is the State column in the EmployeesInfo list
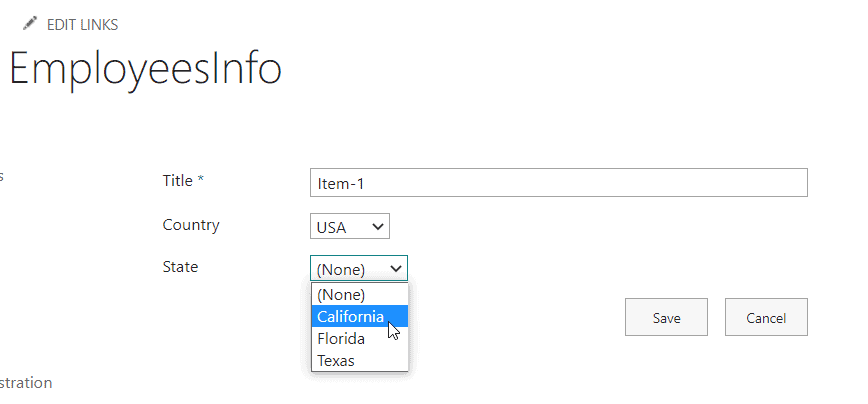
Now, once you Save the code and click on + add new item, you can see that the sharepoint cascading lookup will work as expected.
Here, you can see that if I select the Country as the USA, the corresponding states populate the State dropdown.
If I select any other Country, it will auto-populate corresponding states like below:
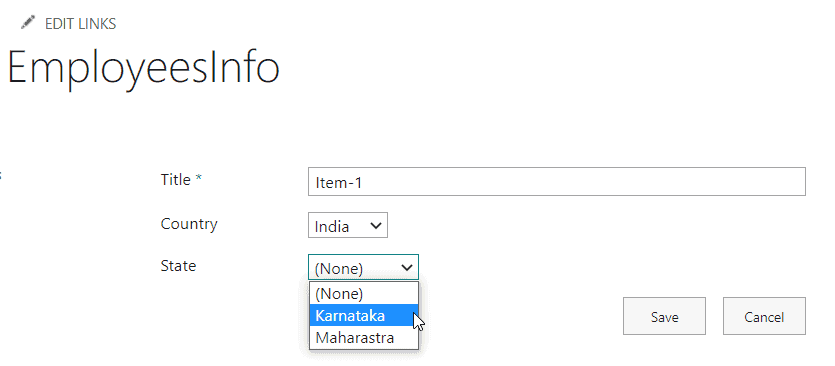
This is how to implement sharepoint cascading lookup using SPServices.
Cascading dropdown in SharePoint List using jQuery
Now, let us see how to implement a cascading dropdown in SharePoint on-premises or SharePoint Online using jQuery.
Here, I have a SharePoint list known as Cities. It has a State column, which is a lookup column from the State list. My requirement is that when a user selects a State from the state dropdown list, corresponding cities should populate in another dropdown list.
We will see how to do this cascading dropdown in SharePoint using jQuery or JavaScript.
Here, follow the example step by step.
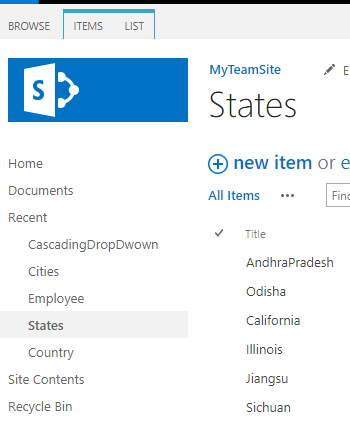
- Below is the States List, which has a few states added already to the SharePoint Online site.
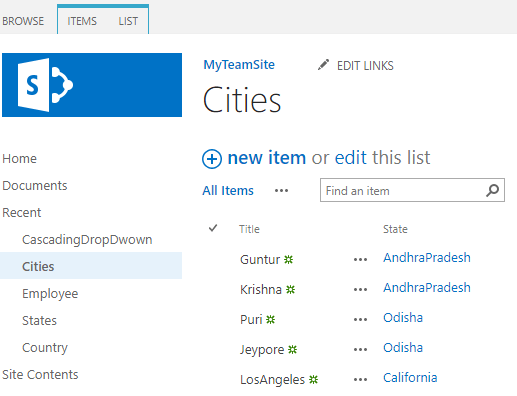
- Below is the Cities list, which has a State a lookup column.
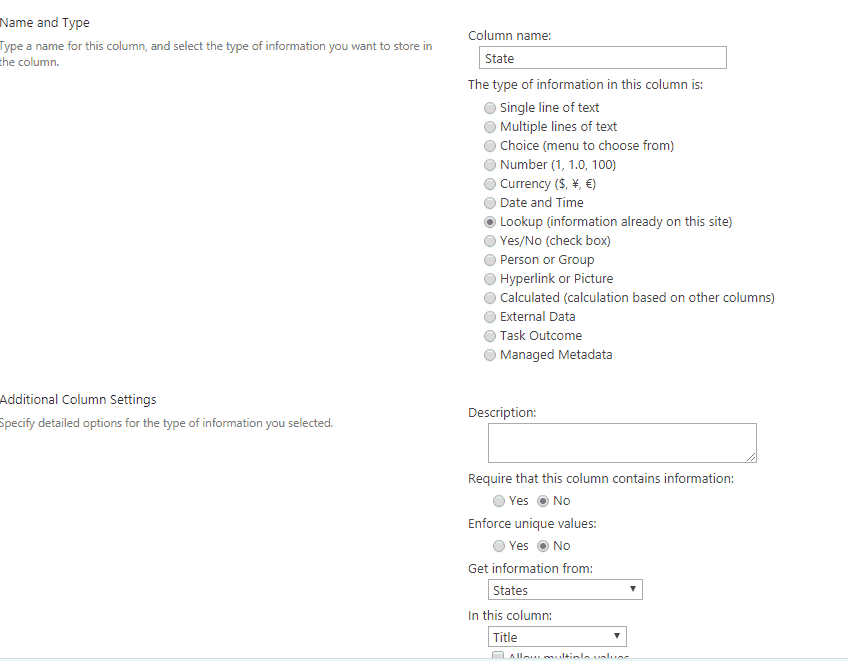
Below is how to Create a State column in the Cities list as a Lookup.
- From the ribbon, click Create Column and then give the name for the column as State. Choose the data type as Lookup. Select list from -> Get Information From States (Parent list)where we can get list items and Next select Column -> go to In This Column: Title

- Now, Create a third list Where you want to implement cascading dropdown, in my case, I created list, CascadingDropDown as shown below.
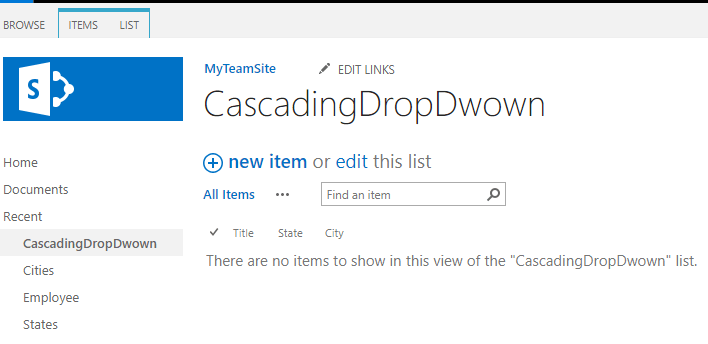
- Create a State and City as Lookup Columns.

- Download the jquery-3.3.1.min.js by Jquery.com from the below link https://code.jquery.com/jquery-3.3.1.min.js
Upload the JQuery file in your SharePoint Document Library. Find the Highlighted jQuery library file.
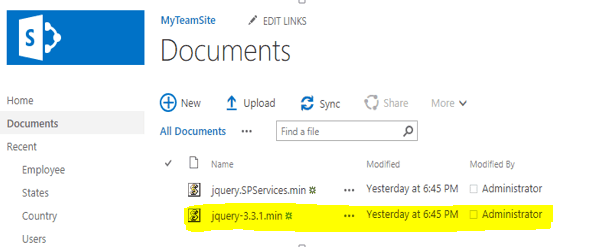
- Copy the URL and place it in Seatle.master page of Master Pages in SharePoint Designer. Follow the screenshots below on how and where to add the url to the Seatle.master page.
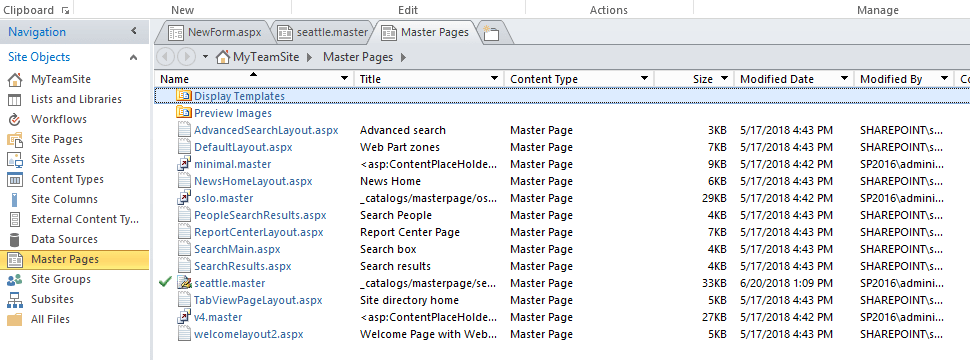
Click on the master page, and next go to Seatle.master page, click on it. Next, Go to the Customization tab, under Links to file, customization tools, click on Edit file.
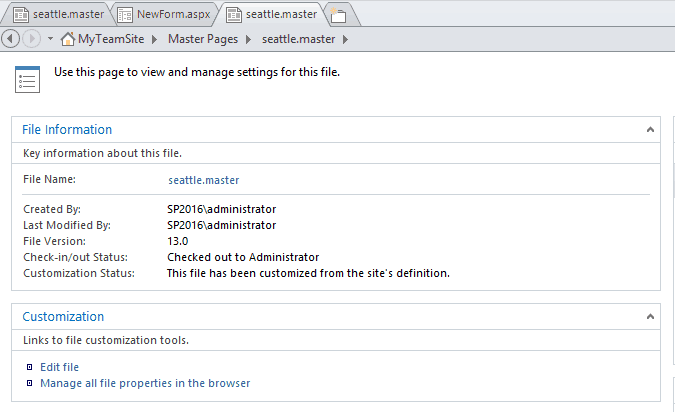
Copy the URLs and paste it in Seattle.master page.as shown below and save it.
<script type="text/javascript" src="/sites/MyTeamSite/Shared%20Documents/jquery-3.3.1.min.js"></script>
- Copy and Paste this code in your js file. I have given file name as JQueryCscDD.js. Here is the Script for SharePoint.
<script type=”text/javascript”>
$(document).ready(function() {
CascadingDropDown({
parentFormField: “State”,
childList: “Cities”,
childLookupField: “Title”,
childFormField: “City”,
parentFieldInChildList: “State”
});
});
function CascadingDropDown(params)
{
var parent = $(“select[Title='”+params.parentFormField+”‘], select[Title='”+
params.parentFormField+” Required Field’]”);
$(parent).change(function(){
JQCascadingDropDown(this.value,params);
});
var currentParent = $(parent).val();
if (currentParent != 0)
{
JQCascadingDropDown(currentParent,params);
}
}
function JQCascadingDropDown(parentID,params)
{
var child = $(“select[Title='”+params.childFormField+”‘], select[Title='”+
params.childFormField+” Required Field’],” +
“select[Title='”+params.childFormField+” possible values’]”);
$(child).empty();
var options = “”;
var call = $.ajax({
url: _spPageContextInfo.webAbsoluteUrl + “/_api/Web/Lists/GetByTitle(‘”+params.childList+
“‘)/items?$select=Id,”+params.childLookupField+”,”+params.parentFieldInChildList+
“/Id&$expand=”+params.parentFieldInChildList+”/Id&$filter=”+params.parentFieldInChildList+
“/Id eq “+ parentID,
type: “GET”,
dataType: “json”,
headers: {
Accept: “application/json;odata=verbose”
}
});
call.done(function (data,textStatus, jqXHR){
for (index in data.d.results)
{
options += “<option value='”+ data.d.results[index].Id +”‘>”+
data.d.results[index][params.childLookupField]+”</option>”;
}
$(child).append(options);
});
call.fail(function (jqXHR,textStatus,errorThrown){
alert(“Error retrieving information from list: ” + params.childList + jqXHR.responseText);
$(child).append(options);
});
}
</script>- Upload the JQuery file into your SiteAssets. Follow the screenshots below. Go to Settings -> click on Site Contents
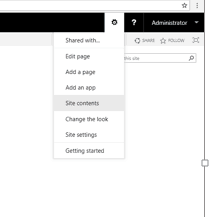
- On the Site Contents page -> go to the Site Assets document library.
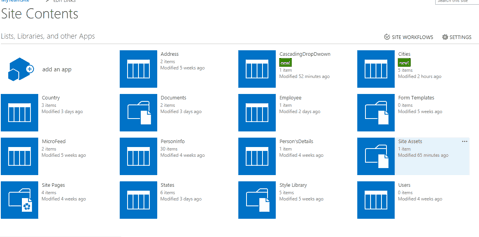
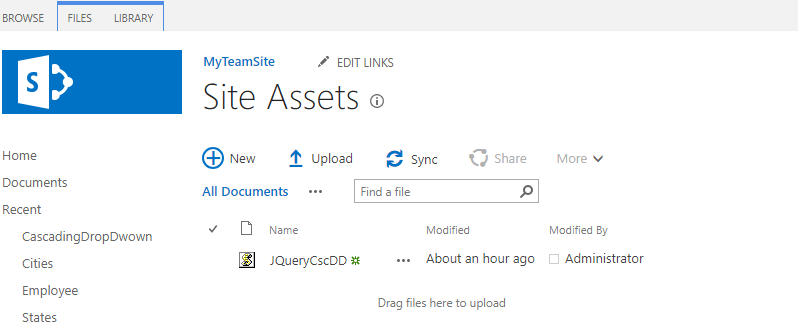
- Upload js file in Site Asset Library in SharePoint site.
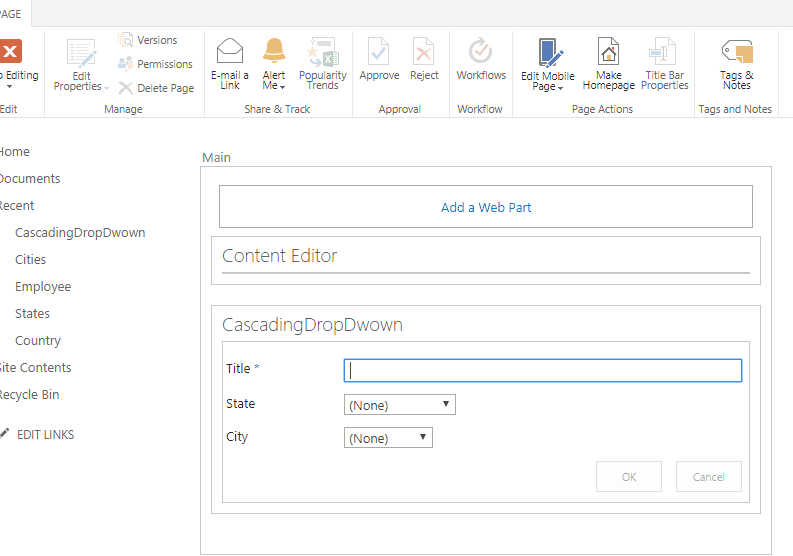
- Go to the Third list we created as the CascadingDropDown list -> go to the list tab -> Select Default New Form under FormWebParts

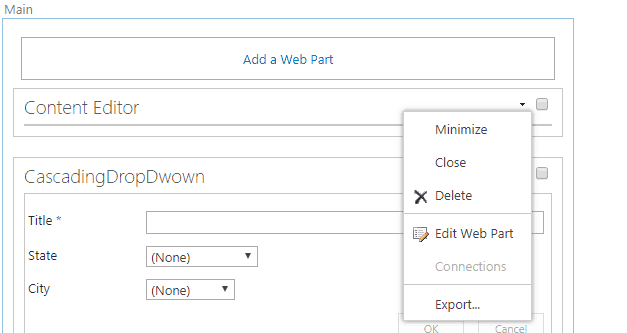
- Click on Default New Form and next click on Add WebPart. Select Content Editor Web Part From Media And Content WebPart under Categories as shown below.

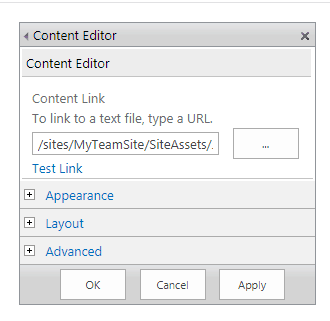
- Next, Click on Edit Web Part from the content web part, and there, add the URL of the js file from Aite Assets, and click on the ok button.
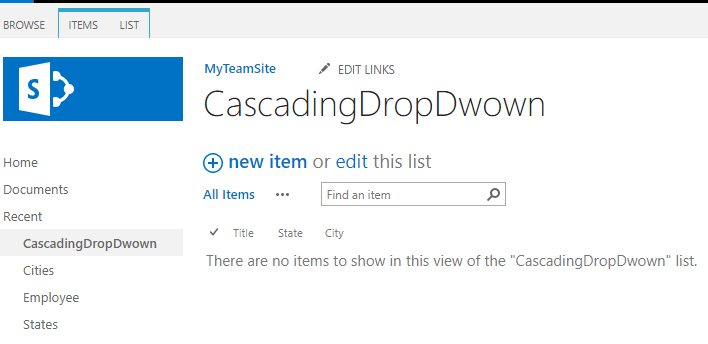
- Go to the CascadingDropDown list, Click on New Item.
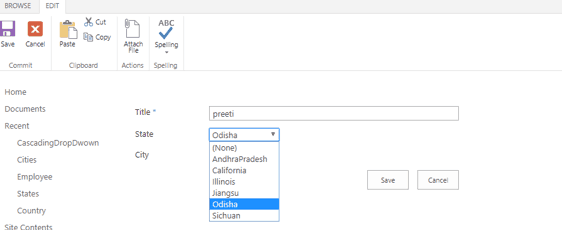
- Now enter the title and Select State from the drop-down.
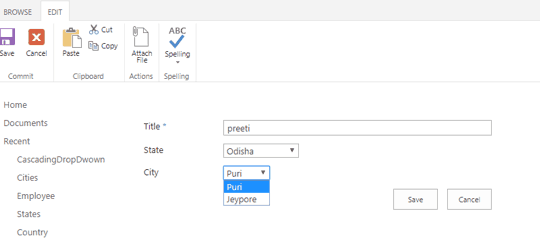
- Now, it only displays the Cities as shown below. Next, click on save.
- See the selected Items added to the List.
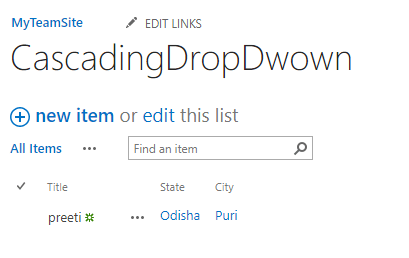
This is how to implement the cascading dropdown in SharePoint using jQuery.
Conclusion
In this SharePoint tutorial, I have explained about the SharePoint list cascading dropdown without PowerApps. We saw how to implement the cascading dropdown in a SharePoint list using SPServices and jQuery.
You may also like:
- SharePoint Site Left Navigation or Quick Launch
- How to Share SharePoint Site with External Users?
- SharePoint Site Regional Settings
- SharePoint List Form Formatting JSON Examples
- Customize SharePoint List Forms with Power Apps
- How to Get Last Item ID in SharePoint List Based on Current User in Power Apps?
I am Bijay a Microsoft MVP (10 times – My MVP Profile) in SharePoint and have more than 17 years of expertise in SharePoint Online Office 365, SharePoint subscription edition, and SharePoint 2019/2016/2013. Currently working in my own venture TSInfo Technologies a SharePoint development, consulting, and training company. I also run the popular SharePoint website EnjoySharePoint.com
Hi there,
Great tutorial, thank you very much, I just have a question, I followed your steps for “SharePoint cascading lookup using SPServices” it did work in a test form a created, it was basically just two colums, the thing is that I need to create the cascading drop downs in a large form but it didn’t work, my guess is: the form has a tabify js script to divide into tabs and it seems like it only allow 1 js script per form, am I right? This was actually my first form so I’m pretty new on this. I think I’m using SP 2016 classic ver