Recently, I worked on the Power Apps loading spinner control, which provides feedback to users during data retrieval, processing, or any other time-consuming tasks within your app.
In this Power Apps tutorial, I will explain the PowerApps Loading Spinner and how to use a loading spinner in PowerApps with examples. Also, we will cover:
- Power Apps loading spinner property
- Power Apps spinner gif
- Power Apps gallery loading spinner
- Power Apps loading spinner data vs controls
Power Apps Loading Spinner
Power Apps loading spinner, also known as a loading indicator or spinner animation, is a visual element often used in Power Apps applications to indicate to users that the application is processing a request or loading content.
These spinners can help improve user experience by providing visual feedback that the app is working on their request and the frustration associated with waiting times.
Similarly, in the Power Apps, if the app’s loading data is slow and you want to add a spinner to optimize the delay time, this is known as the Power Apps Loading Spinner.
If you set the loading spinner property to data, it will appear with a loading spinner whenever a user opens the screen.

Power Apps Loading Spinner Property
Next, I will show the Power Apps loading spinner properties. Have a look at the below table.
| Property | Description |
| AccesssibilityLabel | Screen readers will audibly present this string upon user selection of the control |
| Appearance | We can choose a spinner style, either “Primary” or “Inverted” |
| Height | It specifies the control’s height from top to bottom |
| Label | This property is used to specify the text beside the spinner |
| LabelPosition | It is related to the position of the spinner [Above, After, Below, Before] |
| SpinnerSize | We can specify the size of the spinner [Tiny, Small, Medium, Huge, etc.] |
| Width | It specifies the control’s width from the left side to the right side |
Different Ways to Create Power Apps Loading Spinner
There are two ways by using you can create the loading spinner in the PowerApps. Such as:
- Automated Way
- Manually Setting Spinner
1. Automated Way:
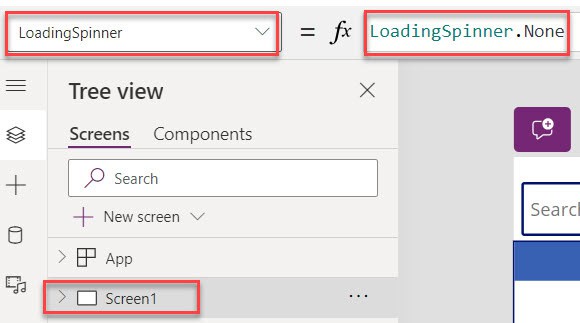
On the Power Apps screen, there will be an Advanced tab property called Loading Spinner. By default, it is set to LoadingSpinner.None before you change its value to Data or Controls.
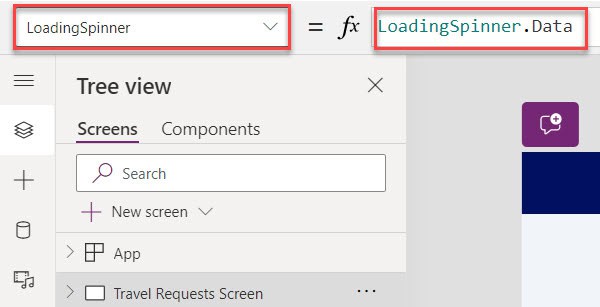
When you change the loading spinner to Data, the screen will open, the data will come in, and the loading spinner will easily understand what is going on.
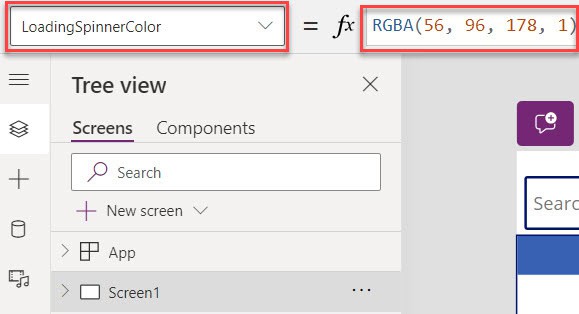
Also, the screen’s dropdown list has a LoadingSpinnerColor property that helps to set the color of the loading spinner.
2. Manually Setting Spinner:
In this manual technique, a Power Apps user can import an image for the loading spinner by searching the Internet or from a free site like loading.io.
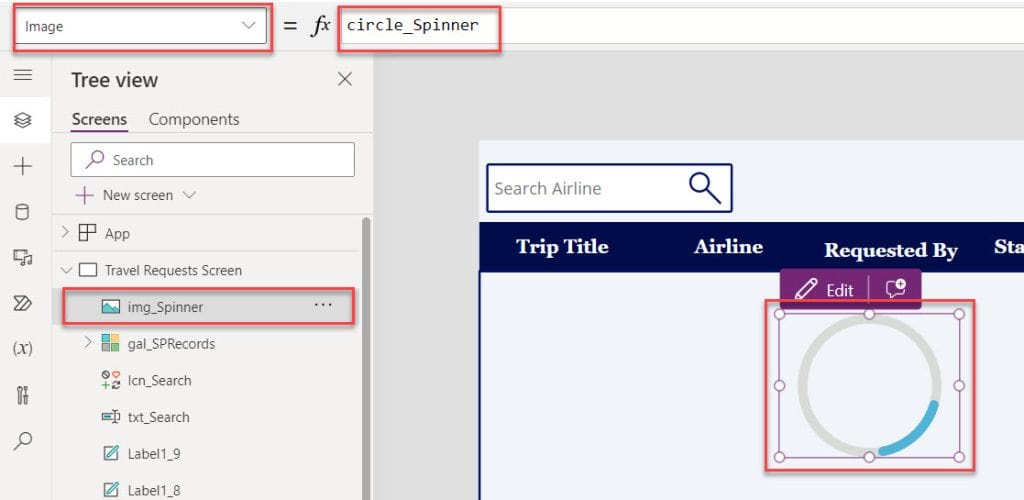
Search the Website as Loading.io and download the icon as per your choice. Some icons are free from there and some of them are paid.
Before downloading any icons from the site, you can see the preview, which allows you to choose a color scheme. Power Apps users can customize the spinner and download its speed and size.
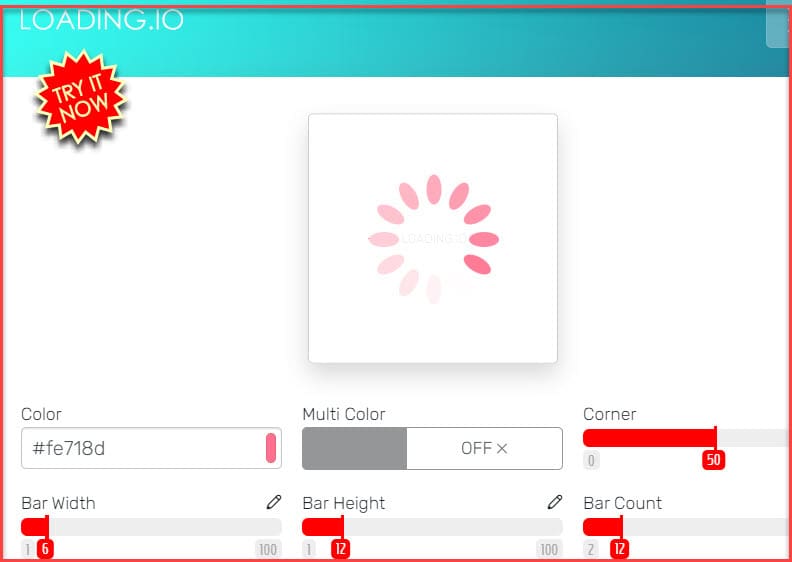
To show and hide the images on different screens, this method will help you because this method has a full control overload spinner.
There are two ways to add a loading spinner control in Power Apps.
Power Apps Loading Spinner GIF
To create a Power Apps loading spinner gif, follow the below steps.
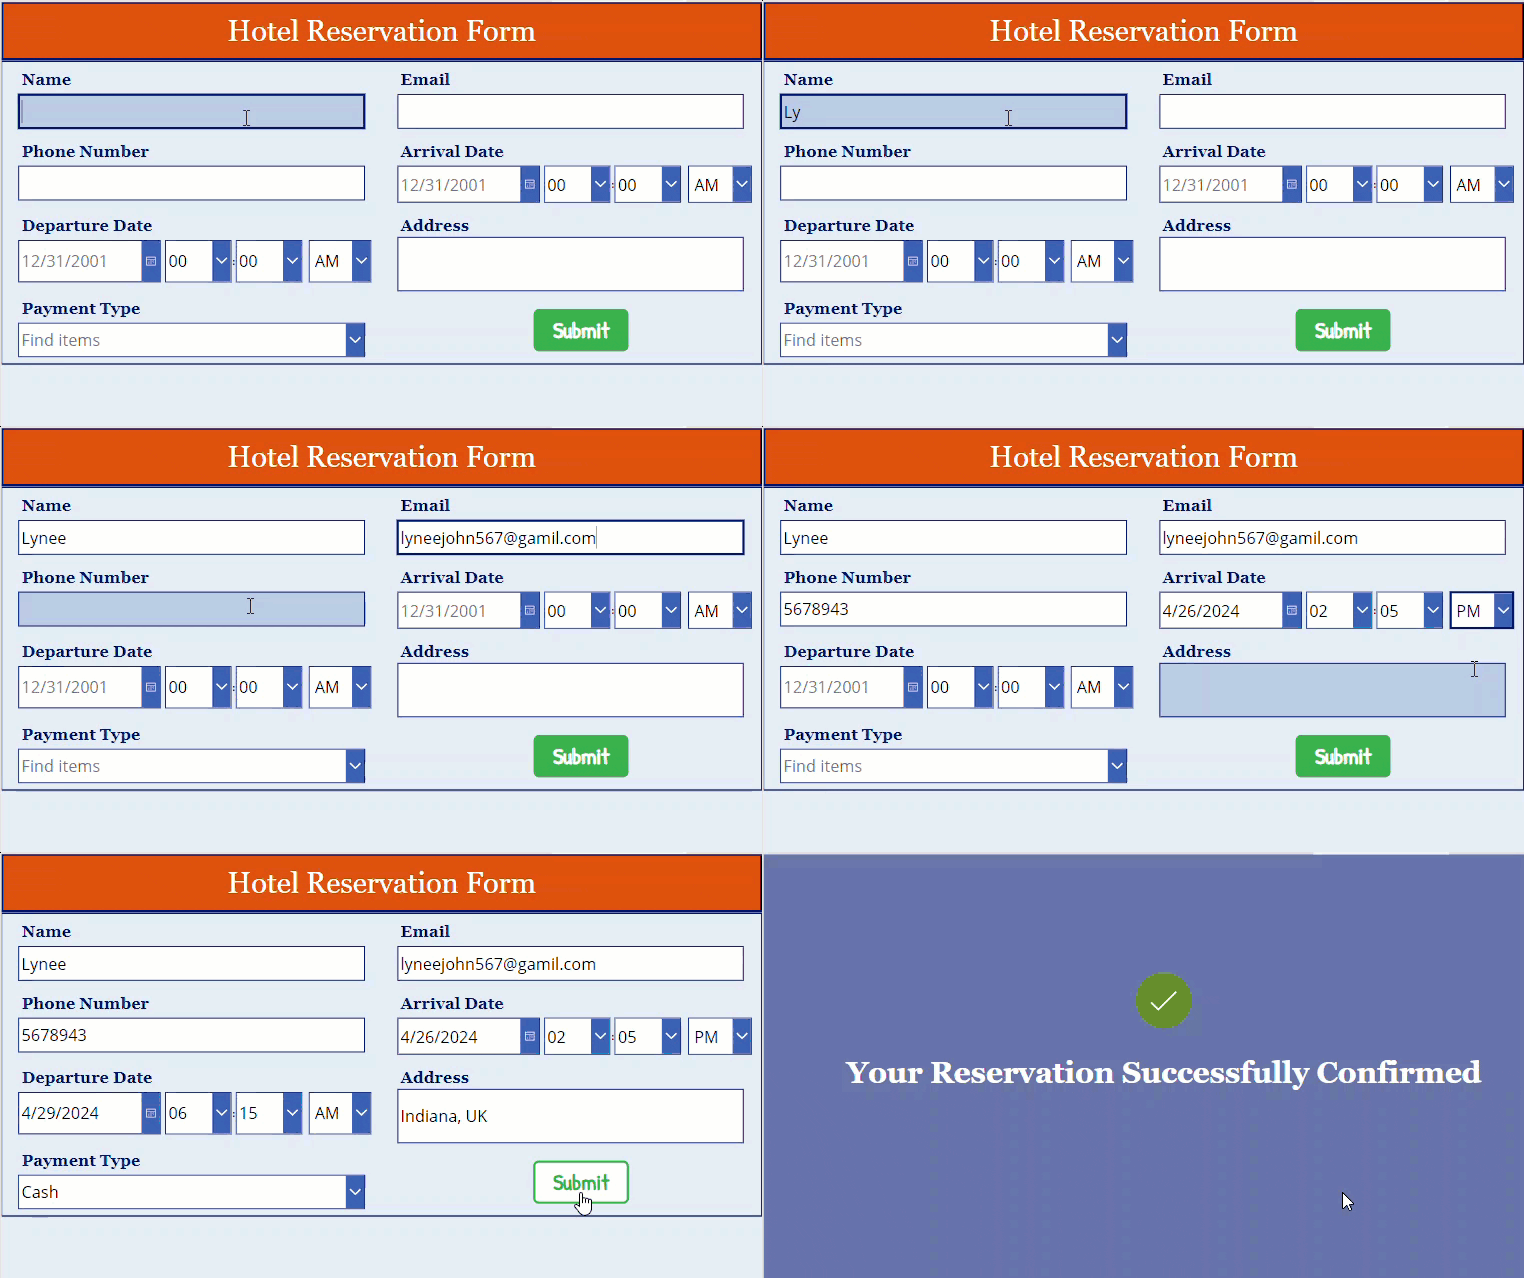
1. In Power Apps, I have an Edit form control named “Hotel Reservation Form,” an Image control that contains a loading spinner gif, and a Button control.
2. Whenever the user provides the new record in the form and selects the button control, the loading spinner will appear until the submission of a new record is completed, and it will navigate to the success screen.
Output:
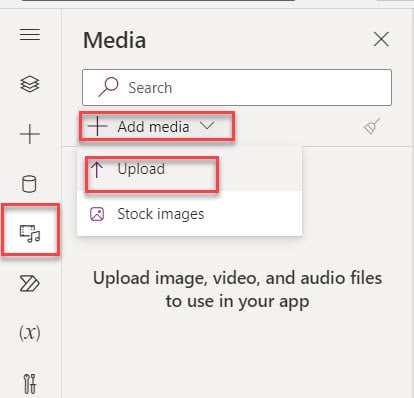
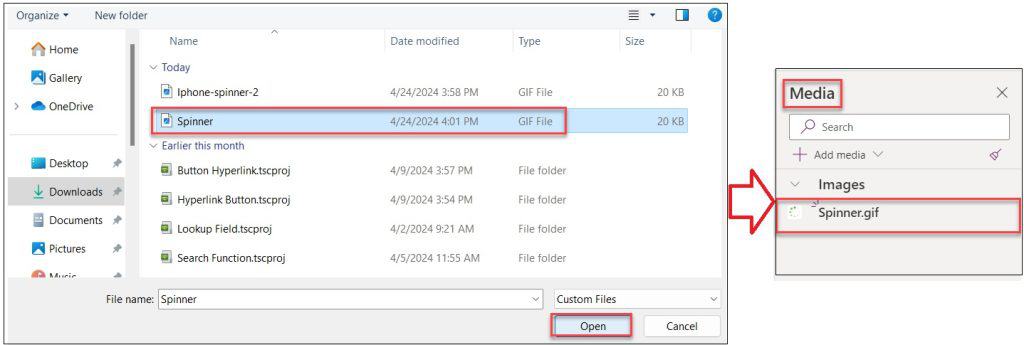
3. To do so, open the Power Apps app and go to the Media section. Expand the + Add media dropdown and select the Upload option to select the spinner gif file from your local device.
4. Once you add the specific loading spinner file into the Power Apps, it will appear under the Media section.
5. Now, select the specific screen where you want to add the loading spinner. Insert a Rectangle control and make it Fill property as “White” color.
Fill = RGBA(227, 234, 243, 1) //You can also chage color code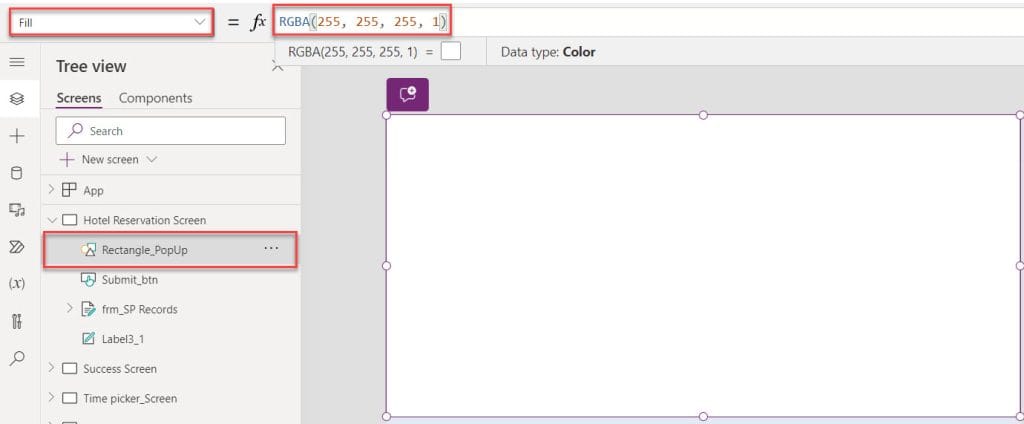
6. Then, select the uploaded loading spinner to add on the screen [You can change the position where you need].
Image = Spinner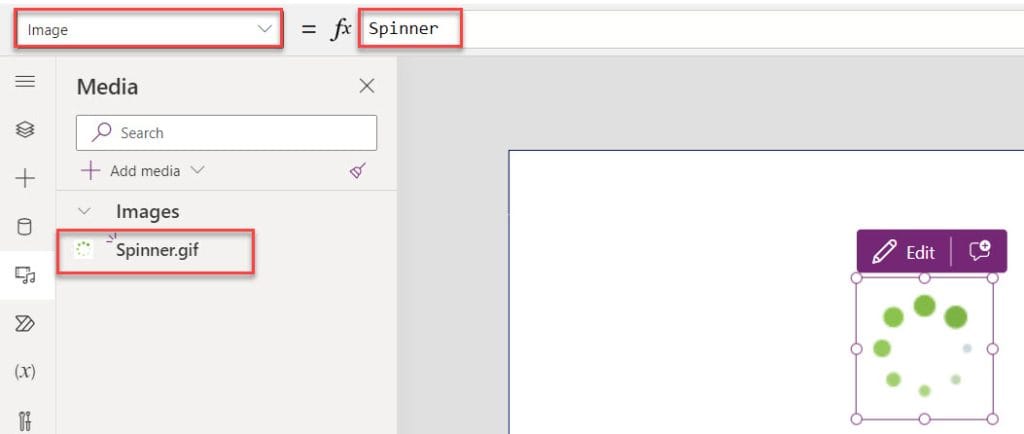
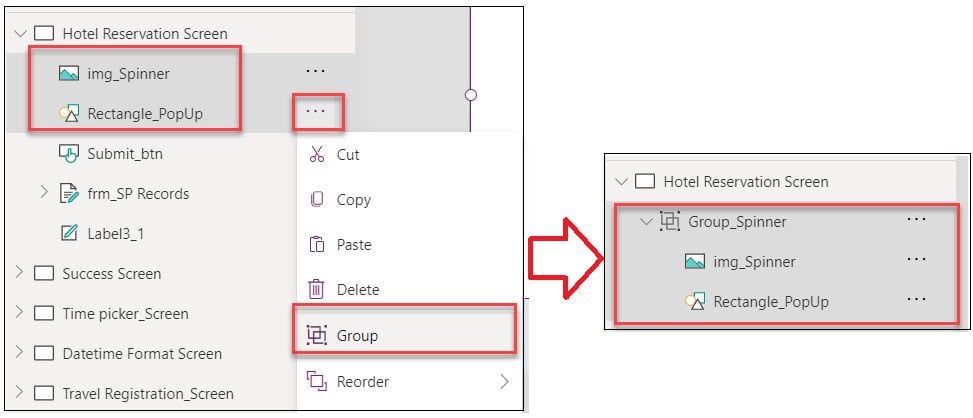
7. Also, group [Select two controls > Ellipses (…) > Group] the Rectangle and Image control that contains the loading spinner, as shown below.
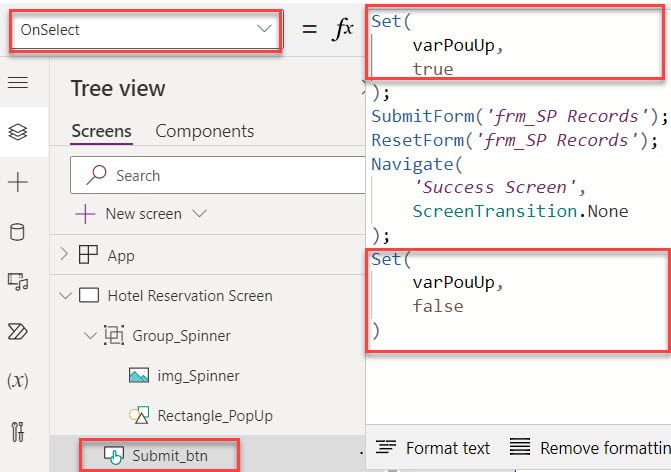
8. Now, select the Button control to create the variable and set its OnSelect property to the code below.
OnSelect = Set(
    varPouUp,
    true
);
SubmitForm('frm_SP Records');
ResetForm('frm_SP Records');
Navigate(
    'Success Screen',
    ScreenTransition.None
);
Set(
    varPouUp,
    false
)
Where,
- varPouUp = Power Apps variable name
- ‘frm_SP Records’ = Edit form control name
- ‘Success Screen’ = Second screen name
9. Finally, select the group [Group_Spinner] and set its Visible property as:
Visible = varPouUp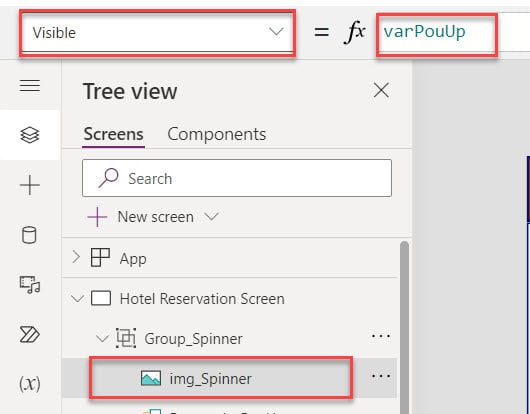
10. Once your app is ready, Save, Publish, and Preview the app. Whenever the user provides the new record in the form and selects the button control, click on this button, then a loading spinner will appear for some time, and it will navigate to the second screen.
This way, you can work with the Power Apps loading spinner gif.

Power Apps Gallery Loading Spinner
In this example, I will discuss how to work with the Power Apps gallery loading spinner.
I have a SharePoint Online list named “Travel Requests,” and this list contains the below fields.
| Column Name | Data Type |
| Trip Title | It is a default single line of text column |
| Airline | Choice |
| Requested By | Person or Group |
| Start Date | Date and time |
| End date | Date and time |
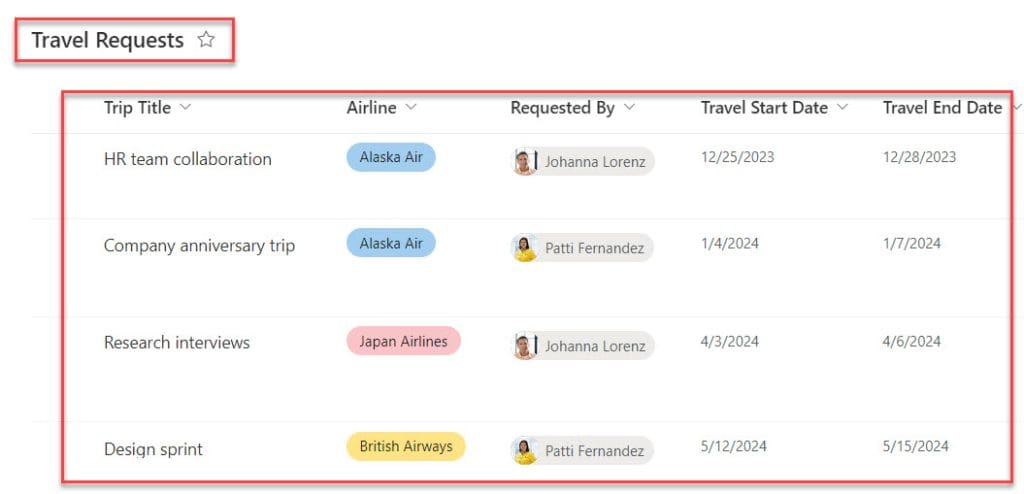
In Power Apps, there is a Gallery control and a Display form control. When the user selects any record from the gallery control, it will be displayed on the display form on the next screen.
Also, remember that the display form screen does not appear immediately because the selected record takes time to load. In this case, we can use a loading spinner.
To achieve it, follow the below steps. Such as:
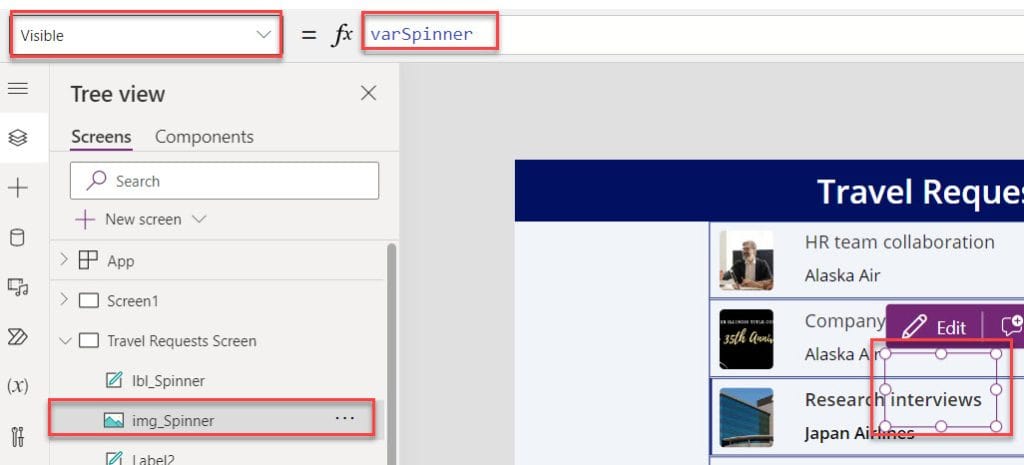
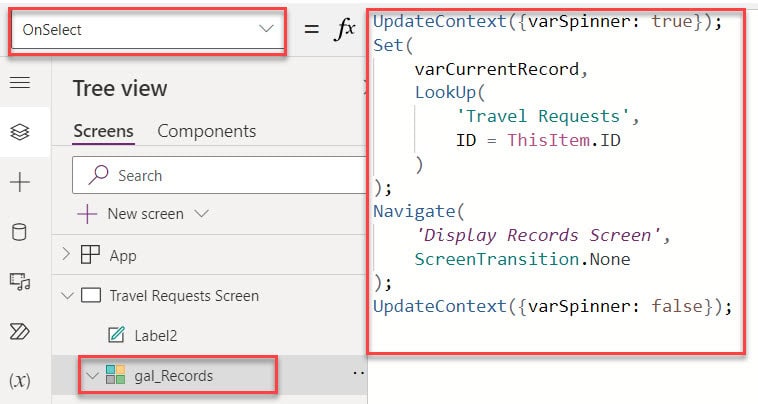
1. On the Power Apps screen, select the Gallery control and set its OnSelect property as:
OnSelect = UpdateContext({varSpinner: true});
Set(
    varCurrentRecord,
    LookUp(
        'Travel Requests',
        ID = ThisItem.ID
    )
);
Navigate(
    'Display Records Screen',
    ScreenTransition.None
);
UpdateContext({varSpinner: false});
Where,
- varSpinner = Power Apps variable name
- ‘Travel Requests’ = SharePoint Online list
- ‘Display Records Screen’ = Power Apps Second screen
2. Now, add the Loading Spinner to the gallery screen and set its Visible property as:
Visible = varSpinner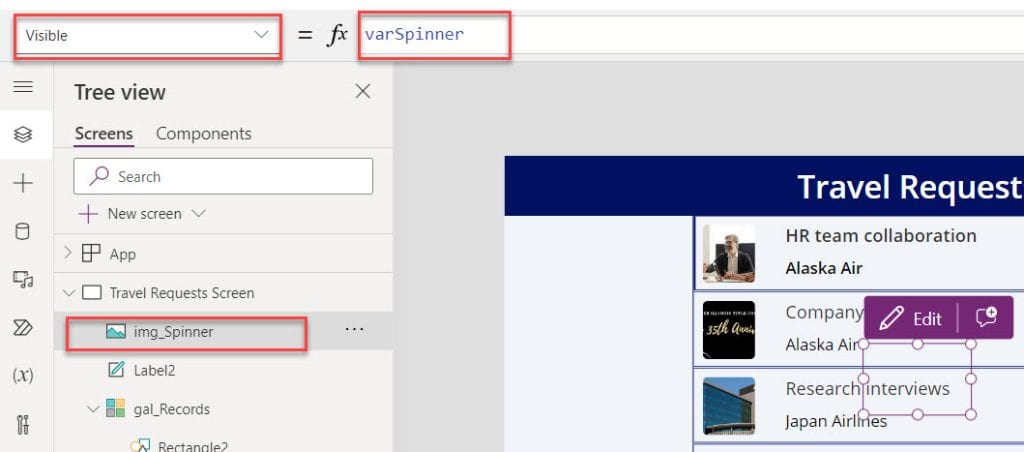
3. Finally, insert a Text label and set its Fill property to cover the entire gallery screen. Also, set its Visible property as:
Fill = RGBA(0,0,0,0.1)

Visible = varSpinner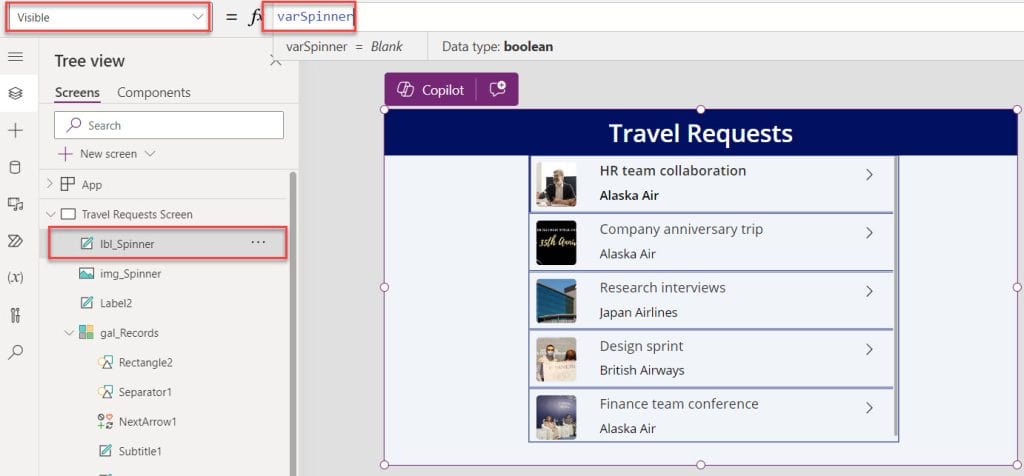
4. Once your app is ready, Save, publish, and Preview the app. Once the user selects any specific record from the gallery control, the loading spinner appears until the display form appears.
Have a look at the below output.
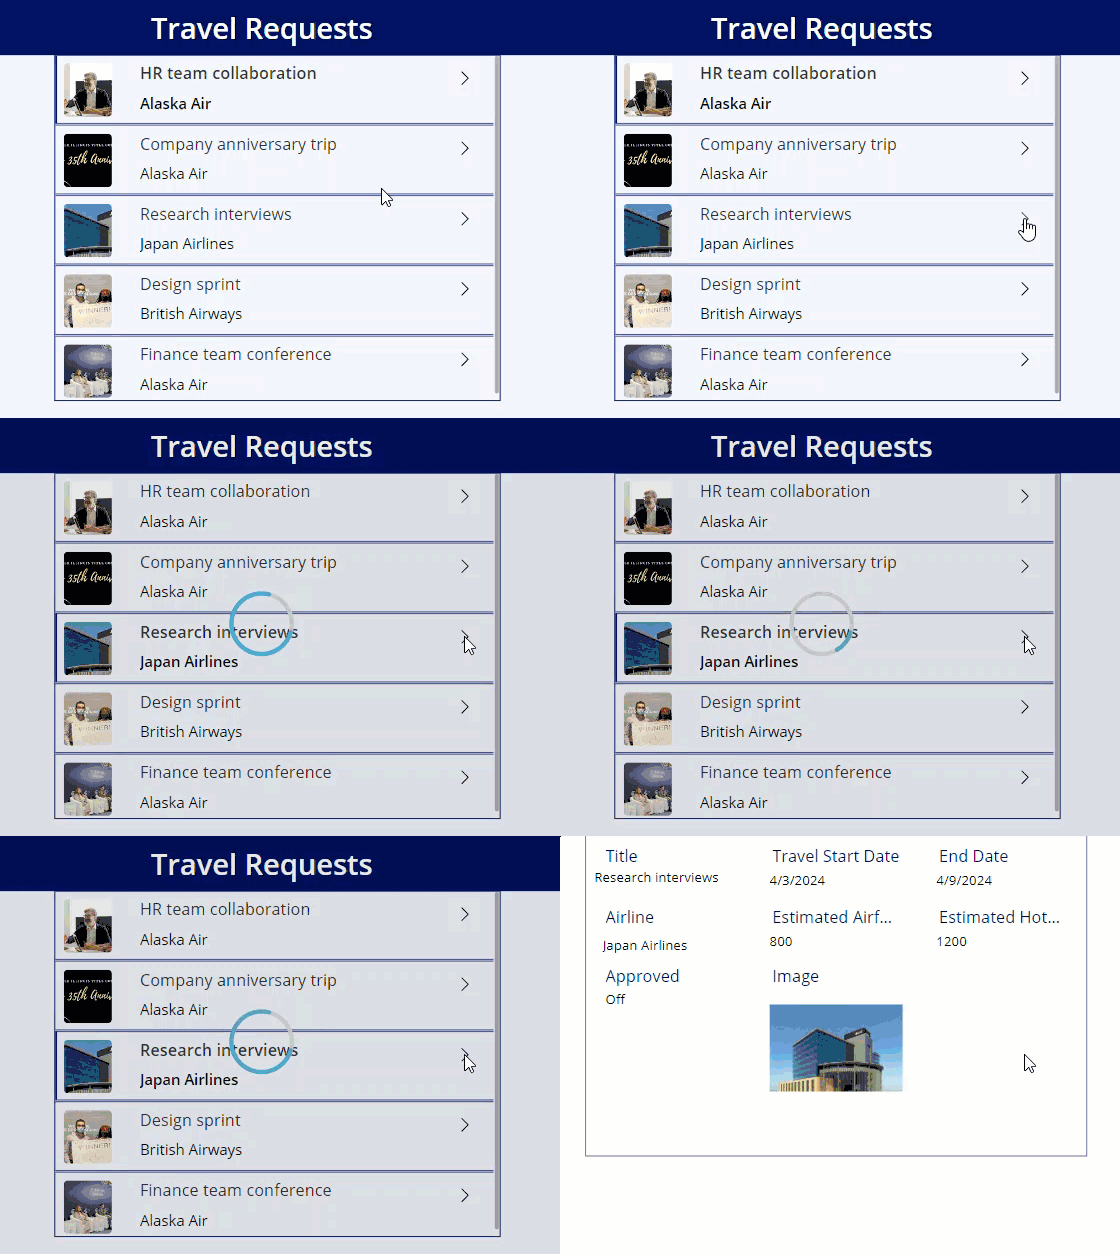
This is how we can work with the Power Apps gallery loading spinner.
Power Apps Loading Spinner Data vs Controls
Lastly, I will discuss the Power Apps loading spinner data vs controls.
| Loading Spinner as a Control | Loading Spinner as a Data |
| 1. In most cases what happens is, When you will click any control to display the spinner, then that animation image will not appear on the screen. | 1. As we discussed above, PowerApps has a built-in property called LoadingSpinner on the PowerApps Screen properties. |
| 2. This is happening because you have the loading spinner in your app, but because the loading time is too short, a Power Apps user can not notice the variable changing value. | 2. This property has three different values: Data, Controls, and None. You can set it to either Data or Controls (I would prefer to set Data only). If you set the value to None, nothing will happen. |
| 3. The code is loading too fast, so a user can not see the spinner in the current code. | 3. Also, it has another property named LoadingSpinner, where you can set the color. |
Some more articles you may also like:
- How to Use PowerApps Date and Time Picker
- Pagination in Power Apps Gallery
- Power Apps PDF Viewer Control
- Power Apps Remove First Character from String
- How to Use Slider in Power Apps
I hope you find this Power Apps tutorial helpful. This article explains what is loadingspinner PowerApps, how to work with loading spinner in PowerApps, PowerApps loading spinner property, PowerApps spinner gif with various scenarios.
If you have any opportunity to work with the Power Apps loading spinner, you can follow this post until the end to get all the information with real-time examples.
I am Bijay a Microsoft MVP (10 times – My MVP Profile) in SharePoint and have more than 17 years of expertise in SharePoint Online Office 365, SharePoint subscription edition, and SharePoint 2019/2016/2013. Currently working in my own venture TSInfo Technologies a SharePoint development, consulting, and training company. I also run the popular SharePoint website EnjoySharePoint.com