In this SPFx tutorial, let us discuss how to add new webpart in SPFx solution. We will see here, step by step how to add multiple web parts in a single SPFx solution (SharePoint framework).
If you are new to SPFx webpart development then first check out the below two articles:
- How to Set up SharePoint Framework development environment
- SharePoint framework client web part example
- SPFx fluent UI react dropdown example
Add new webpart in spfx solution
Now. let us see step by step how to add a new web part in SPFx solution.
First, we will create a client side SPFx web part and then we will add another web part to the existing spfx solution or SharePoint framework solution.
In SharePoint we use Yeoman generator engine to scaffolding the SharePoint framework solution. First, we will use create a single SPFx solution using the Yeoman generator.
Open the nodejs command prompt and then create a folder in the D drive.
md MultipleSPFxWP

cd MultipleSPFxWP
Then run the below command in the same directory.
yo @microsoft/sharepointThen it will show the Welcome to SharePoint client-side Solution Generator and it will ask a few questions like below:
- What is your solution name? Give a name or client enter to accept the default solution name.
- What baseline packages do you want to target for your component(s)? choose SharePoint Online only (latest)
- Then click on Enter to accept Use the current folder.
- Do you want to allow the tenant admin the choice of being able to deploy the solution to all sites immediately without running any feature deployment or adding apps in site? Type N here.
- Will the components in the solution require permission to access web APIs that unique and not shared with other components in the tenant? Type N.
- Which type of client-side component to create? Select WebPart
- What is your web part name? Give a name for the web part, here I have provided the web part name I provided a WebPart1.
- What is your web part description? Click Enter to accept the web part description.
- Which framework would you like to use? Choose No JavaScript framework. Even you can choose React or Knockout. It will work the same way.
You can see the details below:
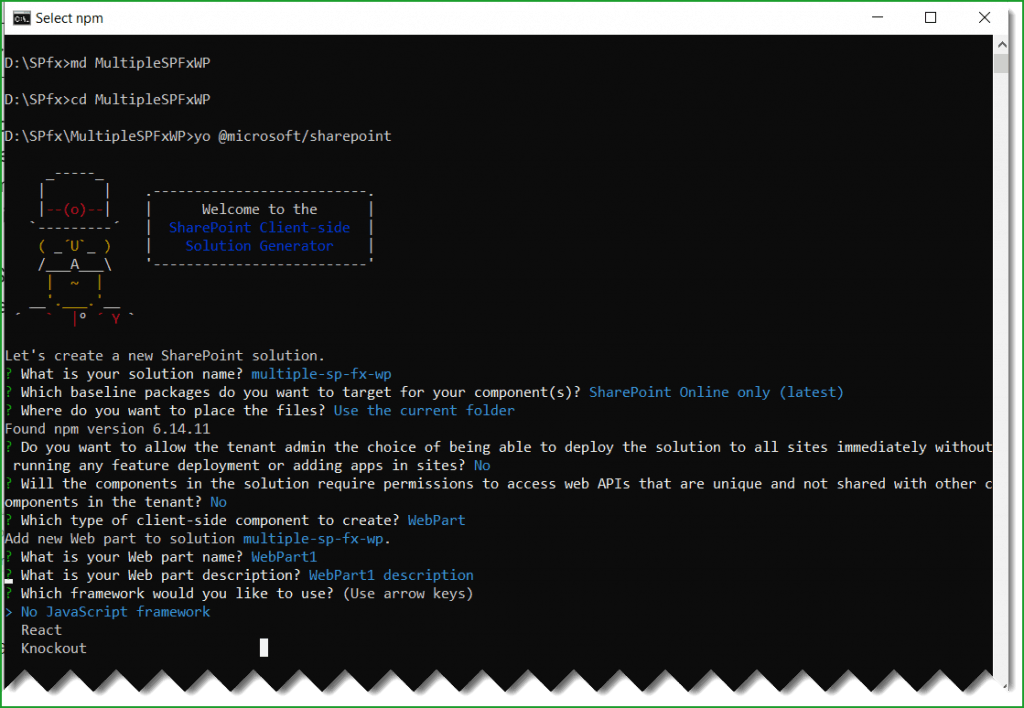
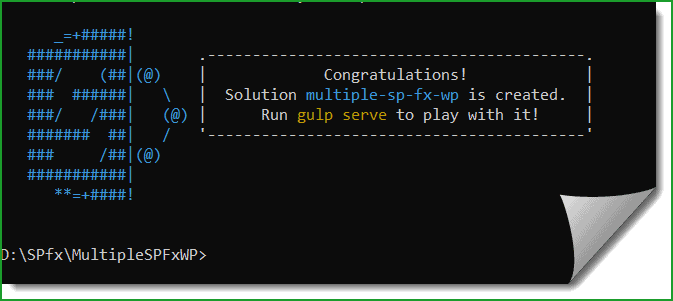
It will take sometime and create the SPFx solution for us and you can see the successful message like below:

Now run the below command to open the SPFx solution using visual studio code.
code .Once you open the solution, you can see there is a web part like below, Expand, src -> webparts.
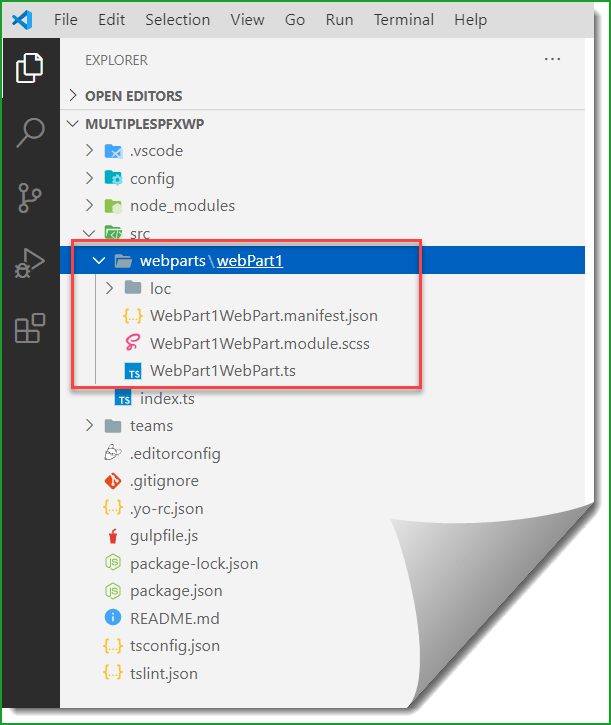
Now, if you will run the gulp serve command, you can see only one webpart will be there in the solution.
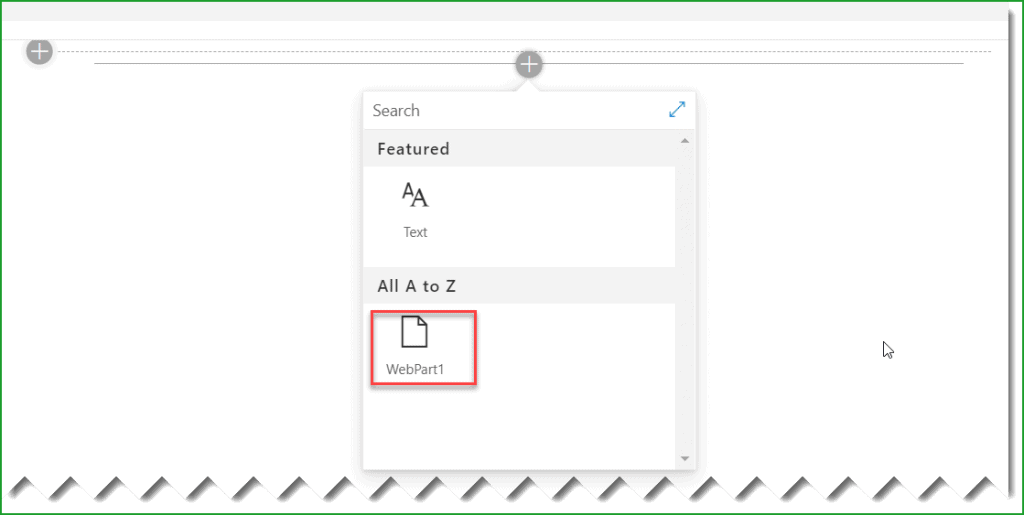
To add a new web part to the existing SPFx solution, from the same folder run the below command again
yo @microsoft/sharepoint- Then it will ask which type of client-side component to create? Choose WebPart and click on Enter.
- What is your web part name? Give a name for the webpart, here I have given WebPart2.
- Client enter to accept what is you web part description?
- Which framework would you like to use? Choose No JavaScript framework
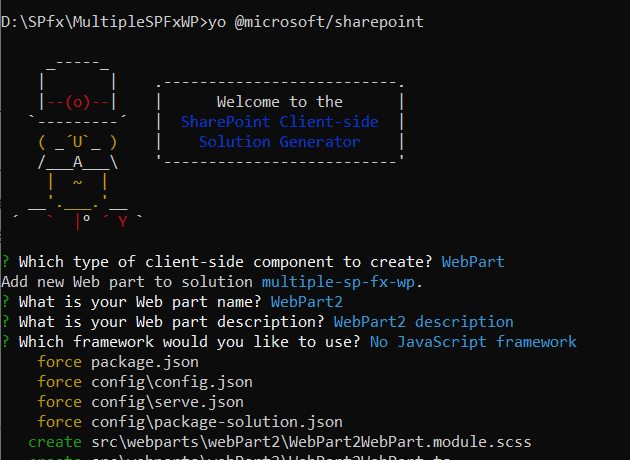
Then you can see a successful message like below:
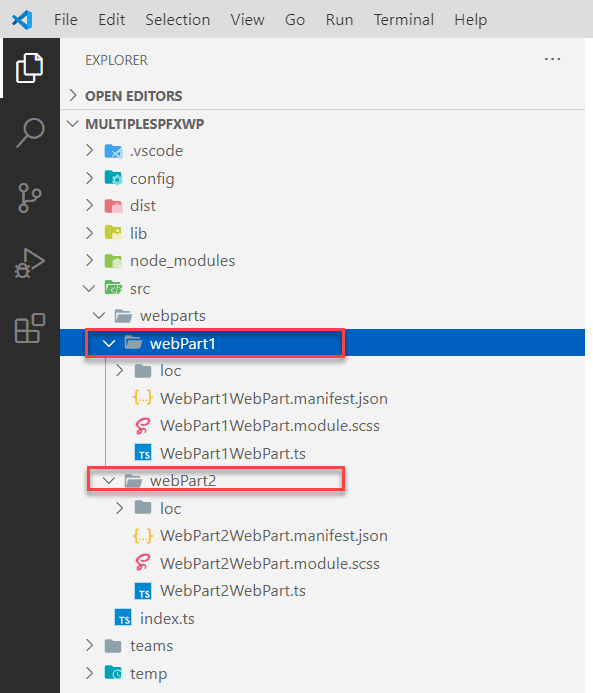
Now, when you open the solution folder, you will be able to both the web parts like below:
Expand the src folder then you will see a webparts folder and within that, you can see the WebPart1 and WebPart2 in two subfolders.
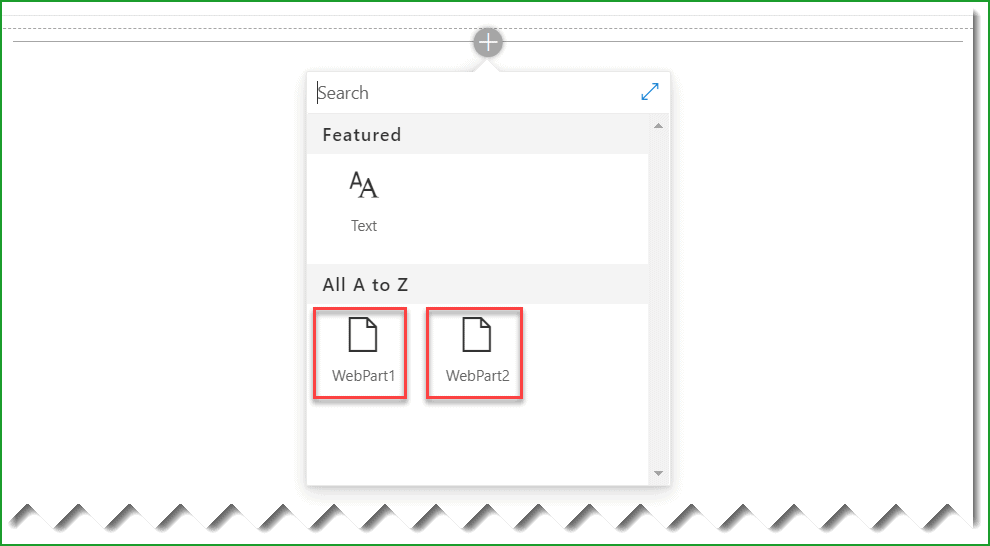
Now again run the gulp serve command and when you click on the + icon to add web parts and you can see this time two web parts like below:
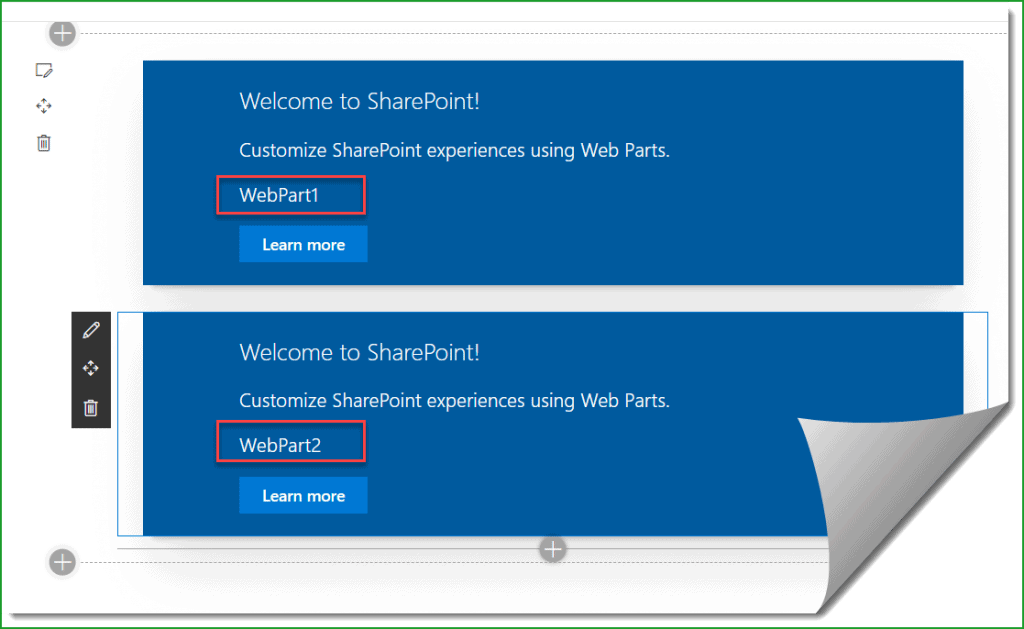
You can click to add both the webparts to the web part page.
If you want to deploy the solution, then the steps are same. Create the package and upload into the app catalog site.
gulp bundle --ship

gulp package-solution --ship
This will create the .sppkg file which you can upload to the app catalog site.
Advantages
Mainly there are two advantages of adding a new web part to an existing SharePoint framework solution.
- When you will create a web spfx solution using Yeoman, then it will take a lots of time to scaffold the project. The maximum time it will take to add the node_modules folder. When you will add a new web part to an existing solution, it will detect and will just add the web part only.
- The second reason, we can group related or similar web parts inside a single SPFx solution. In this way, within one solution, you will have the related the webparts.
You may like the following SPFx tutorials:
- SharePoint Framework tutorial (SPFx) + Set up development environment
- Retrieve SharePoint list items using SharePoint framework (SPFx)
- office-ui-fabric-react combobox example in SharePoint Framework (SPFx)
- SharePoint Framework CRUD Operations using React
- error TS1192: Module has no default export
- SharePoint framework crud operations no javascript framework
- @microsoft/generator-sharepoint update check failed
In this tutorial, we learned how to add a new web part to an existing spfx solution or SharePoint Framework solution.
I am Bijay a Microsoft MVP (10 times – My MVP Profile) in SharePoint and have more than 17 years of expertise in SharePoint Online Office 365, SharePoint subscription edition, and SharePoint 2019/2016/2013. Currently working in my own venture TSInfo Technologies a SharePoint development, consulting, and training company. I also run the popular SharePoint website EnjoySharePoint.com
Hi,
Thank you for your article. I am having an issue when deploying the spfx solution after adding the second webpart. In the app catalog, it doesn’t reflect the latest update with the version and the web part fails to load.