You know that developers use the Application Customizer in the SharePoint Framework (SPFx) to add custom scripts and HTML to the header and footer of every page on a modern SharePoint Online site.
I will explain the SharePoint Framework (SPFx) extensions here and how to create an SPFx Application Customizer. Finally, I have shown how to deploy the spfx application customizer to a SharePoint Online site.
SharePoint Framework (SPFx) Extensions
The SharePoint Framework (SPFx) Extensions are tools for adding custom features and enhancements to SharePoint sites.
By using SPFx extensions, we can enhance the user experience on modern pages and in SharePoint document libraries. We can customize SharePoint notification areas, toolbars and list data views with SPFx extensions.
The SPFx includes five extension types:
- Application Customizers: These allow developers to add scripts to SharePoint pages and customize the rendering of well-known HTML element placeholders on those pages.
- Field Customizers: These extensions modify how data fields are displayed within lists in SharePoint, providing customized views.
- ListView Command Set: This type extends SharePoint’s command surfaces, adding new actions to toolbars and context menus. Developers can implement specific behaviors using client-side code.
- Form Customizer: This extension allows customization of SharePoint modern forms, providing flexibility in how forms appear and behave.
- Search Query Modifier: This extension modifies search queries before they are executed by SharePoint, allowing developers to customize and refine search results based on specific criteria.
Create an Application Customizer using SPFx
Now, we see how to create an application customizer extension using SPFx. If you are new to SPFx, check out a tutorial on setting up the development environment for SharePoint Framework.
Open the Node.js command prompt and create a directory using the following command:
md Application CustomizerNavigate to that directory using the following command:
cd Application Customizer
To create an Extensions, we need to run Yeoman SharePoint Generator using the following command:
yo @microsoft/sharepoint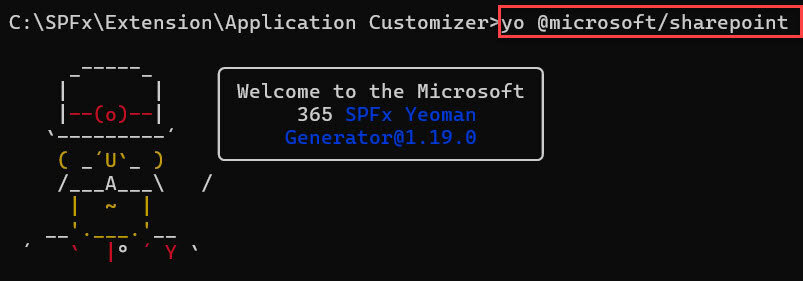
The Yeoman generator will guide you through a series of questions about the solution you want to create. Like below:
- What is the name of your solution? You can enter your solution name here. For example, I am naming mine ‘WelcomeInfoBar.’
- Which type of client-side component to create? Give an Extension.
- Which type of client-side extension to create? Give an Application Customizer.
- What is your Application Customizer name? Enter your Application name. For example, I am naming mine ‘PersonalizedWelcomeBar.’

After creating the project, it will take some time to complete. Once finished, you should see a success message like this:
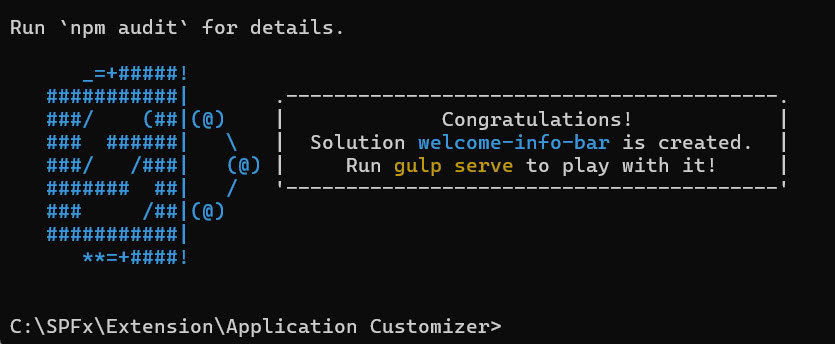
Next, you need to open this folder in VS code using the below command:
Code .Then, the VS Code automatically opens with these files.
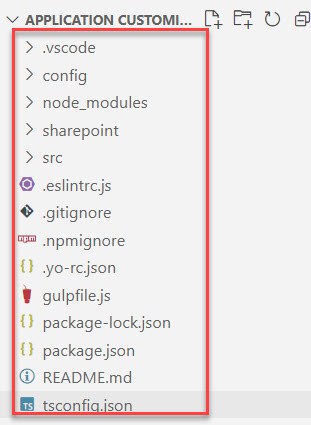
Here, in the onInit() method, we are displaying the alert message by default.
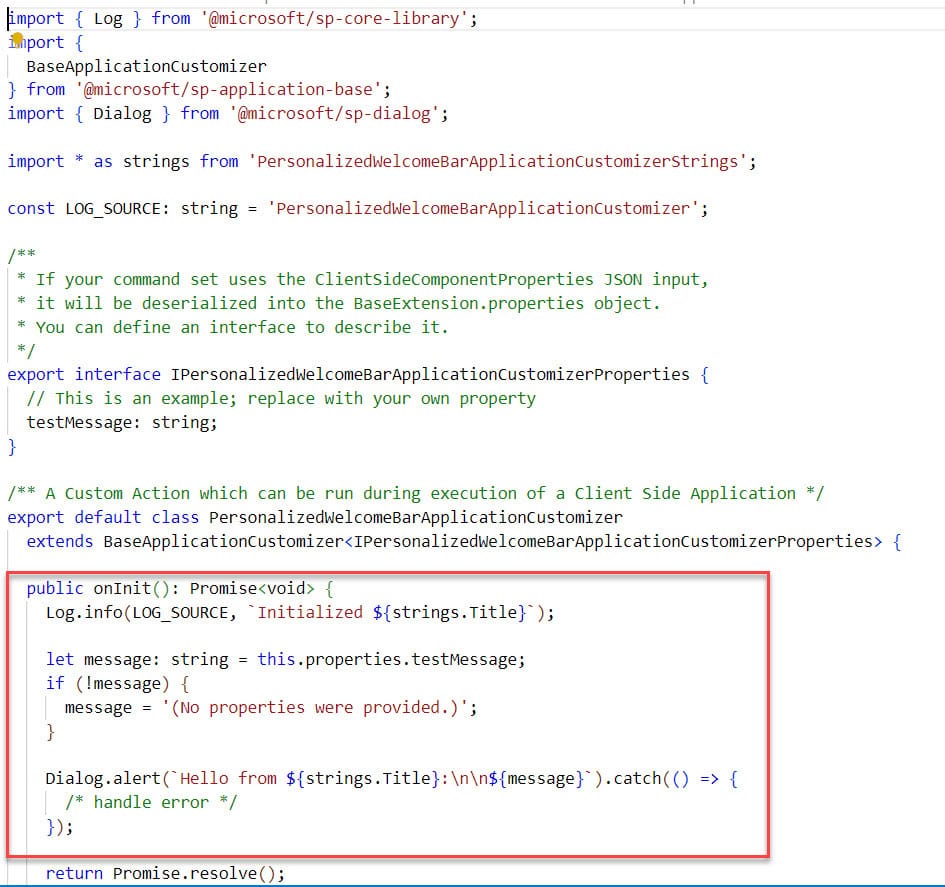
Here, I want to create a feature that displays specifically the top placeholder:
- A welcome message personalized with the current user’s display name and their site name.
- The user’s email address and the current date and time.
Like the screenshot below.

Before we write code, we need to install Additional Libraries using the below command:
npm install @microsoft/sp-http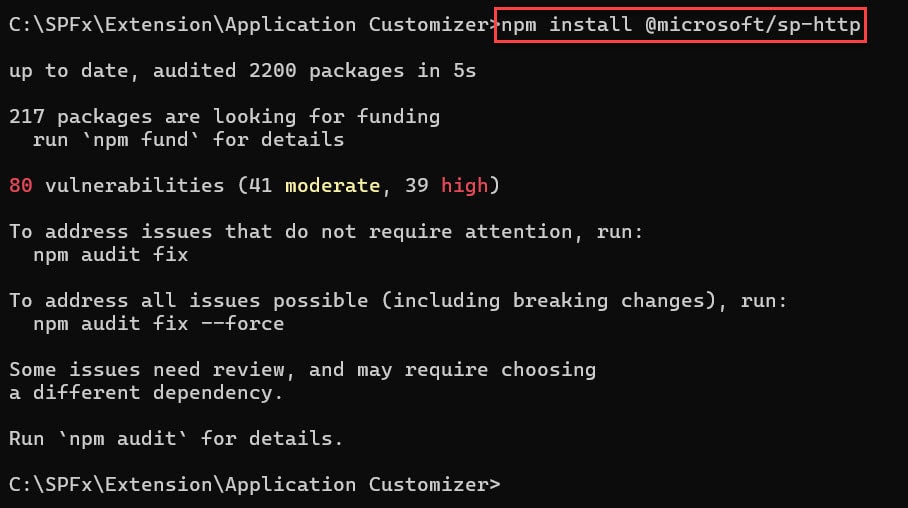
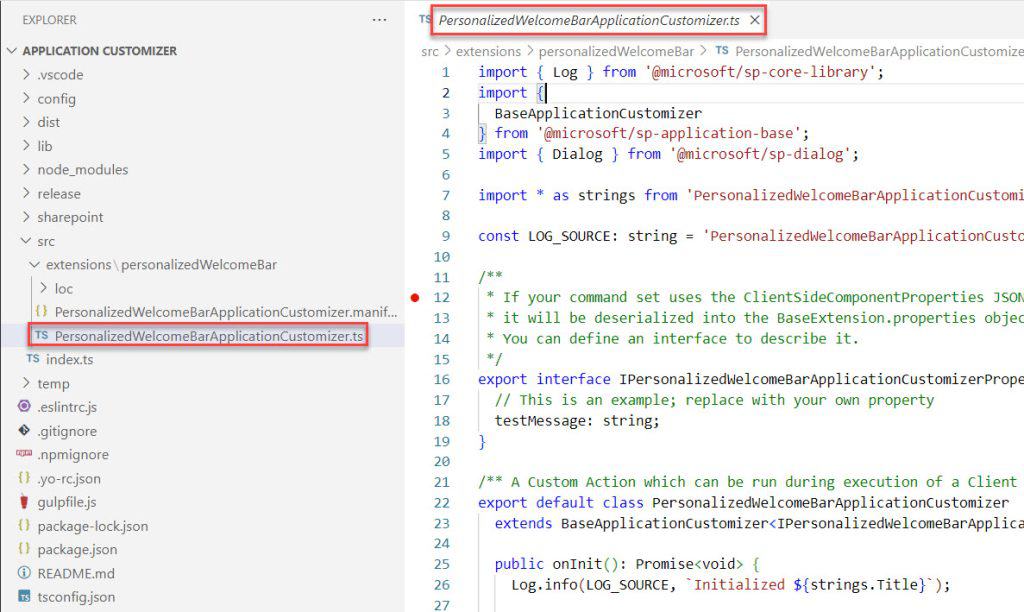
Now, in VS code, go to the src/extensions/PersonalizedWelcomeBarApplicationCustomizer.ts file. Here, we need to write our code.
Now follow the below steps:
1. First, we import the necessary modules and classes for building SharePoint Framework (SPFx) extensions that are not automatically included by the Yeoman generator when creating an Application Customizer Extension.
import { Log } from '@microsoft/sp-core-library';
import {
  BaseApplicationCustomizer,
  PlaceholderContent,
  PlaceholderName
} from '@microsoft/sp-application-base';
import { override } from '@microsoft/decorators';
import { SPHttpClient, SPHttpClientResponse } from '@microsoft/sp-http';

import * as strings from 'PersonalizedWelcomeBarApplicationCustomizerStrings';
These include logging utilities (Log), base classes (BaseApplicationCustomizer), placeholders (PlaceholderContent and PlaceholderName), decorators (override), and HTTP client utilities (SPHttpClient and SPHttpClientResponse).
2. Next, we need to define the interface property:
export interface IPersonalizedWelcomeBarApplicationCustomizerProperties {
  testMessage: string;
  currentUserEmail: string;
}
- testMessage: string;: This property (testMessage) should hold a piece of text.
- currentUserEmail: string;: This property (currentUserEmail) should store an email address.
3. Then, we define the class that is used to customize how a SharePoint application behaves.
export default class PersonalizedWelcomeBarApplicationCustomizer
  extends BaseApplicationCustomizer<IPersonalizedWelcomeBarApplicationCustomizerProperties> {

  private _topPlaceholder: PlaceholderContent | undefined;
  private _updateTimeInterval: number | undefined;
  private _currentUserDisplayName: string = '';
  private _currentUserEmail: string = '';
Here, the PersonalizedWelcomeBarApplicationCustomizer class is specifically designed to customize applications in SharePoint. It extends another class called BaseApplicationCustomizer.
4. Next, we need to write the onInit() method like below:
@override
  public onInit(): Promise<void> {
    Log.info(LOG_SOURCE, `Initialized ${strings.Title}`);

    this.context.placeholderProvider.changedEvent.add(this, this._renderPlaceholders);


    this._loadCurrentUserDisplayName();

    this._renderPlaceholders();

    return Promise.resolve();
  }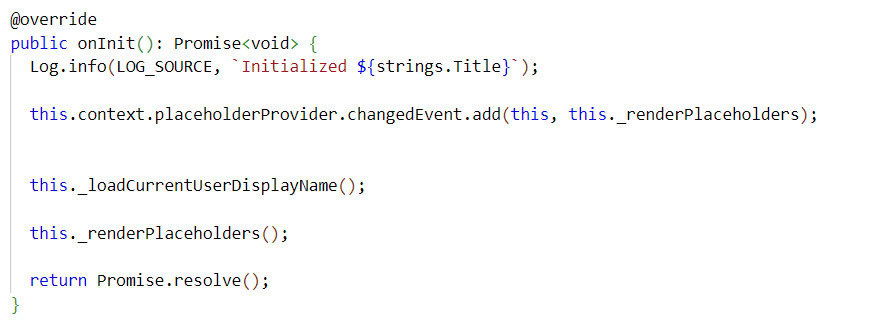
This onInit() method, called during initialization, logs an initialization message, sets up a listener for placeholder changes, loads the current user’s display name, renders placeholders, and completes its initialization promise.
5. Then, we need to write the _renderPlaceholders method. This method handles the rendering of content placeholders in a SharePoint application customizer.
private _renderPlaceholders(): void {
    if (!this._topPlaceholder) {
      this._topPlaceholder = this.context.placeholderProvider.tryCreateContent(
        PlaceholderName.Top,
        { onDispose: this._onDispose }
      );

      if (this._topPlaceholder && this._topPlaceholder.domElement) {
        this._updateDateTime();
        this._updateTimeInterval = window.setInterval(() => this._updateDateTime(), 1000);
      }
    }
  }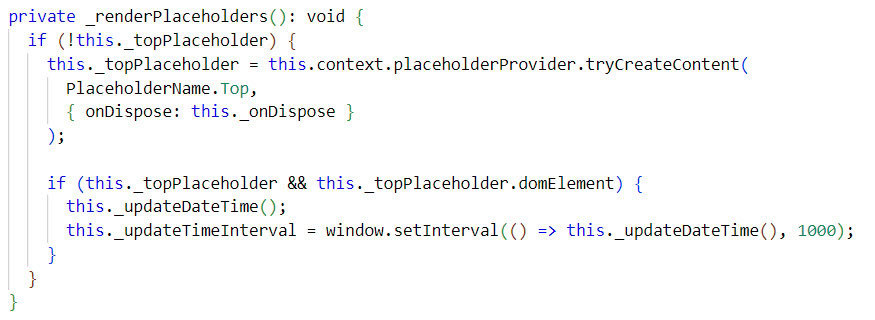
This method ensures that a placeholder at the top of the SharePoint page is created if it doesn’t exist, and then Call _updateDateTime() to update the displayed date and time.
6. Then, we need to write the _updateDateTime() method. It updates the content of a placeholder with the current date and time, along with user and site information in a SharePoint application customizer.
private _updateDateTime(): void {
    if (this._topPlaceholder && this._topPlaceholder.domElement) {
      const siteName = this.context.pageContext.web.title; // Get site name
      const now = new Date();
      const formattedDateTime = this._formatDateTime(now);
      this._topPlaceholder.domElement.innerHTML = `
        <div style="text-align:right; padding: 10px; background-color: #0078d4; color: white;">
          Welcome  ${this._currentUserDisplayName} to ${siteName}<br>
          Email: ${this._currentUserEmail}<br>
          Date and Time: ${formattedDateTime}
        </div>`;
    }
  }

private _formatDateTime(dateTime: Date): string {

    return dateTime.toLocaleString();
  }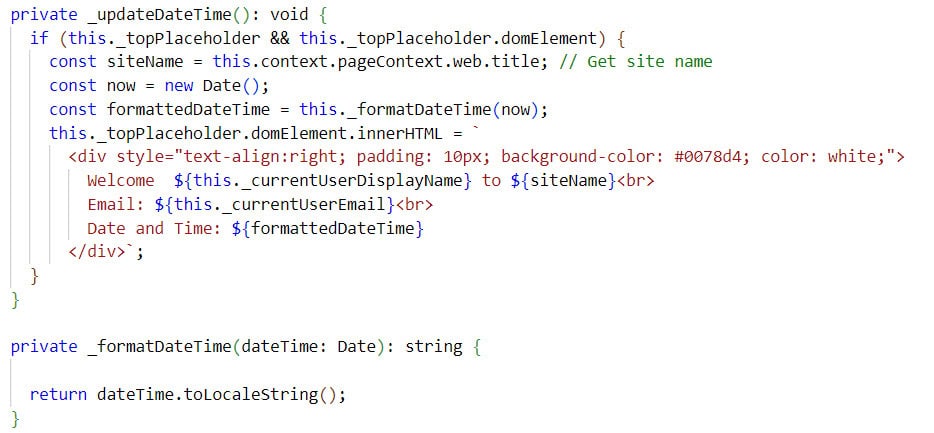
This method dynamically updates a specific part of the SharePoint page to display a personalized greeting message for the current user. The message includes the user’s name, email address, and the current date and time.
7. Next, we write the _loadCurrentUserDisplayName method. This method fetches and loads the current user’s display name and email.
private async _loadCurrentUserDisplayName(): Promise<void> {
    try {
      const response: SPHttpClientResponse = await this.context.spHttpClient.get(
        `${this.context.pageContext.web.absoluteUrl}/_api/web/currentuser`,
        SPHttpClient.configurations.v1
      );

      if (response.ok) {
        const userData: any = await response.json();
        this._currentUserDisplayName = userData.Title;
        this._currentUserEmail = userData.Email;
        this._updateDateTime();
      } else {
        const responseText: string = await response.text();
        const errorMessage: string = `Error loading current user: ${response.status} - ${responseText}`;
        Log.error(LOG_SOURCE, new Error(errorMessage));
      }
    } catch (error) {
      Log.error(LOG_SOURCE, error instanceof Error ? error : new Error(error));
    }
  }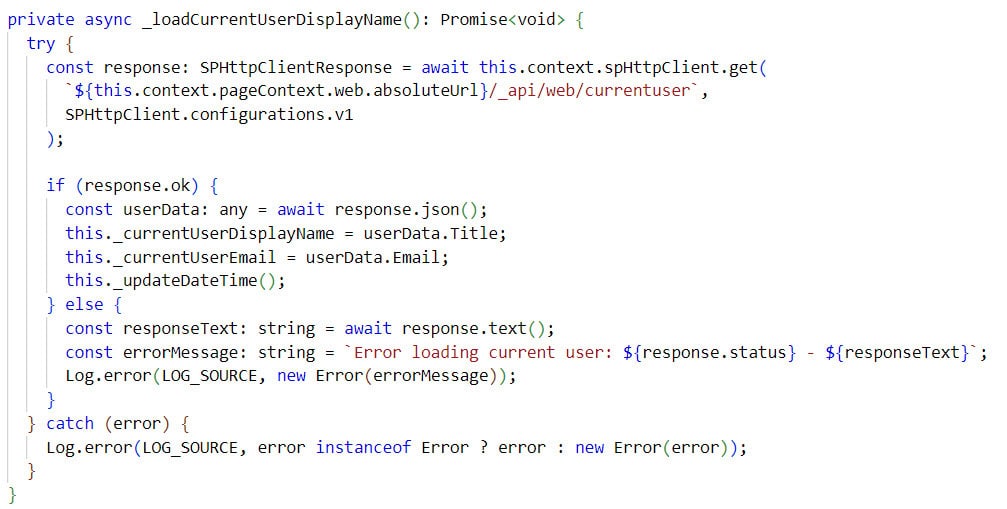
This method ensures that the SharePoint page retrieves the current user’s display name and email whenever it loads. If successful, it updates the page to display the user’s name, email, and the current date and time. In case of an error during this process, it logs the error details for troubleshooting purposes.
8. Lastly, we need to write the _onDispose() method.
private _onDispose(): void {
    Log.info(LOG_SOURCE, 'Disposed top placeholder.');
    if (this._updateTimeInterval) {
      clearInterval(this._updateTimeInterval);
    }
  }
This method ensures that when a user navigates from the page or closes the application, the _onDispose method has cleaned up the top placeholder.
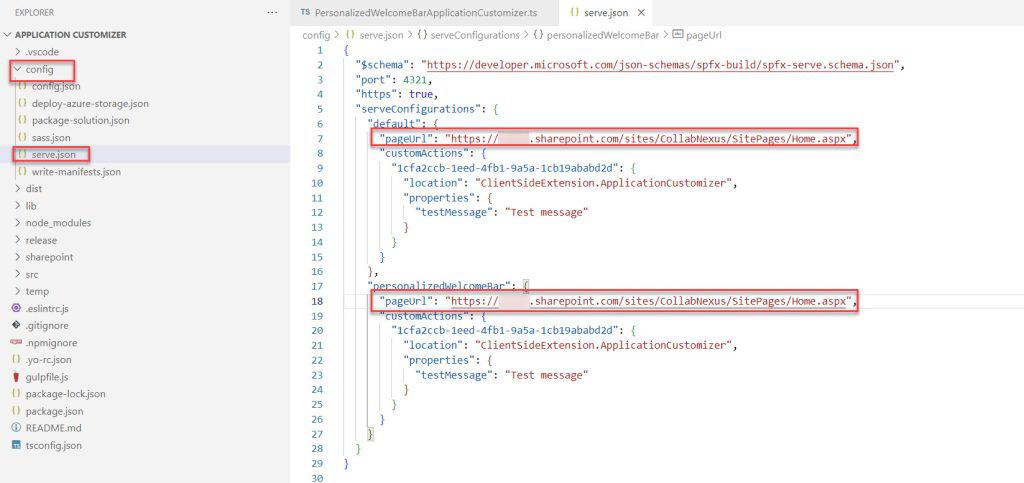
9. We cannot use the local workbench to test SharePoint framework extensions such as Application Customizers. Instead, we need to test directly on SharePoint Online pages.
To do this, open the serve.json file located in the config folder. In the page URL field, enter your SharePoint homepage URL, as shown in the screenshot below.
10. Then, in the VS Code, open a new terminal and run the below command:
gulp serve11. It will automatically open the SharePoint page directly in the browser. That page shows a warning message here; you click on Load debug scripts like the below:

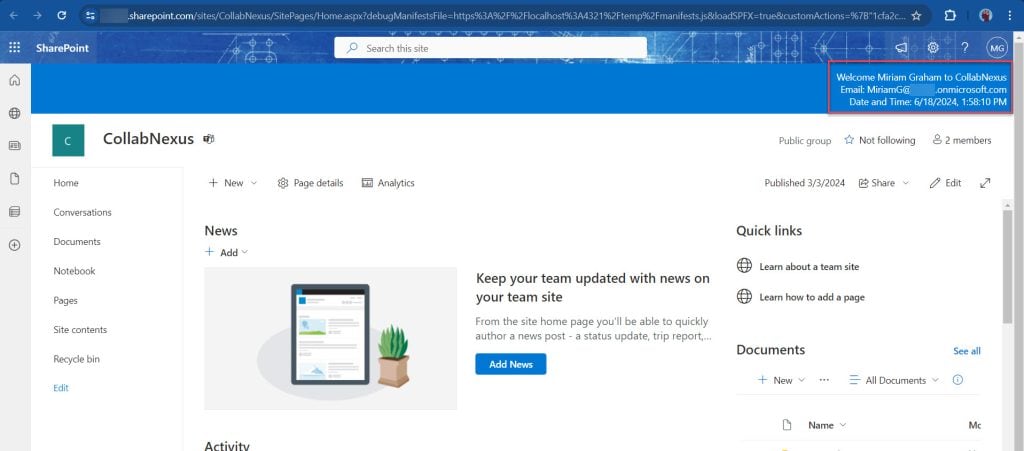
12. Now it will display like the below page:
Download the full solution as a zip file. Unzip the SPFx solution file. Open a command prompt and navigate to the root directory of the extracted SPFx solution. Then, run the following command:
npm install && gulp buildThen, you can run it on your machine using the gulp serve command.
In this tutorial, we learned about SharePoint Framework (SPFx) extensions and The SPFx extension types, specifically focusing on creating an SPFx Application Customizer extension.
I hope you know how to create and deploy the SPFx application customizer to the SharePoint Online site.
You may also like:
I am Bijay a Microsoft MVP (10 times – My MVP Profile) in SharePoint and have more than 17 years of expertise in SharePoint Online Office 365, SharePoint subscription edition, and SharePoint 2019/2016/2013. Currently working in my own venture TSInfo Technologies a SharePoint development, consulting, and training company. I also run the popular SharePoint website EnjoySharePoint.com
Hi Thank you for the in detail explanation … It was really helpfull. My only doubt is that will application customizer works on only site pages or also on application pages too.